


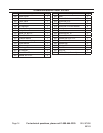
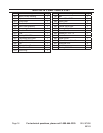
Page 8 For technical questions, please call 1-800-444-3353. SKU 67696
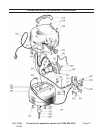
68149
Route the power cord from the 3.
compressor to the grounded wall outlet,
along a safe path without creating a
tripping hazard or exposing the power
cord to possible damage.
Set Up
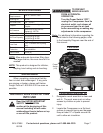
Break in the new Air Compressor as 1.
follows:
Make sure the Switch is OFF and the a.
unit is unplugged. Insert a male coupler
(sold separately) into the female Quick
Coupler and fully open all regulators
and valves.
Plug in the Power Cord.b.
Turn the Power Switch ON (133).c.
Let the unit run for 30 minutes. Air will d.
expel freely through the Coupler.
Turn the Power Switch OFF.e.
Unplug the Power Cord and remove the f.
male coupler.
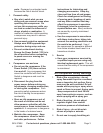
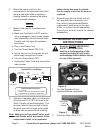
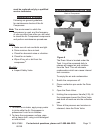
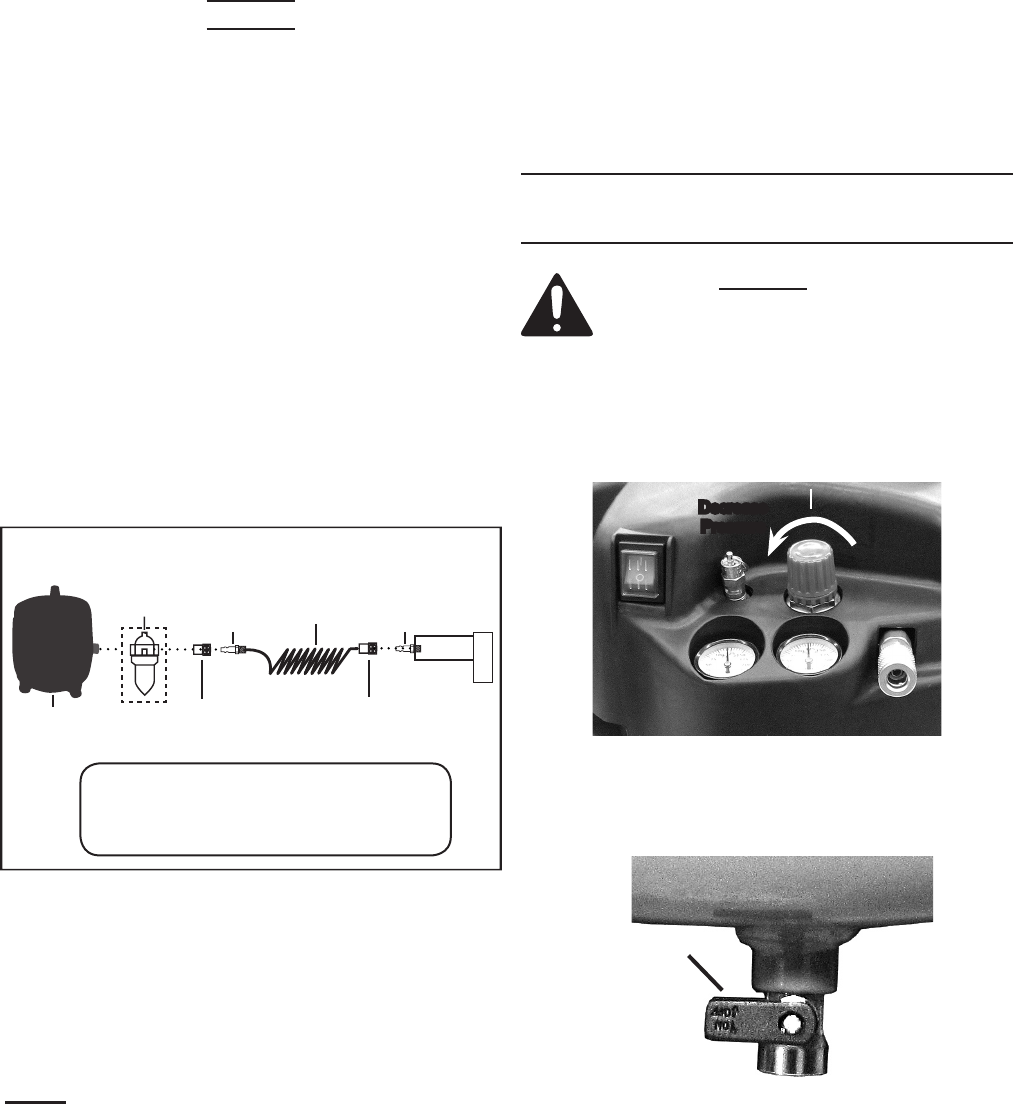
Typical Air Line Setup
Recommeded Accessories
1/4” Air Hose•
Set of 1/4” Male and Female Quick Couplers•
Inline Desiccant Dryer/Filter or Water Filter•
Female
Quick Coupler
Female
Quick Coupler
1/4” Air Hose
Water Filter
(Airbrush Use)
Male
Quick
Coupler
Male
Quick
Coupler
Air
Compressor
Tool
2. Connect a regulator valve, an inline shut
off valve and a 1/4” NPT air hose to the
Quick Coupler (all sold separately). The
air hose must be long enough to reach
the work area with enough extra length
to allow free movement while working.
Note: Adding an in-line shutoff valve, such
as the female quick disconnect at the
compressor outlet, is an important
safety device because it controls
the air supply even if the air hose is
ruptured.
Depending on the tool which you will 3.
be using with this compressor, you
may need to incorporate additional
components, such as an in-line oiler,
a lter, or a dryer (all sold separately).
Consult your air tool’s manual for needed
accessories.
GENERAL OPERATING
INSTRUCTIONS
Read the ENTIRE IMPORTANT
SAFETY INFORMATION
section at the beginning of this
manual including all text under
subheadings therein before set up
or use of this product.
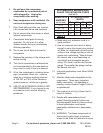
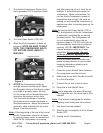
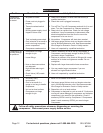
Regulator Knob
Decrease
Pressure
Figure 2
1. Turn the Regulator Knob
counterclockwise completely.
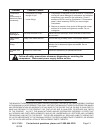
Figure 3
Drain Valve
(107)
Closed
2. Close the Drain Valve (107).