SKU 92658 For technical questions, please call 1-800-444-3353. Page 17
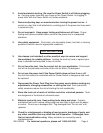
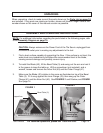
Miter Cutting - For cutting 45
o
miter cuts.
1. Using a pencil, mark a cut line on the piece of tile. Set the tile in the Miter Gauge
(14) so that the cutting line lines up with the blade. Use the Miter Gauge (14) to
push the tile into the blade. Follow the cutting instructions in numbers 3, 4 and 5
on page 16.
OPERATING INSTRUCTIONS (continued)
INSPECTION, MAINTENANCE, AND CLEANING
1. WARNING! Make sure the Power Switch (24) of the Tile Saw is in its “OFF”
position and that the tool is unplugged from its electrical outlet before performing
any inspection, maintenance, or cleaning procedures.
2. BEFORE EACH USE, inspect the general condition of the Tile Saw. Check for
loose screws, misalignment or binding of moving parts, cracked or broken parts,
damaged electrical wiring, and any other condition that may affect its safe
operation. If abnormal noise or vibration occurs, have the problem corrected
before further use. Do not use damaged equipment.
3. After each use, remove the drain plug on the Tray (46) and empty the water. Also,
make sure that both Drains are clean and clear of dirt or debris. Wipe the Tray
(46) clean and replace the drain plug.
4. Tighten any loose hardware.
5. Before each use, check that the Blade (42) is properly aligned.
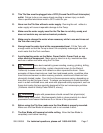
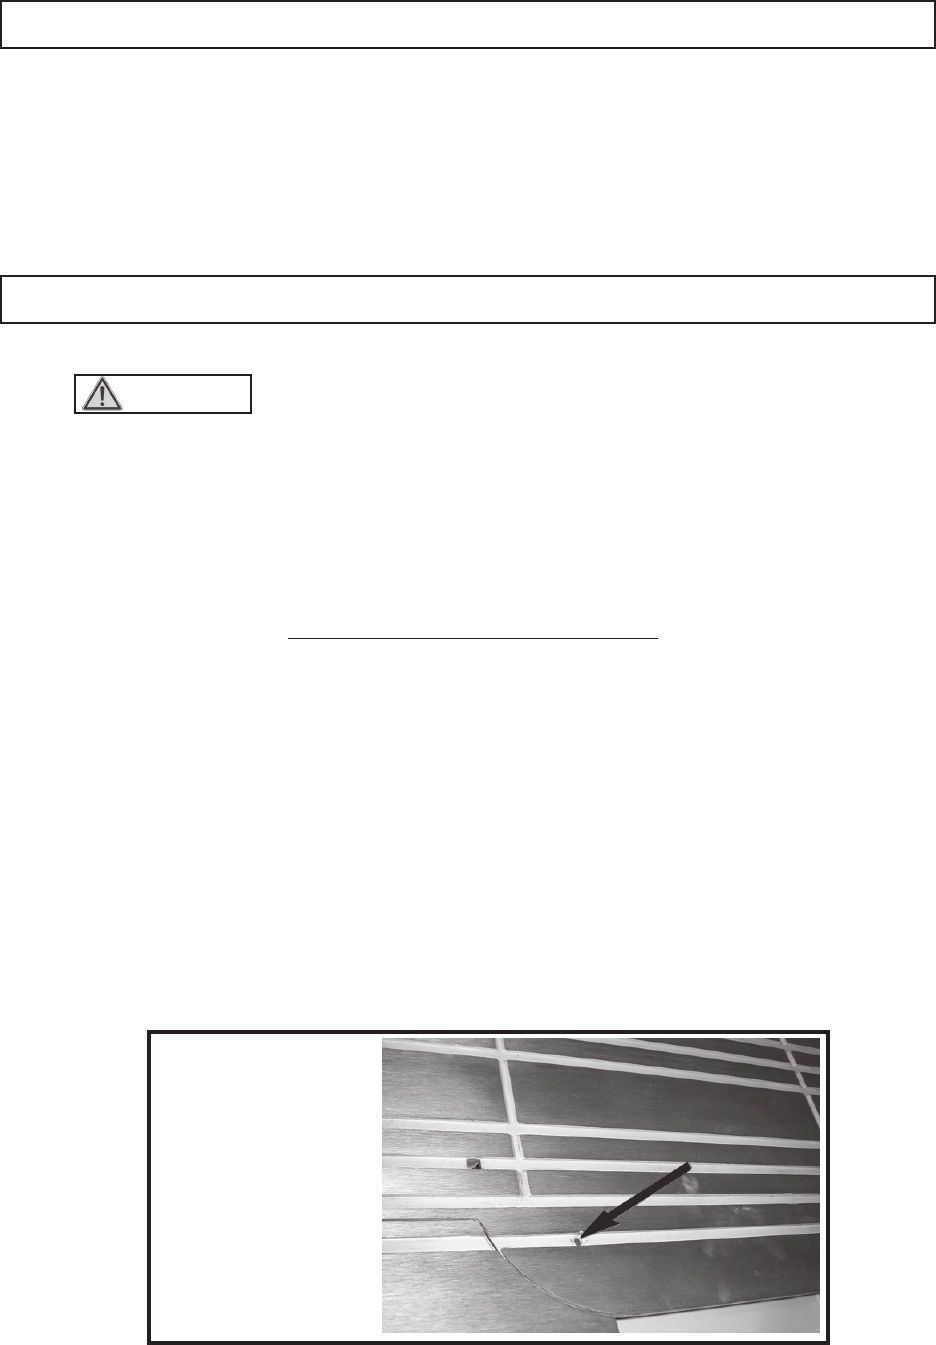
6. When transporting the unit, remove the Blade (42), the Miter Gauge (14), Fence
(13), and the Blade Guard (8). Make sure the Tray (46) is dry and clean. Secure
the Tray (46) to the unit by attaching the Screw into the Hole shown below. Refer
to FIGURE 7 below.
FIGURE 7
After removing the
Screw from the
screw hole, place
it through the hole
in the Tray (46).
Screw Hole


