– 14 –
English
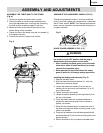
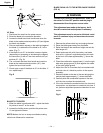
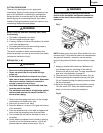
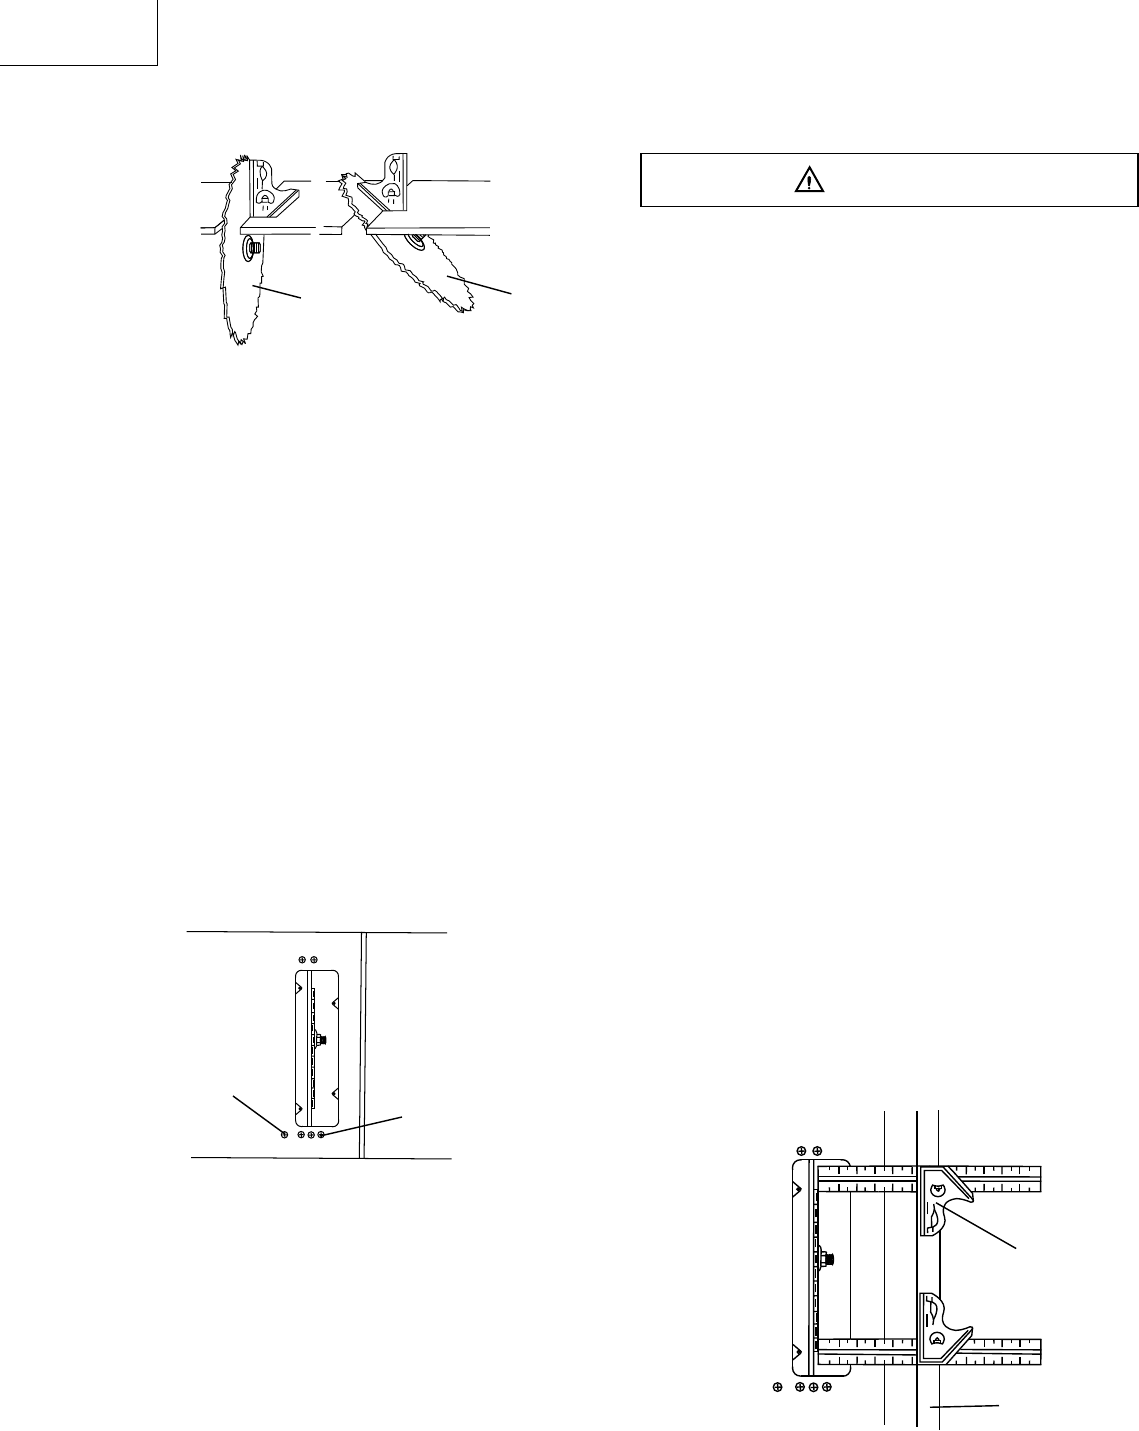
Fig. F
90° 45°
45° Stop
1. Disconnect the saw from the power source.
2. Raise the blade to the maximum elevation.
3. Loosen the blade bevel lock handle and move the
blade to the maximum bevel position (45°)and tighten
the bevel lock handle.
4. Place a combination square on the table and against
the blade (1) to determine if the blade is 45° to the
table. (Fig. F)
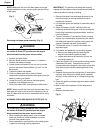
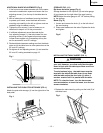
5. If the blade is not 45° to the table, loosen or tighten
(depending on increasing or decreasing the degree)
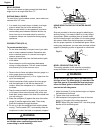
the hex screw (4) with a 5 mm hex wrench until you
achieve 45°. (Fig. G)
6. The, re-loosen the bevel lock handle and reset the
blade at the maximum bevel position (45°), then
tighten the bevel lock handle.
7. Check again to see if the blade is 45° to the table. If
not, repeat step 5.
Fig. G
BLADE TILT POINTER
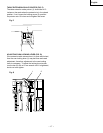
1. When the blade is positioned at 90°, adjust the blade
tilt pointer to read 0° on the scale.
2. Loosen the holding screw, position the pointer over
0° and tighten the screw.
NOTE: Make a trial cut on scrap wood before making
critical cuts. Measure for exactness.
BLADE PARALLEL TO THE MITER GAUGE GROOVE
(FIG. H)
To avoid injury from an accidental start, make sure
the switch is in the OFF position and the plug is
disconnected from the power source outlet.
This adjustment was made at the factory, but it
should be rechecked and adjusted if necessary.
This adjustment must be correct or kickback could
result in a serious injury and accurate cuts cannot
be made.
1. Remove the yellow switch key and unplug the saw.
2. Raise the blade guard away from the blade.
3. Raise the blade to the maximum height and set the
belel angle at 0°
4. Select and mark with a felt tip marker, one blade
tooth with a “right set” angle and position this tooth
at the front of the saw approximately ½” above the
table.
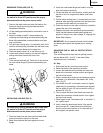
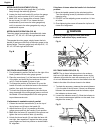
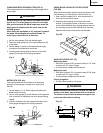
5. Place the combination square base (1) into the right
side miter gauge groove (2) flush against the inside
of the miter gauge groove.
6. Adjust the ruler so it touches the front marked tooth
and lock ruler so it holds its position in the square
assembly.
7. Rotate the blade to the rear of the saw bringing the
marked tooth approximately ½” above the blade.
8. Carefully slide the combination square to the rear
until the ruler touches the marked tooth.
9. If the ruler touches the marked tooth at the front and
rear position, no adjustment is needed at this time. If
not, perform adjustment procedure described in next
section.
Fig. H
WARNING
1
2
3
4
1
2


