


4 - 16
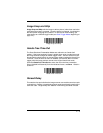
High Priority Symbology
To specify the high priority symbology, scan the High Priority Symbology bar
code below. On the Symbology Chart on page A-1, find the symbology you
want to set as high priority. Locate the Hex value for that symbology and scan
the 2 digit hex value from the Programming Chart (inside back cover). Scan
Save to save your selection.
Default = None
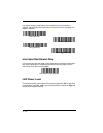
Low Priority Symbology
To specify the low priority symbology, scan the Low Priority Symbology bar
code below. On the Symbology Chart on page A-1, find the symbology you
want to set as low priority. Locate the Hex value for that symbology and scan
the 2 digit hex value from the Programming Chart (inside back cover).
If you want to set additional low priority symbologies, scan FF, then scan the 2
digit hex value from the Programming Chart for the next symbology. You can
program up to 5 low priority symbologies. Scan Save to save your selection.
Default = None
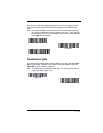
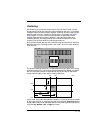
Preferred Symbology Time-out
Once you have enabled Preferred Symbology and entered the high and low
priority symbologies, you must set the time-out period. This is the period of
time the imager will search for a high priority bar code after a low priority bar
code has been encountered. Scan the bar code below, then set the delay (from
1-3,000 milliseconds) by scanning digits from the inside back cover, then
scanning Save.
Default = 500 ms.
Preferred Symbology Default
Scan the bar code below to set all Preferred Symbology entries to their default
values.
High Priority Symbology
Low Priority Symbology
Preferred Symbology Time-out
Preferred Symbology Default