StorTrends® iTX Installation and Login
Intel® Server System SSR212MC2
15
Step Description
system for installation of StorTrends iTX.
Note: In StorTrends iTX 2.7.10.19 and older versions, if StorTrends iTX discovers
two notebook hard disk drives, it will not prompt at all.
Step Description
7 The StorTrends iTX installation takes approximately 30 minutes. Various screens
throughout the installation, and at certain times there will be a long period where only
a blank screen will appear. However, do not try to do anything; leave the system alone
until the StorTrends iTX Installation CD ejects, and a message is displayed that the
installation is complete.
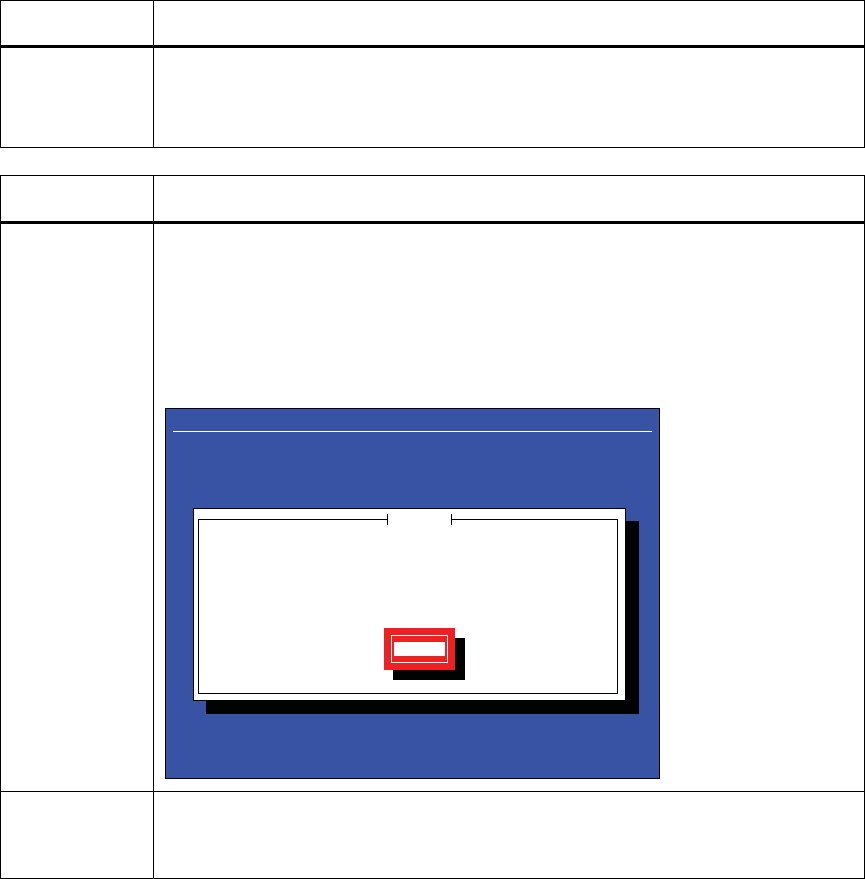
Press the <ENTER> key to reboot.
StorTrends iTX 2.7
<Enter> to reboot
Complete
Congratulations, your AMI StorTrends installation is complete.
Remove any media used during the installation process and press
<Enter> to reboot your system.
Reboot
8 Congratulations! StorTrends iTX has been successfully installed on your Intel® Server
System SSR212MC2. At this point, the external USB CD-ROM drive can be physically
disconnected.
Get the IP address
Once the Intel® Server System SSR212MC2 has fully booted into StorTrends iTX, the
following screen (shown below) will be displayed. Write down the IP Address listed in the “Ip
Address” field. If both internal NICs are connected to your network, two IP Addresses will be
displayed.


