


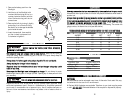
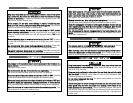
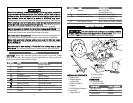

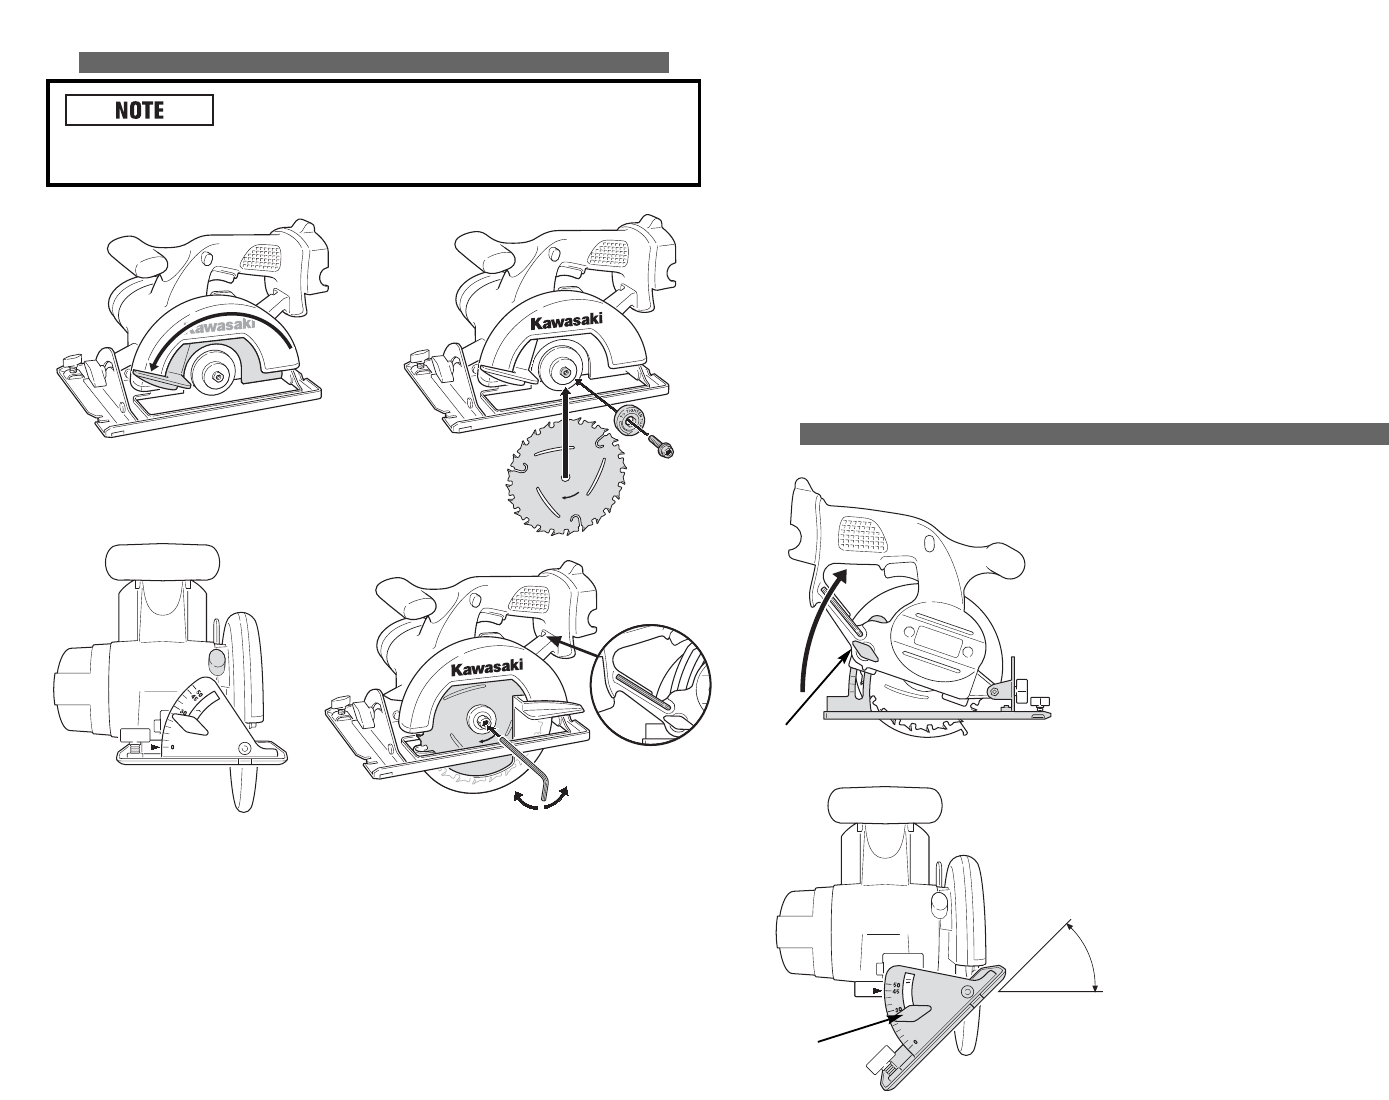
AATTTTAACCHHIINNGG TTHHEE BBLLAADDEE::
1. Remove the battery pack.
2. Retract the lower guard (see Fig. 1).
3. Slip the blade into place (see Fig. 2).
4. Put clamp washers and clamping
screw loosely in position.
5. Use the wrench to tighten the
clamping screw while pressing
down on the clamping knob
(see Fig. 3 and Fig. 4).
6. Remove wrench.
7. Replace the battery pack.
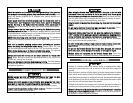
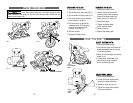
AADDJJUUSSTTIINNGG DDEEPPTTHH AANNDD AANNGGLLEE
AADDJJUUSSTT CCUUTTTTIINNGG DDEEPPTTHH::
1. Remove the battery pack.
2. Hold the saw firmly and loosen the
depth adjustment knob by turning
it counter-clockwise.
3. Move the shoe to obtain the desired
depth of cut.
4. Tighten depth adjustment knob
securely by turning clockwise
before operating the saw.
AADDJJUUSSTT BBEEVVEELL AANNGGLLEE::
1. Remove the battery pack.
2. Loosen the bevel angle knob by
turning it counter-clockwise.
3. Adjust the angle of your cut.
4. Tighten the angle knob securely
by turning clockwise.
15
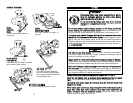
AATTTTAACCHHIINNGG // RREEMMOOVVIINNGG BBLLAADDEE
If the blade clamp screw will not loosen enough to allow
blade installation, tap gently on the end of the wrench with a mallet until the
clamp screw breaks free.
RREEMMOOVVIINNGG TTHHEE BBLLAADDEE::
1. Remove the battery pack.
2. Use the wrench to loosen the
clamping screw while pressing
down on the blade safety lock
button (see Fig. 3 and Fig. 4).
3. Remove the blade.
4. Tighten the blade clamp
screw back into place.
5. Remove wrench.
6. Replace the battery pack.
FIG. 1 FIG. 2
FIG. 3
LLOOOOSSEENN::
CLOCKWISE
TTIIGGHHTTEENN::
COUNTER-CLOCKWISE
FIG. 4
45º
DEPTH
ADJUSTMENT
KNOB
BEVEL
ANGLE
KNOB
16