


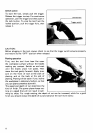

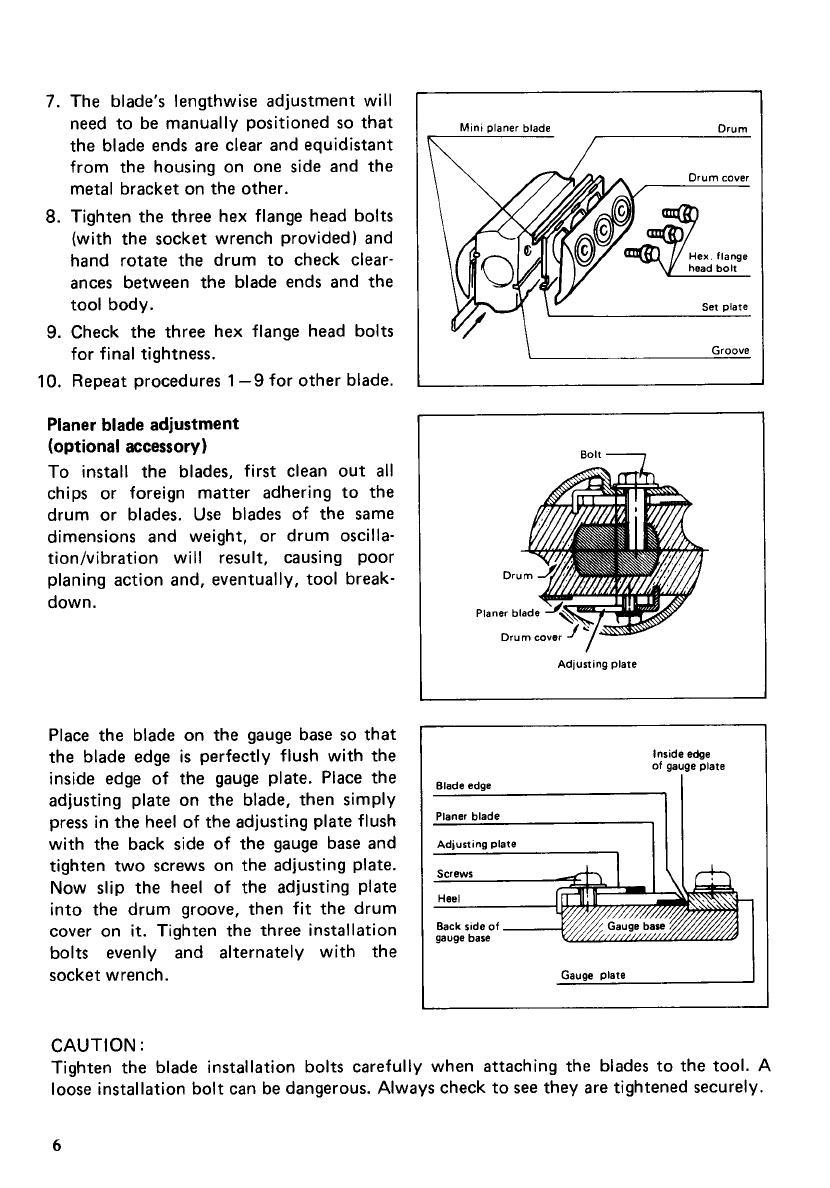
7.
The blade's lengthwise adjustment will
need to be manually positioned
so
that
the blade ends are clear and equidistant
from the housing on one side and the
metal bracket on the other.
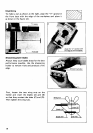
8.
Tighten the three hex flange head bolts
(with the socket wrench provided) and
hand rotate the drum to check clear-
ances between the blade ends and the
tool body.
9.
Check the three hex flange head bolts
for final tightness.
IO.
Repeat procedures
1-9
for other blade.
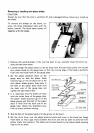
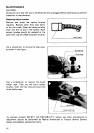
Planer blade adjustment
(optional accessory)
To
install the blades, first clean out
all
chips or foreign matter adhering to the
drum or blades. Use blades of the same
dimensions and weight, or drum oscilla-
tion/vibration will result, causing poor
planing action and, eventually, tool break-
down.
Place the blade on the gauge base
so
that
the t.ade edge
is
perfectly flush with the
inside edge of the gauge plate. Place the
adjusting plate on the blade, then simply
press in the heel of the adjusting plate flush
with the back side of the gauge base and
tighten two screws on the adjusting plate.
Now slip the heel of the adjusting plate
into the drum groove, then fit the drum
cover on
it.
Tighten the three installation
bolts evenly and alternately with the
socket wrench.
I
Mini
planer blade Drum
s-
\
Groove
Plar
ier
blade
yq
Drum
cover
'
Bolt
Drum
-
Adjusting plate
I
Inside edge
of
gauge plate
Blade edge
Planer blade
Adjusting plate
Back side
of
--
gauge base
Gauge plate
CAUTION
:
Tighten the blade installation bolts carefully when attaching the blades to the tool. A
loose installation bolt can be dangerous. Always check to
see
they are tightened securely.
6