


8
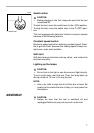
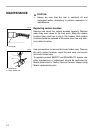
Installing or removing trimmer bit
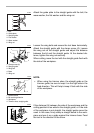
CAUTION:
• Do not tighten the collet nut without inserting a bit, or the
collet cone will break.
• Use only the wrenches provided with the tool.
Insert the bit all the way into the collet cone and tighten the
collet nut securely with the two wrenches. To remove the bit,
follow the installation procedure in reverse.
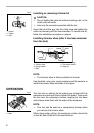
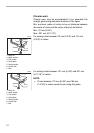
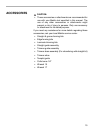
Installing trimmer shoe (after it has been removed
from the tool)
NOTE:
• The trimmer shoe is factory installed on the tool.
Use the bolts, wing nuts, spring washers and flat washers to
install the trimmer shoe as shown in the figure.
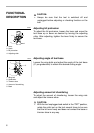
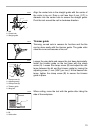
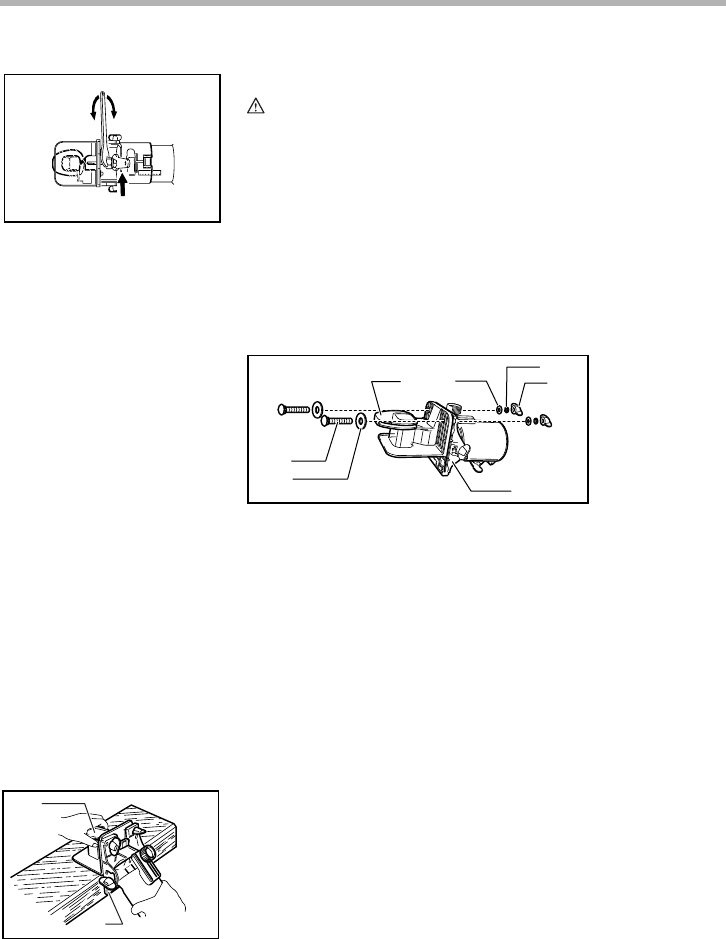
OPERATION
Turn the tool on without the bit making any contact with the
workpiece and wait until the bit attains full speed. Then move
the tool over the workpiece surface, keeping the tool base
and trimmer shoe flush with the sides of the workpiece.
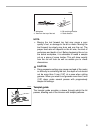
NOTE:
• This tool can be used as a conventional trimmer when
you remove the trimmer shoe.
When doing edge cutting, the workpiece surface should be
on the left side of the bit in the feed direction.
1. Loosen
2. Tighten
3. Hold
1
2
3
002003
1. Bolt 2. Flat washer (large)
3. Trimmer shoe 4. Flat washer (small)
5. Spring washer 6. Wing nut
7. Base
1
2
3
4
5
6
7
002004
1. Trimmer shoe
2. Base
1
2
002005