


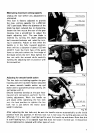
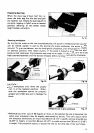
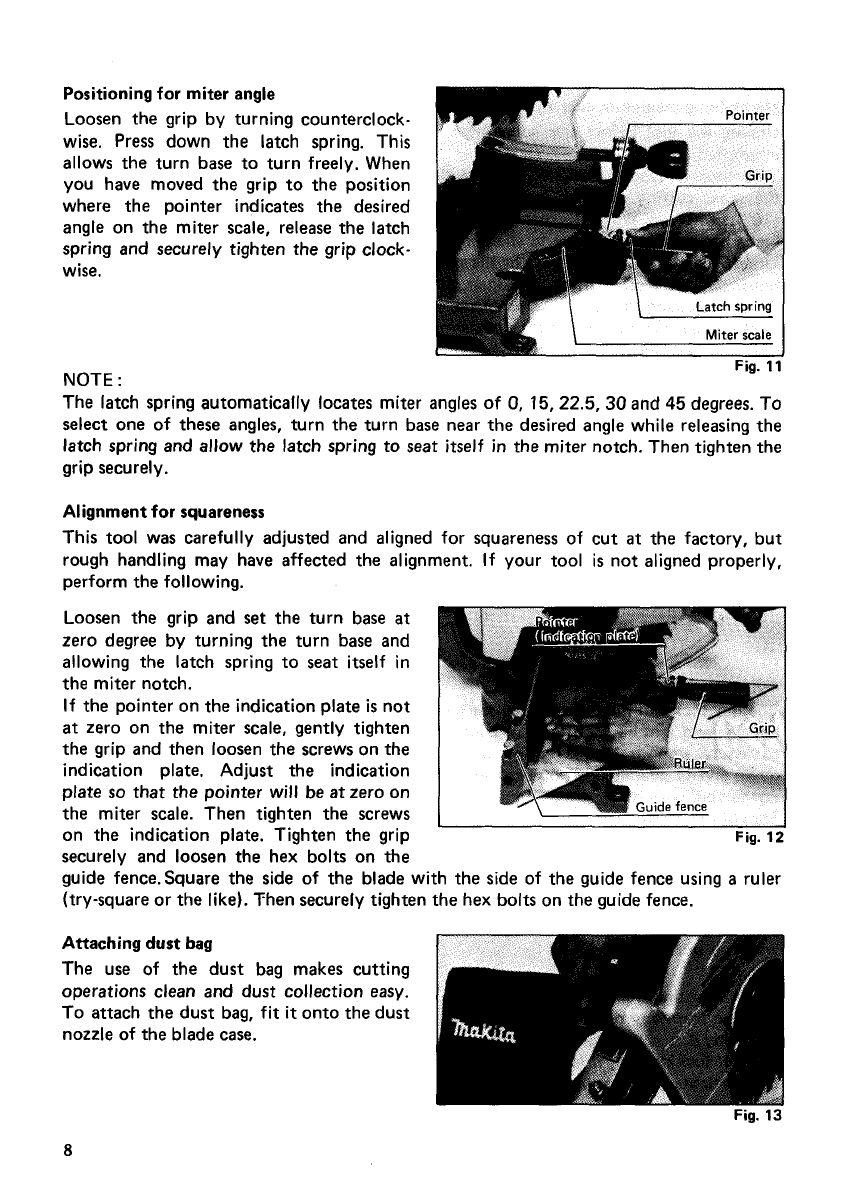
Positioning for miter angle
Loosen the grip by turning counterclock-
wise. Press down the latch spring. This
allows the turn base to turn freely. When
you have moved the grip to the position
where the pointer indicates the desired
angle on the miter
scale,
release the latch
spring and securely tighten the grip clock-
wise.
NOTE
:
I
Latch
spring
P
Fig.
11
The latch spring automatically locates miter angles
of
0,
15,22.5,30
and
45
degrees. To
select one of these angles, turn the turn base near the desired angle while releasing the
latch spring and allow the latch spring to
seat
itself in the miter notch. Then tighten the
grip securely.
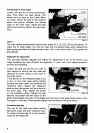
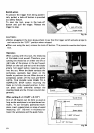
Alignment for squareness
This tool was carefully adjusted and aligned for squareness of cut
at
the factory, but
rough handling may have affected the alignment. If your tool
is
not aligned properly,
perform the following.
Loosen the grip and
set
the turn base
at
zero degree by turning the turn base and
allowing the latch spring to
seat
itself in
the miter notch.
If the pointer on the indication plate
is
not
at
zero on the miter scale, gently tighten
the grip and then loosen the screws on the
indication plate. Adjust the indication
plate
so
that the pointer will
be
at
zero
on
the miter scale. Then tighten the screws
on the indication plate. Tighten the grip
securely and loosen the hex bolts on the
1
Fig.
12
guide fence.Square the side of the blade with the side of the guide fence using
a
ruler
(try-square or the like). Then securely tighten the hex bolts on the guide fence.
8