


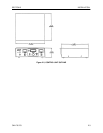


SECTION 2 INSTALLATION
OM-179 078 2-7
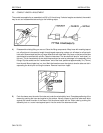
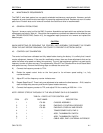
C) Lubricate nipple and socket threads. For stainless steel fittings, use a molydisulfide base lubricant
(e.g., Molykote Type G); lubricants containing chloride are not recommended. Other material
combinations use standard petroleum lubricants. Hold the nipple with hex in vise. Push hose over
nipple with twisting motion until seated against nipple chamfer. Push socket forward, and hand start
threading of socket to nipple.
D) Wrench tighten nipple hex until clearance with socket hex is 1/32 in or less. Tighten further to align
corners of nipple and socket hexes. Clean and inspect all assemblies.
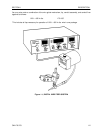
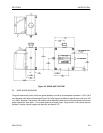
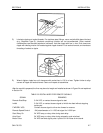
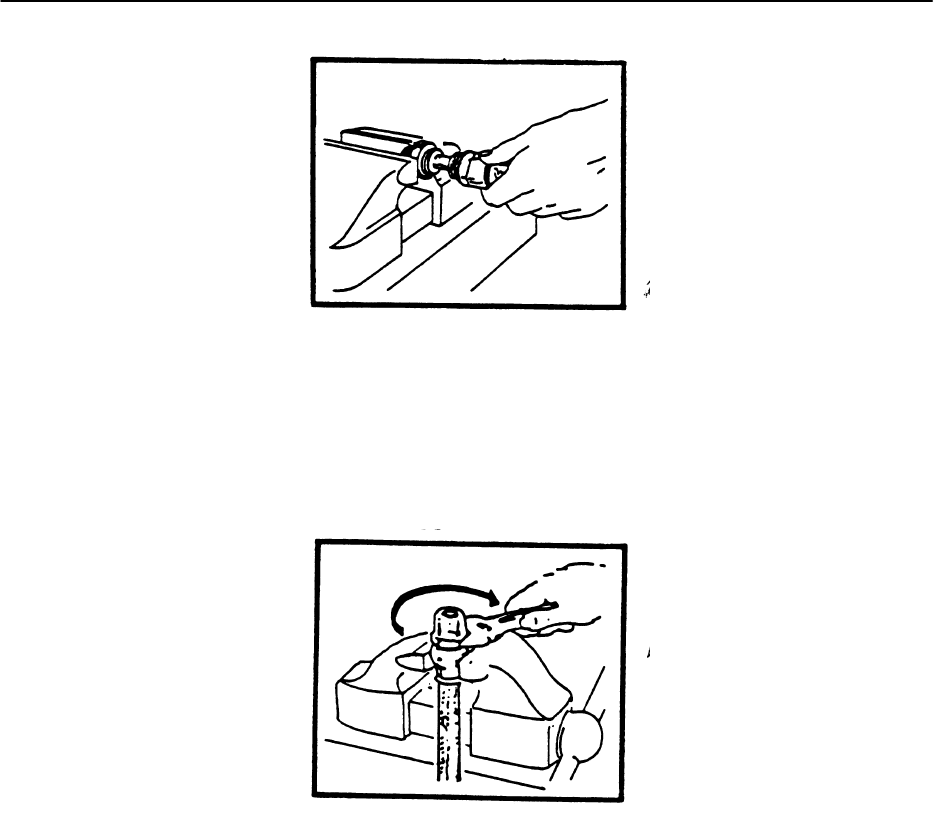
After the conduit is prepared, the liner may be cut to length and installed as shown in Figure 2.4 and explained
in Section 2.4.
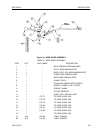
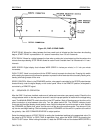
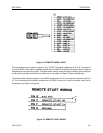
TABLE 2.2 DIGITAL WIRE FEED REMOTE SIGNALS
SIGNAL REMARKS
Remote Start/Stop 5–24 VDC, or contact closure signal to start
Inhibit 5–24 VDC, or contact closure signal to inhibit wire feed without stopping
weld cycle
FWD/REV JOG Contact closure signal to drive wire forward or reverse
Remote Speed Control 10K potentiometer or 0–1.235 volt signal for 0–300 ipm
Start Delay On 24 VDC lamp, or relay drive during start delay
Auto Feed 24 VDC lamp, or relay drive during automatic cycle wire feed
Motor Pulse 24 VDC low level signal pulse 1 pulse 0.0116 inches of wire travel.