


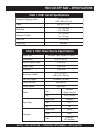
PAGE 16 — HS81 CUT-OFF SAW — OPERATION & PARTS MANUAL — REV. #4 (09/12/05)
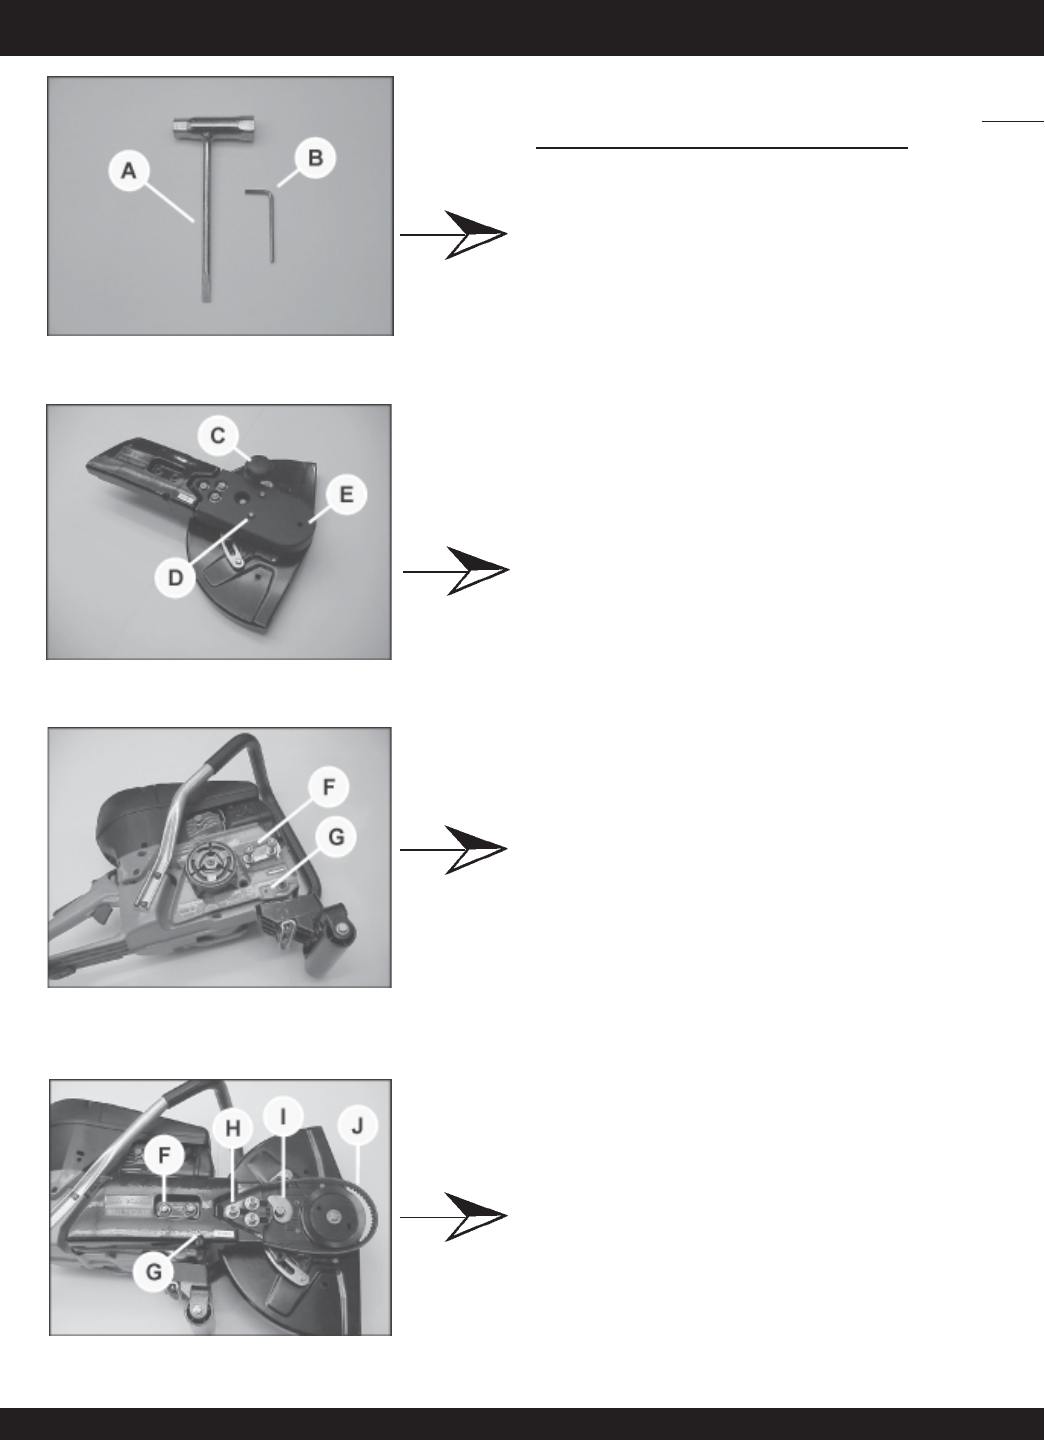
HS81 CUT-OFF SAW — ASSEMBLY INSTRUCTIONS
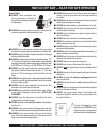
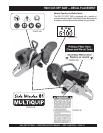
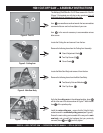
The Multiquip
Side Winder
Cut-Off Saw comes with a Tool Kit
(Figure 1) that assists you with day to day operations.
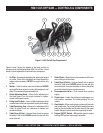
You will
need these tools for the assembly of your saw.
Item
G
is a versatile screwdriver/wrench that accommodates
common bolt/screw and nut head sizes of your saw.
Item
H
is the wrench necessary to accommodate various
allen screws.
Figure 4. Tool Kit
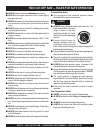
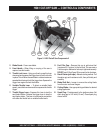
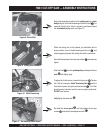
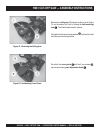
Figure 5. Cutting Arm
Locate the Cutting Arm and remove it from the box.
Remove the following items from the Cutting Arm Assembly:
Figure 6. Main Saw Body
Locate the Main Saw Body and remove it from the box.
Remove the following items from the Main Saw Body:
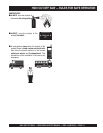
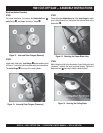
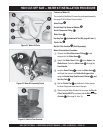
Figure 7. Cutting Arm Collapsed
Verify that the
cutting arm
is in the collapsed position, items
N
will be at the rear of the slots as shown in Figure 7. Walk the belt
item
P
off the spindle pulley.
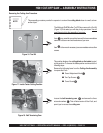
Install the
main cutting arm
~ ensure that the V-belt is firmly
seated around the
crankshaft pulley groove
(see Figure 8).
Ensure the main cutting arm is seated all the way on the main
saw body
, and re-install the hardware that you previously
removed (items
L
and
M
) and fully tighten.
■
Guard Adjustment Knob
I
■
Two Cap Screws (2)
J
■
Cover Guard
K
■
Two Security Nuts and Washers
L
■
One Cap Screw
M