


HS81 CUT-OFF SAW — OPERATION & PARTS MANUAL — REV. #4 (09/12/05) — PAGE 17
HS81 CUT-OFF SAW — ASSEMBLY INSTRUCTIONS
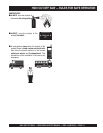
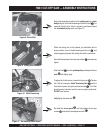
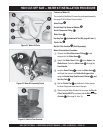
Figure 8. Drive V-Belt
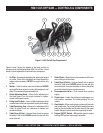
During the assembly procedure of the
cutting arm
to the
main
body
; and prior to the final tensioning of the drive V-belt
P
, it is
essential that the drive V-belt is properly positioned around
the
crankshaft pulley
(also see Figure 7).
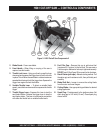
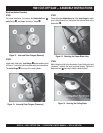
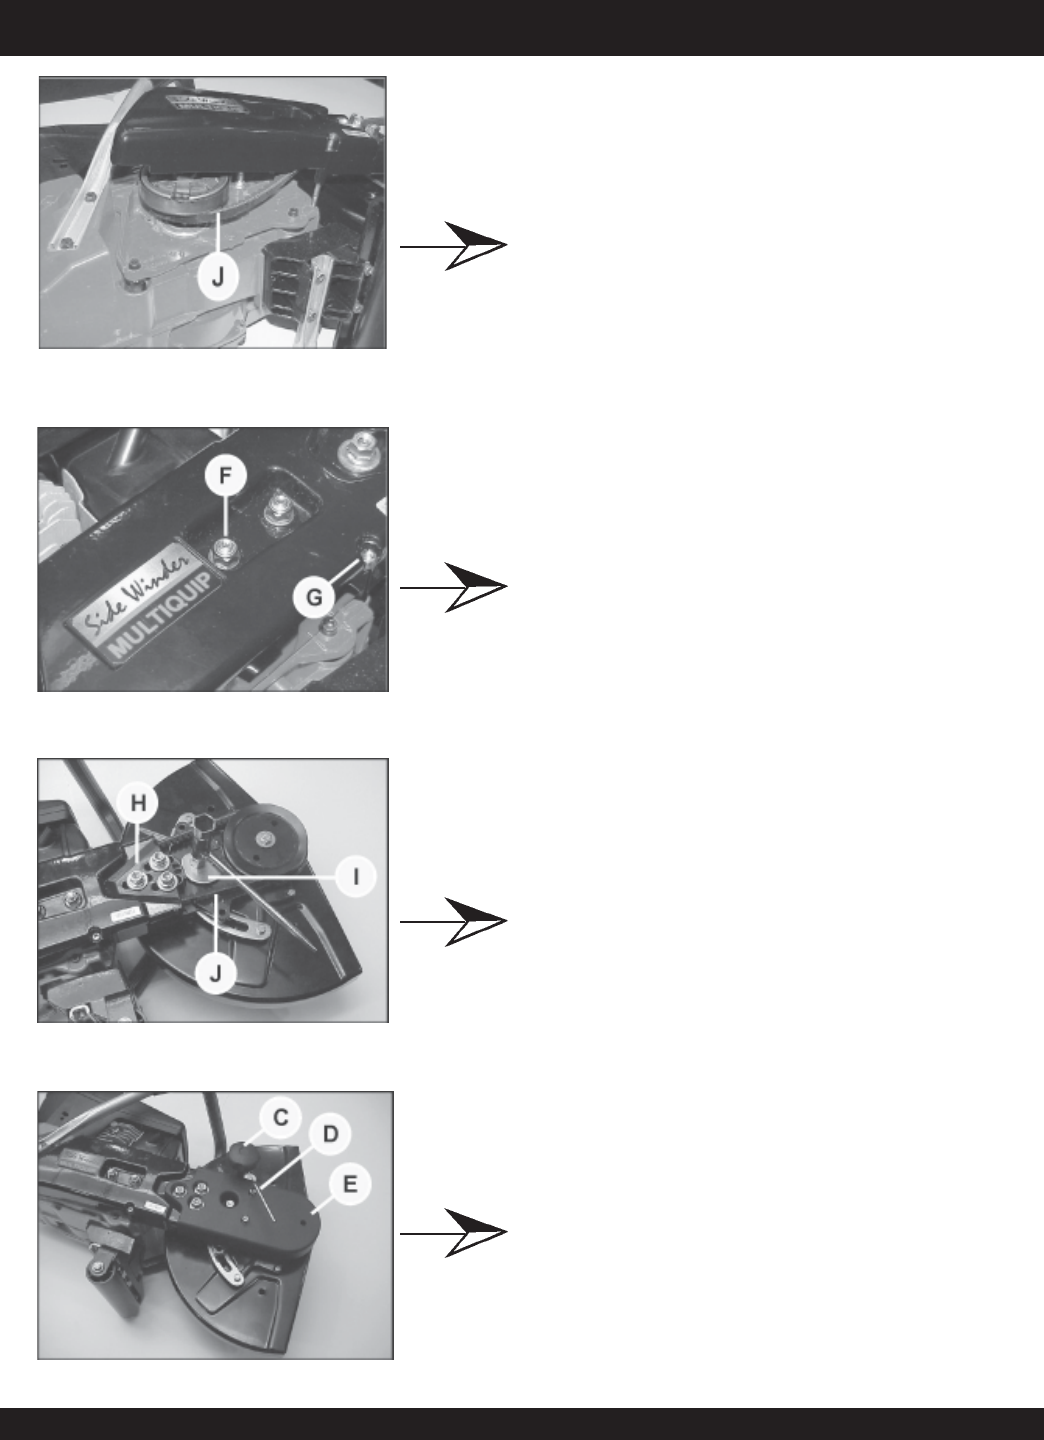
Figure 9. Cutting Arm Hardware
When the cutting arm is fully seated, you should be able to
observe about 4 mm of thread showing past the nut
L
, and
minimal gapping between the cutting arm and the crankcase.
Re-install the caphead hex screw and washer
M
, and securely
tighten.
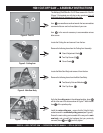
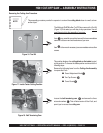
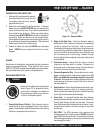
Figure 10. V-Belt Tensioning
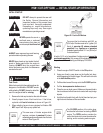
Figure 11. Re-Installing Cover Guard
Re-install the
cover guard
K
, and fully tighten the two cap
screws
J
and replace the adjustment knob
I
.
Walk the V-belt
P
onto the
spindle pulley
, and adjust the three
nuts
N
until slightly snug.
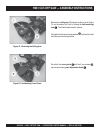
To adjust the V-belt tension, loosen the three nuts
N
. Tension
the V-belt by turning the V-belt Tensioning Cam
O
until the
Cam locks in place, using the provided wrench
G
. The V-belt
should remain in tension once the cam is properly positioned.
DO NOT over tension.
Fully
tighten the three nuts
N