


PAGE 28 — SP2S13H20A SAW — OPERATION AND PARTS MANUAL — REV. #1 (05/17/10)
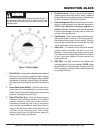
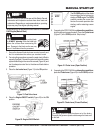
NEVER stop the engine while cutting at high speeds, except for
extreme emergencies. This can damage your SP2S13H20A
Saw.
CAUTICAUTI
CAUTICAUTI
CAUTION
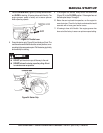
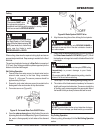
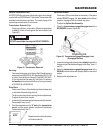
Adjusting the Handle Bars
OPERATION
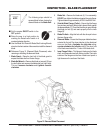
1. Loosen the height adjustment bolts (Figure 35) on the handle
bars until the handle bars can freely pivot.
The SP2S13H20A has adjustable height handle bars. Before
operating the saw, adjust the handle bar height to a comfortable
working position:
To avoid losing control of the SP2S13H20A saw, be sure to fully
tighten the adjustment bolts before operating the saw to prevent
the bolts from loosening during cutting.
CAUTICAUTI
CAUTICAUTI
CAUTION
Figure 35. Handle Bar Adjustment Bolts
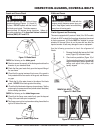
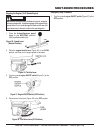
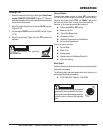
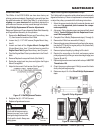
2. Move the handle bars (Figure 36) up or down to operators
desired preference.
3. Tighten the height adjustment bolts to secure the handle bars
in place.
Figure 36. Handle Bar Height Adjustment
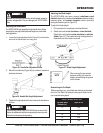
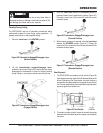
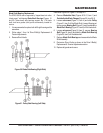
Adjusting the Blade Height
The SP2S13H20A saw uses a manual
raise/lower crank
handle
located on the console with clockwise rotation providing
lowering action, and counter-clockwise rotation providing
raising and lowering action (Figure 37).
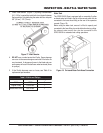
To adjust the blade height:
1. Pull upward on the raise/lower crank handle knob.
2. Rotate the crank handle clockwise to
lower the blade
.
Rotate the crank handle counter-clockwise to
raise the
blade
(Figure 37). The handle will stop rotating when the
blade has been fully raised or lowered.
NOITCELESEDALB.6ELBAT
edalBdnomaiD
).nI(retemaiD
tuCfohtpeD
"21 "8/5-3
"41 "8/5-4
"61 "8/5-5
"81 "8/5-6
"02 "8/5-7
When preparing to cut, your blade size determines the depth
of the cut. See Table 6 to determine the proper blade size for
your required cutting depth.
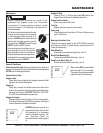
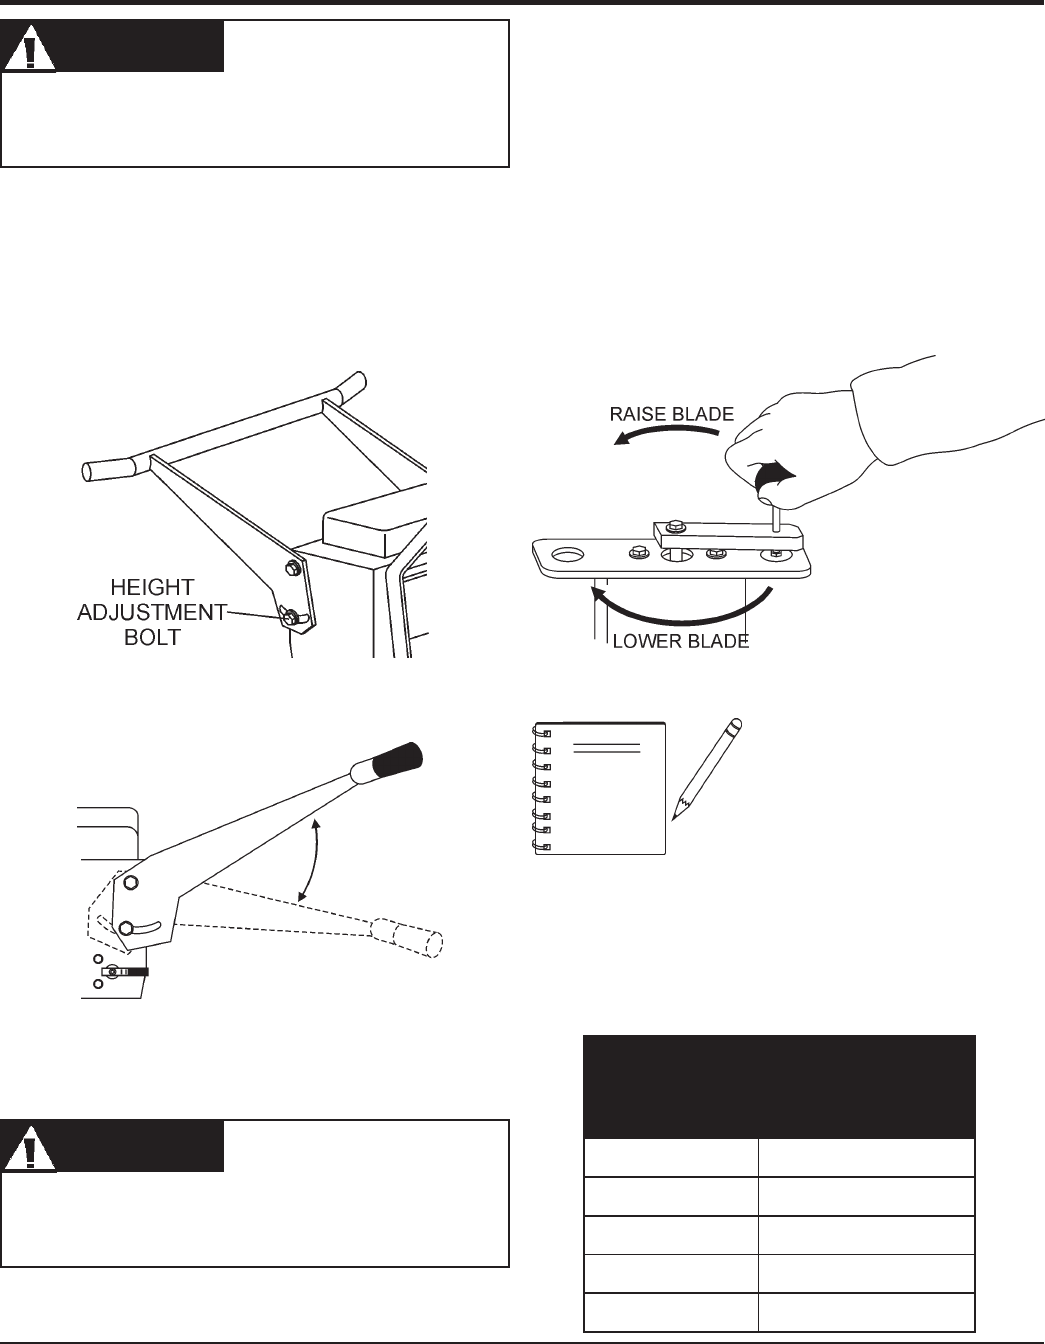
NOTE
When moving the saw around
between cutting, fully raise the
blade to avoid striking the ground
with the blade.
Figure 37. Blade Height Adjustment
Determining the Cut Depth