


TP7X TILE SAW • OPERATION MANUAL — REV. #0 (03/04/11) — PAGE 25
MAINTENANCE
MAINTENANCE INTERVALS
Use the following guidelines to perform maintenance on
your saw.
After every use of the machine
Remove dirty water from container.
Remove dirt and mud from the bottom of the container.
Rinse the immersion pump with fresh water to prevent
water pump clogging from residual dirt.
After wet cleaning and before using the machine
again
Connect the machine to an electric power outlet
equipped with a “GFCI” safety power breaker. If the safety
power breaker cuts off the electrical power supply, do
not try to operate the machine but have it checked by
an authorized dealer first.
Before not using the machine for a prolonged
period of time
Clean and lubricate all movable parts. DO NOT grease
guide rails.
After not using the machine for a prolonged period
of time
Check that the stand is safely fixed.
Check that all screw joints and nuts are fixed.
Check that the cutting table is seated properly on the
guide rails and that it easily moves along the entire
length of the rails.
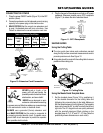
With the saw blade removed, switch on the motor for an
instant and switch it off again. If the motor does not run,
have the machine inspected by a qualified electrician.
Check that the immersion pump works properly. Turn
on the cooling water tap and switch the machine on. If
the pump does not give any water or only a little, switch
the machine off at once. Clean the pump, or replace if
necessary.
Ambient temperature below 32°F / 0°C (operation
in winter)
To prevent the water in the pump and cooling system
from freezing, remove the water after using the machine
or when there will be a long break. Make sure that the
cooling system is entirely drained so that there is no
water left inside the pump and water hose.
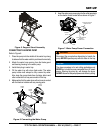
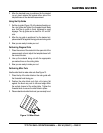
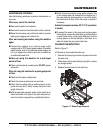
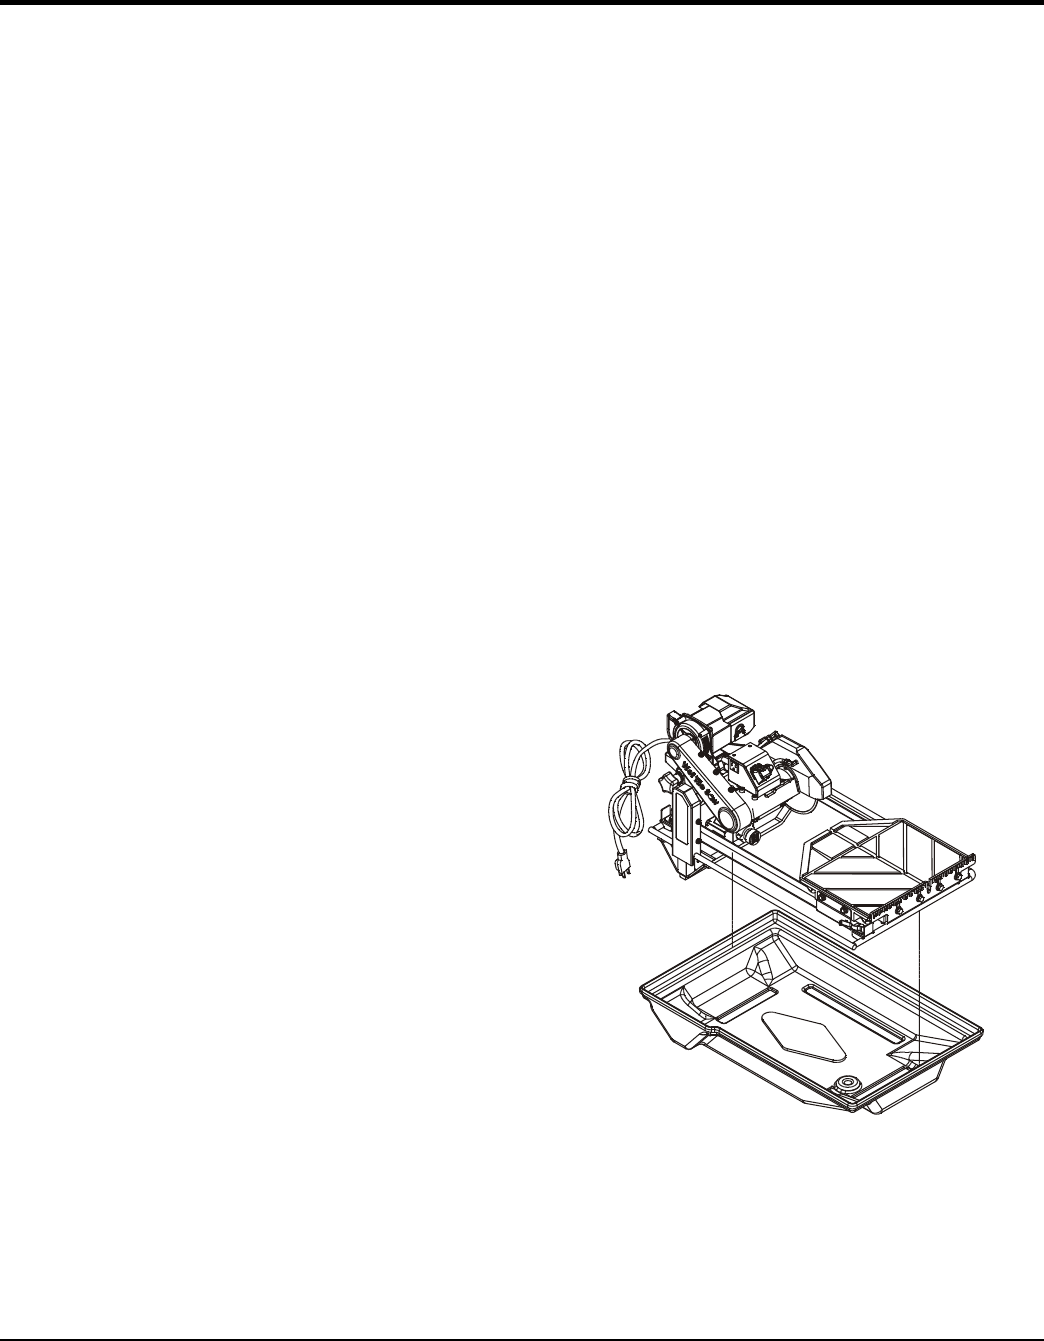
CLEANING THE WATER TRAY
Refer to Figure 17.
Lift the saw up from inside the water tray.
1. Remove the drain plug and drain any water left inside
the water tray.
2. Flush water into tray while holding it upright to remove
any sludge buildup.
3. Replace the saw back into the water tray.
Figure 17. Water Tray Removal