


17
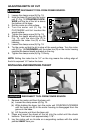
To avoid injury and/or damage to finished work, always allow
motor to come to a COMPLETE STOP before putting the tool
down.
SOFT START
The Model 690LRVS has a “Soft Start” feature designed to minimize startup
reaction torque.
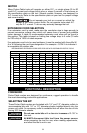
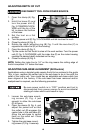
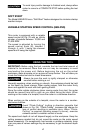
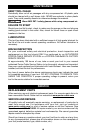
VARIABLE STARTING SPEED CONTROL (690LRVS)
This router is equipped with a variable
speed control (A) Fig. 23 with an infinite
number of speeds between 10,000 and
27,000 RPM.
The speed is adjusted by turning the
speed control knob (A), labeled 1
through 4, with 1 being the slowest
speed and 4 being the highest.
IMPORTANT: Before using the tool, consider the kind and total amount of
material to be removed. More than one cut may be necessary to avoid
overloading the power unit. Before beginning the cut on the actual
workpiece, make a sample cut on a piece of scrap lumber. This will allow you
to see the finished cut and to check dimensions.
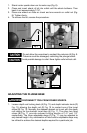
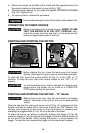
Always be sure the work is rigidly clamped or otherwise
secured before making a cut.
Generally speaking, when working on a bench, the workpiece should be held
on the bench by wood clamps. When routing edges, hold the router firmly
down and against the work with both guiding knobs.
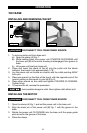
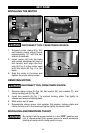
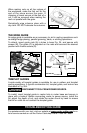
Since the cutter rotates clockwise (when viewing router from top), the router
should be moved from left to right as you stand facing the work. When
working on the inside of a templet, move the router in a clockwise direction.
When working on the outside of a templet, move the router in a counter-
clockwise direction.
Avoid “Climb-Cutting” (cutting in direction opposite that
shown in Fig. 24). “Climb-Cutting” increases the chance for
loss of control resulting in possible injury. When “Climb-
Cutting” is required (backing around a corner), exercise
extreme caution to maintain control of router.
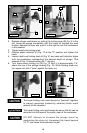
The speed and depth of cut will depend largely on the workpiece. Keep the
cutting pressure constant but do not crowd the router so the motor speed
slows excessively. On exceptionally hard woods or problem materials, more
than one pass at various settings may be necessary to get the desired depth
of cut.
USING THE TOOL
Fig. 23
A