


12
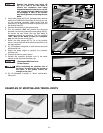
EXAMPLES OF MORTISE-AND-TENON JOINTS
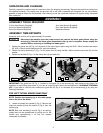
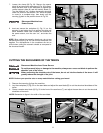
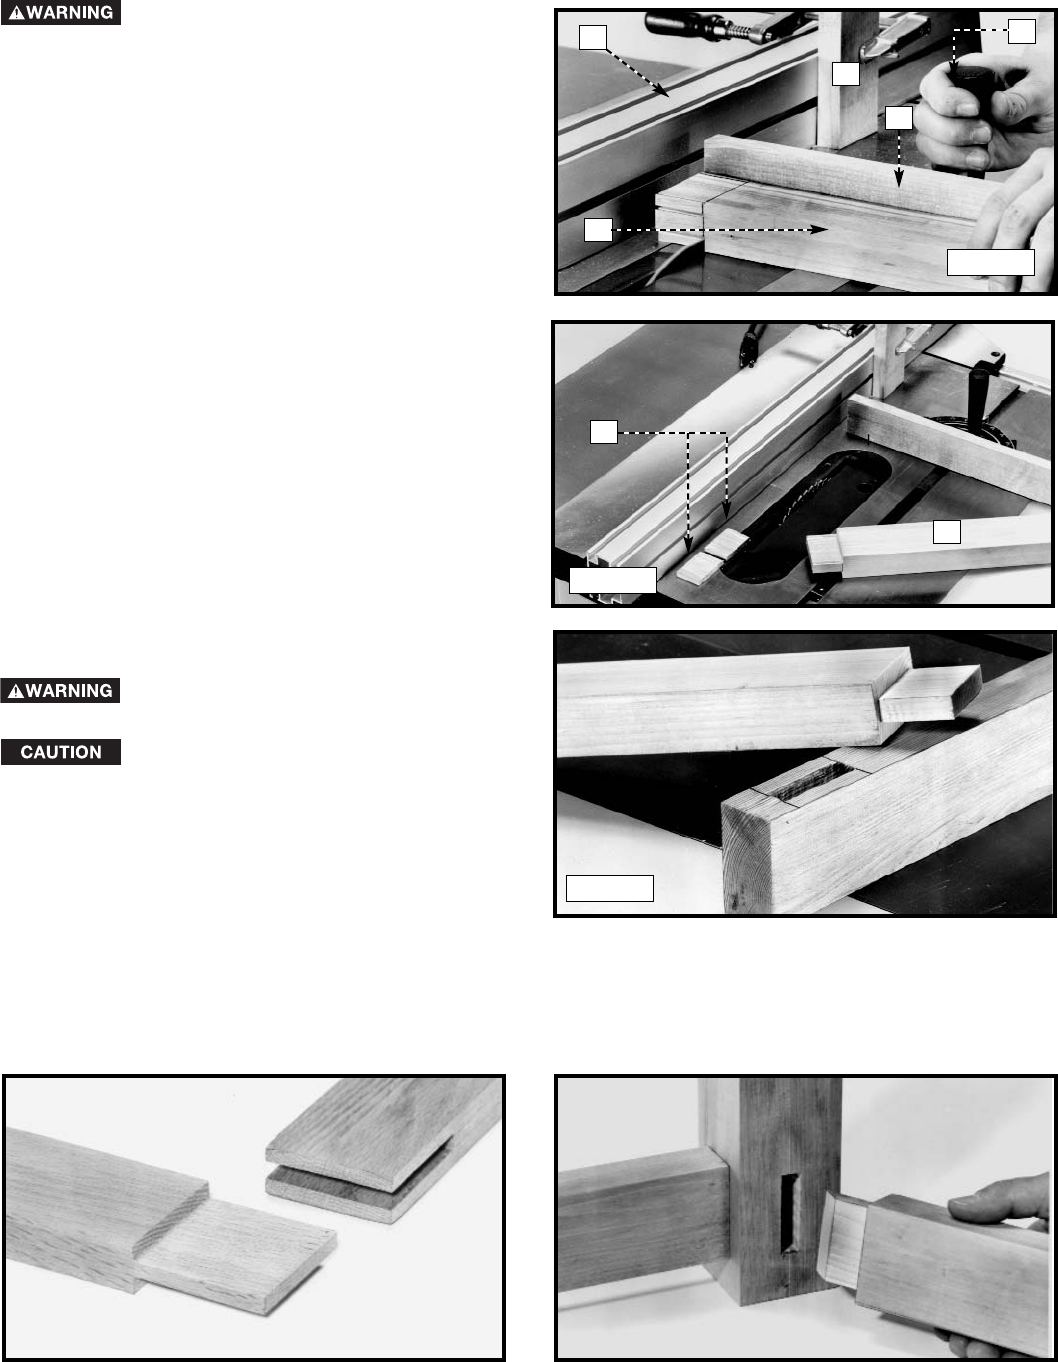
Position the wooden stop block (S)
Fig. 34 in front of the saw blade to
prevent the workpiece from being
trapped between the saw fence and the
saw, causing kickback. Make sure that
the workpiece is clear of the wooden
stop block (S) before contacting the saw
blade.
4. Use a miter gauge (W) Fig. 34, equipped with a backup
board (X), to position the workpiece (L) so that you can
cut the structural shoulders. Make certain that the
workpiece (L) is against the wooden stop block (S) and
the backup board (X).
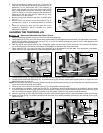
5. Connect the machine to the power source.
6. Turn the machine “ON” and perform the structural
shoulder cut by slowly pushing the miter gauge (W) Fig.
34 toward the saw blade until the saw blade is
completely through the workpiece. Turn the machine
“OFF”. Wait for the blade to come to a complete
stop and remove the cut-off piece.
7. Return the miter gauge (W) Fig. 34 to the position
shown, and perform the other structural shoulder cut in
the same manner.
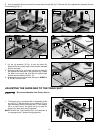
8. Fig. 35 illustrates workpiece (L) with the two structural
shoulders (M) cut.
9. Adjust the blade height to perform the cosmetic
shoulder cuts.
10. Connect the saw to power source.
11. Perform the cosmetic shoulder cuts in the same
manner as the structural shoulder cuts.
When performing the shoulder cuts of
the tenon, do not cut into the cheeks of
the tenon. It will greatly reduce the
strength of the joint.
12. Fig. 36 illustrates a simple, or “blind” mortise-and-
tenon joint.
Disconnect Machine from
Power Source
Fig. 34
Fig. 35
Fig. 36
T
S
X
L
W
L
M
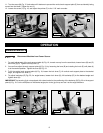
OPEN MORTISE AND TENON JOINT MITERED MORTISE AND TENON JOINT