


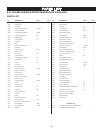
12
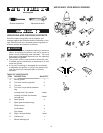
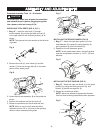
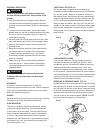
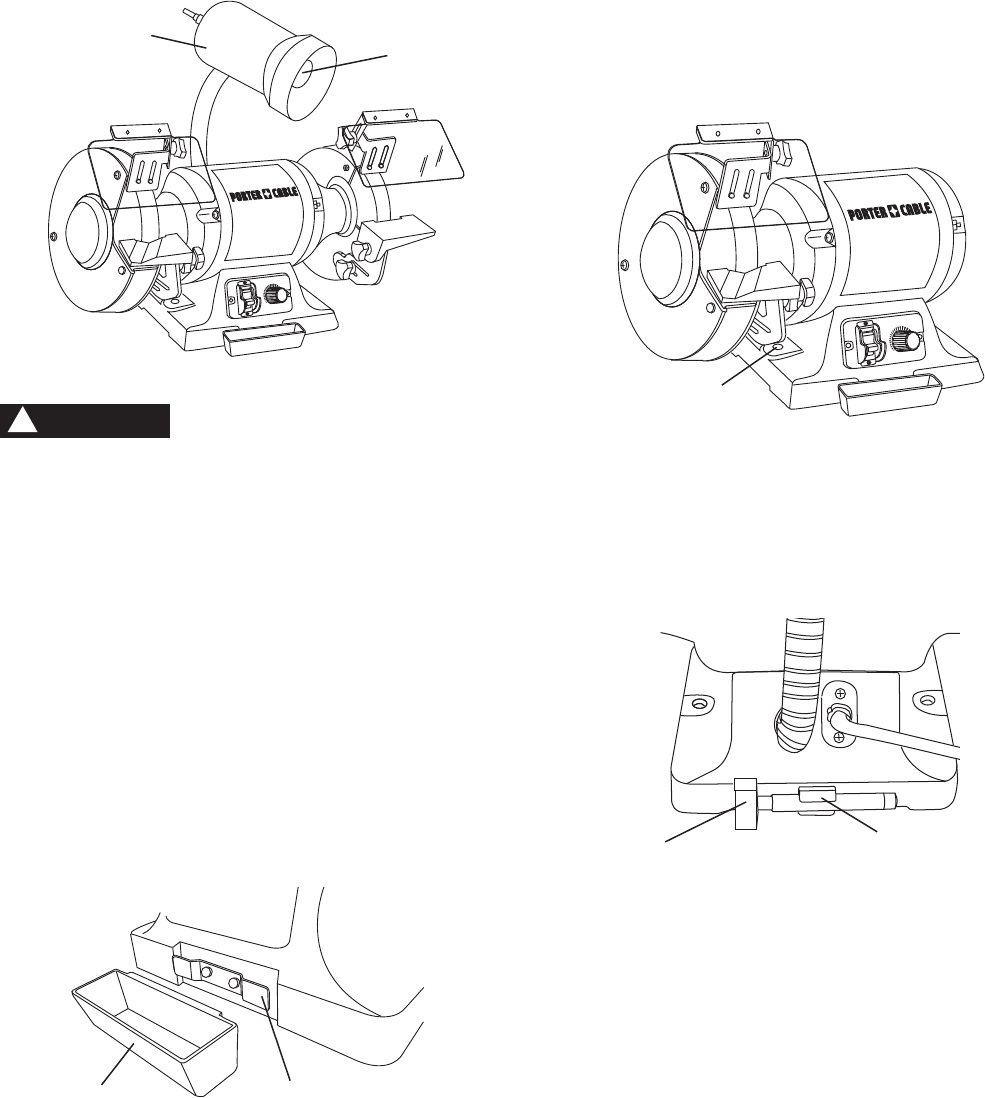
REPLACING THE BULB (FIG. I)
NOTE: Bulb is not included.
1. Remove the light bulb (1) from lampshade (2).
2. Install the new light bulb (40 W bulb maximum) into
lampshade (2).
Fig. I
• To avoid injury from an accidental start, make
sure the switch is in the OFF position and the
plug is not connected to a power outlet.
• To prevent injury resulting from heat of the
light bulb, never touch the light bulb until it has
completely cooled.
• To prevent electric shock, never touch any part
of the light bulb when the plug is connected to a
power outlet.
• It is recommended to use a vibration-resistant
light bulb for this grinder.
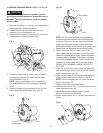
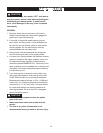
INSTALLING THE COOLANT TRAY (FIG. J)
1. Hang the coolant tray (1) on the clips (2).
Fig. J
CAUTION
!
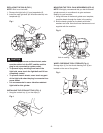
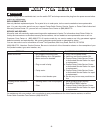
MOUNTING THE TOOL ON A WORKBENCH (FIG. K)
NOTE: We highly recommend that you bolt this bench
grinder securely to a workbench to gain maximum
stability for your machine.
1. Using the base of the bench grinder as a template,
mark the bench through the holes in the casting.
2. Bolt the bench grinder on the bench with bolts,
washers and nuts. Note that these fasteners are not
supplied with the machine.
Fig. K
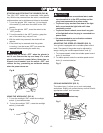
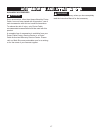
WHEEL DRESSING TOOL STORAGE (Fig. L)
Storage clips (1) for the wheel dressing tool (2) are
located on the rear of the grinder.
Fig. L
2
1
ON
OFF
L
H
Hole in casting
ON
OFF
L
H
2
1
2 1