15
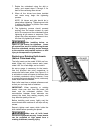
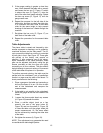
5. If the gauge reading is greater or less than
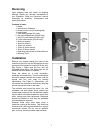
zero, reach beneath the table with a wrench
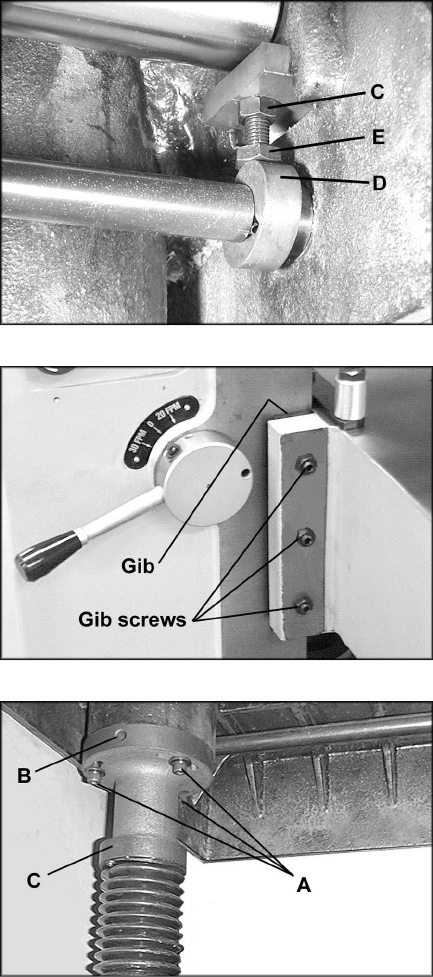
and loosen the hex nut (C, Figure 17) which
is above the cam (D, Figure 17) near the
end of the roller that needs adjusting. Rotate
the hex cap screw (E, Figure 17) until the
gauge reads zero.
6. Repeat the process for the left side of the
table roller, and then re-check the right side.
It is important that both ends of the table
roller be the same height to help prevent
skewing of the board as it feeds through the
machine.
7. Re-tighten the hex nuts (C, Figure 17) on
both ends of the table roller.
8. Repeat the procedure for the second table
roller.
Table Adjustments
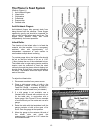
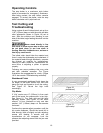
The planer table is raised and lowered by twin
screws supported on bearings, and is guided by
machined surfaces on the side panels. The fit-
up to prevent the table from rocking is controlled
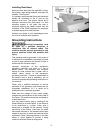
by two gibs in front. See Figure 18. These gibs
are pre-set at the factory and require no
attention. If, after extensive use of the planer,
some looseness in the table develops, these
gibs can be adjusted individually using the gib
screws provided so that the ways are lightly
contacting on all four surfaces. The gibs should
be tight enough to prevent rocking or movement
of the table when the planer is in operation.
To perform accurate planing, the table must be
parallel with the cutterhead. Lack of parallelism
results in a taper over the width of the board. To
check parallelism do the following:
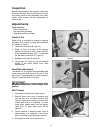
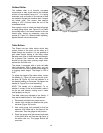
1. Place a gauge on the table and contacting a
knife at the apex of its arc. Do this at each
end of the cutterhead and compare the
measurements.
2. If the table is not parallel to the cutterhead,
place the gauge at the end that needs to be
raised.
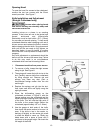
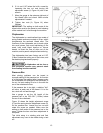
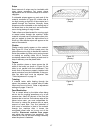
3. Loosen the three socket head cap screws
(A, Figure 19) beneath the table.
4. Place a rod-like object (such as a hex
wrench) into one of the open holes (B,
Figure 19) and turn the shaft (C, Figure 19)
to raise the table until the gauge reads the
proper measurement. Or, the same effect
can be achieved by lowering the other side
of the table.
5. Re-tighten the screws (A, Figure 19).
NOTE: This adjustment may generate the need
to recalibrate the table height pointer.
Figure 17
Figure 18
Figure 19


