


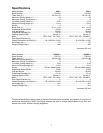
12
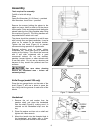
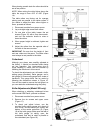
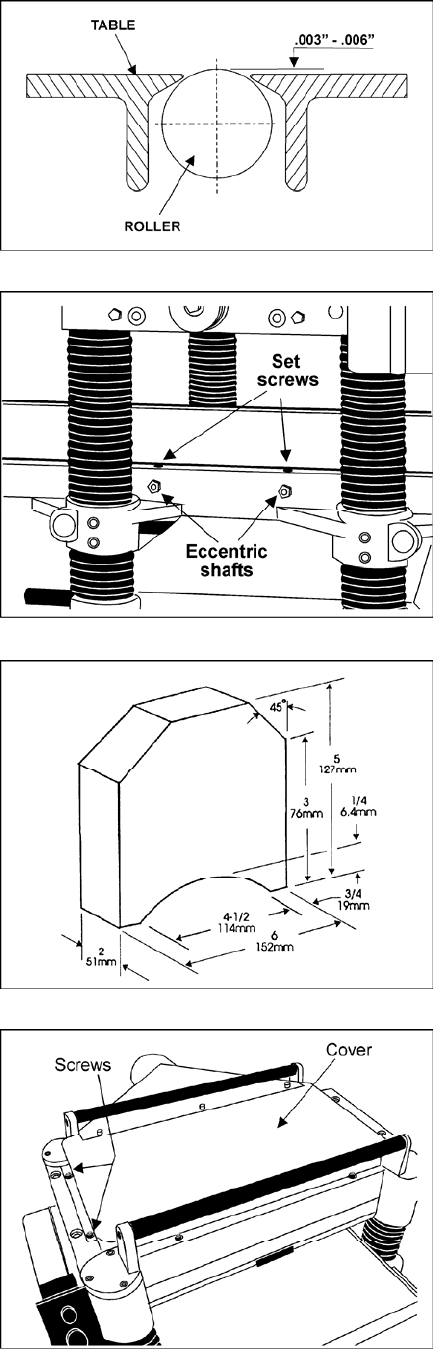
When planing smooth stock the rollers should be
set at low position.
NOTE: When raising the roller higher above the
table, the range is from .003" to .006" (Figure
14).
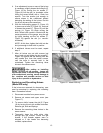
The table rollers are factory set for average
planing and are parallel to the table surface. If
you desire to adjust the table rollers higher or
lower, proceed as follows:
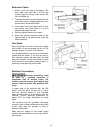
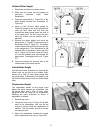
1. Disconnect machine from power source.
2. Lay a straight edge across both rollers.
3. On one side of the table, loosen the set
screws (Figure 15) with a 3mm hex wrench,
and turn the eccentric shafts to raise or
lower the rollers.
4. When proper height is achieved, tighten set
screws.
5. Adjust the rollers from the opposite side of
the table in the same manner.
IMPORTANT: Be sure that the height of front
and rear rollers are the same. The table rollers
must always be set parallel to the table.
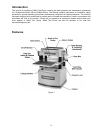
Cutterhead
Although your planer was carefully adjusted at
the factory, it should be checked before being
put into operation. Any inaccuracies due to
rough handling in transit can be corrected by
following the directions in this manual.
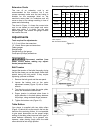
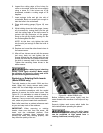
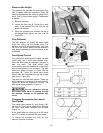
To check the adjustments you will need a knife-
setting gauge (provided), feeler gauges, and a
dial gauge or home-made gauge block made of
hardwood. This gauge block can be made by
following the dimensions shown in Figure 16.
You will also need to remove the belt guard, so
you can rotate the cutterhead using the pulley.
Knife Adjustments (Model 209 only)
When checking or adjusting cutterhead knives
on the model 209 Planer, proceed as follows:
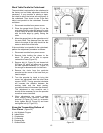
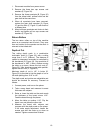
1. Disconnect machine from power source.
2. Remove the six screws and upper cover
(Figure 17).
3. To check and adjust knives, use the
provided knife setting gauge and check all
four knives. Knives should just contact the
bottom of the center protrusion (D, Figure
18) of the knife gauge. Make sure the feet of
the knife gauge sit solidly upon the
cutterhead, and that its shaft is parallel to
the cutterhead (see Figure 19).
Figure 14
Figure 15
Figure 16
Figure 17