


20
Maintenance
Disconnect machine from
power source before performing any
maintenance.
Periodic or regular inspections are required to
ensure that the machine is in proper adjustment,
that all screws are tight, that belts are in good
condition, that dust has not accumulated in the
electrical enclosures, and that there are no worn
or loose electrical connections.
Buildup of sawdust and other debris can cause
your machine to plane inaccurately. Periodic
cleaning is not only recommended but
mandatory for accurate planing.
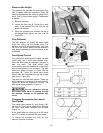
Close-fitting parts, such as the cutterhead slot
and gibs, should be cleaned with a cloth or
brush and non-flammable solvent, and freed
from clinging foreign matter.
Remove resin and other accumulations from
feed rollers and table with a soft rag and non-
flammable solvent.
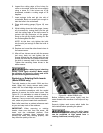
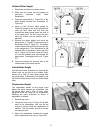
Periodically check all the chains for proper
tension and adjust accordingly if required.
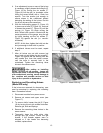
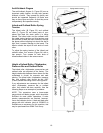
TIP: If a foreign object nicks the knives, instead
of throwing them away or trying to grind out the
deep nick, simply stagger the knives in the head,
moving one knife no more than 1/4" to the right
and another knife no more than 1/4" to the left.
The nick should no longer be noticeable.
The table should be kept clean and free of rust.
Some users prefer a paste wax coating. Another
option is talcum powder applied with a
blackboard eraser rubbed in vigorously once a
week; this will fill casting pores and form a
moisture barrier. This method provides a table
top that is slick and allows rust rings to be easily
wiped from the surface. Important also is the fact
that talcum powder will not stain wood or mar
finishes as wax pickup does.
Lubrication
The bearings on the cutterhead are factory
lubricated and sealed for life – no lubrication is
required.
GEARBOX LUBRICANT
The lubricant in the gear box must be replaced
every 2,500 hours. Multi-purpose gear box
lubricant will be suitable.
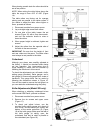
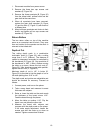
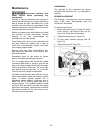
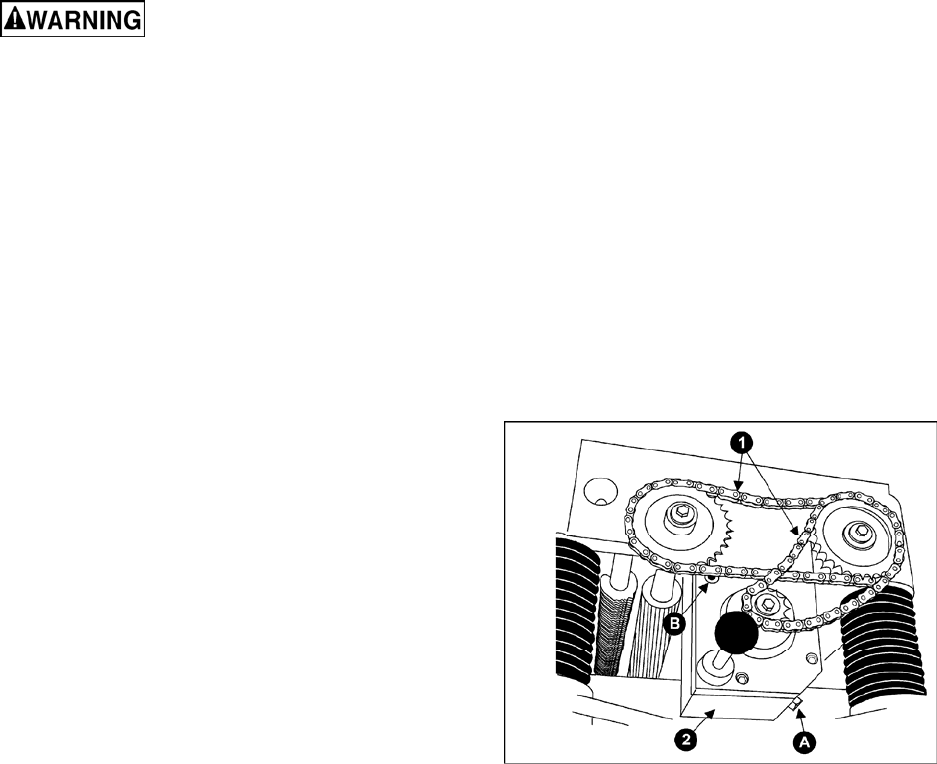
To replace the lubricant:
1. Remove the drain plug (A, Figure 33) with a
14mm wrench, and remove filler cap (B-
Figure 33). Drain dirty oil thoroughly.
2. Tighten the drain plug (A, Figure 33).
3. Fill with clean lubricant through hole (B,
Figure 33).
4. Tighten filler cap (B, Figure 33).
Figure 33