16
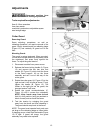
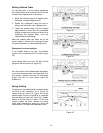
Setting Outfeed Table
For accurate work in most jointing operations,
the outfeed table must be exactly level with the
knives at their highest point of revolution.
1. Raise the outfeed table to its highest point,
and place a straight edge across it.
2. Rotate the cutterhead (using the belt or
pulley) until one knife is at its highest point.
3. Lower the outfeed table until the straight
edge contacts a knife. Rock the cutterhead
slightly to make sure the apex of the knife is
contacting the straight edge. Lock the
outfeed table at that setting.
After the outfeed table has been set at the
correct height, it should not be changed except
for special operations or after replacing knives.
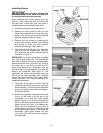
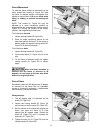
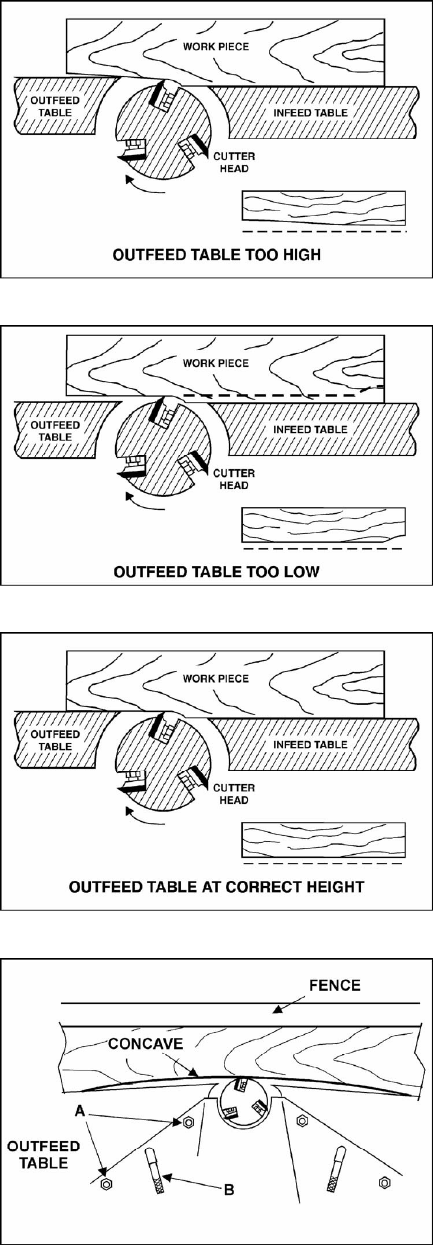
Examples of incorrect settings:
If the outfeed table is too high, the finished
surface of the workpiece will be curved (Figure
20).
If the outfeed table is too low, the work will be
gouged at the end of the cut (Figure 21)
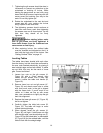
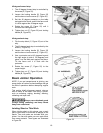
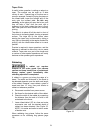
As a final check of the outfeed table adjustment,
run a piece of wood slowly over the knives for 6
to 8 inches; it should rest firmly on both tables
(Figure 22) with no open space under the
finished cut.
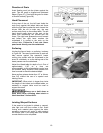
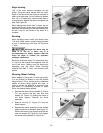
Spring Cutting
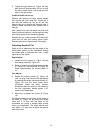
To spring cut, the outfeed table is lowered below
the level of the cutterhead, as in Figure 23.
Loosen both gib screws (A, Figure 23) on the
outfeed table. Amount of end-drop is controlled
with the table lock screw (B, Figure 23). Tighten
handle to reduce amount of drop. A 1/32" drop
usually creates the ideal concave for spring
joints. After completing a spring cut, return the
outfeed table in line with the cutterhead knives.
Figure 20
Figure 21
Figure 22
Figure 23


