17
Fence Movement
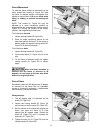
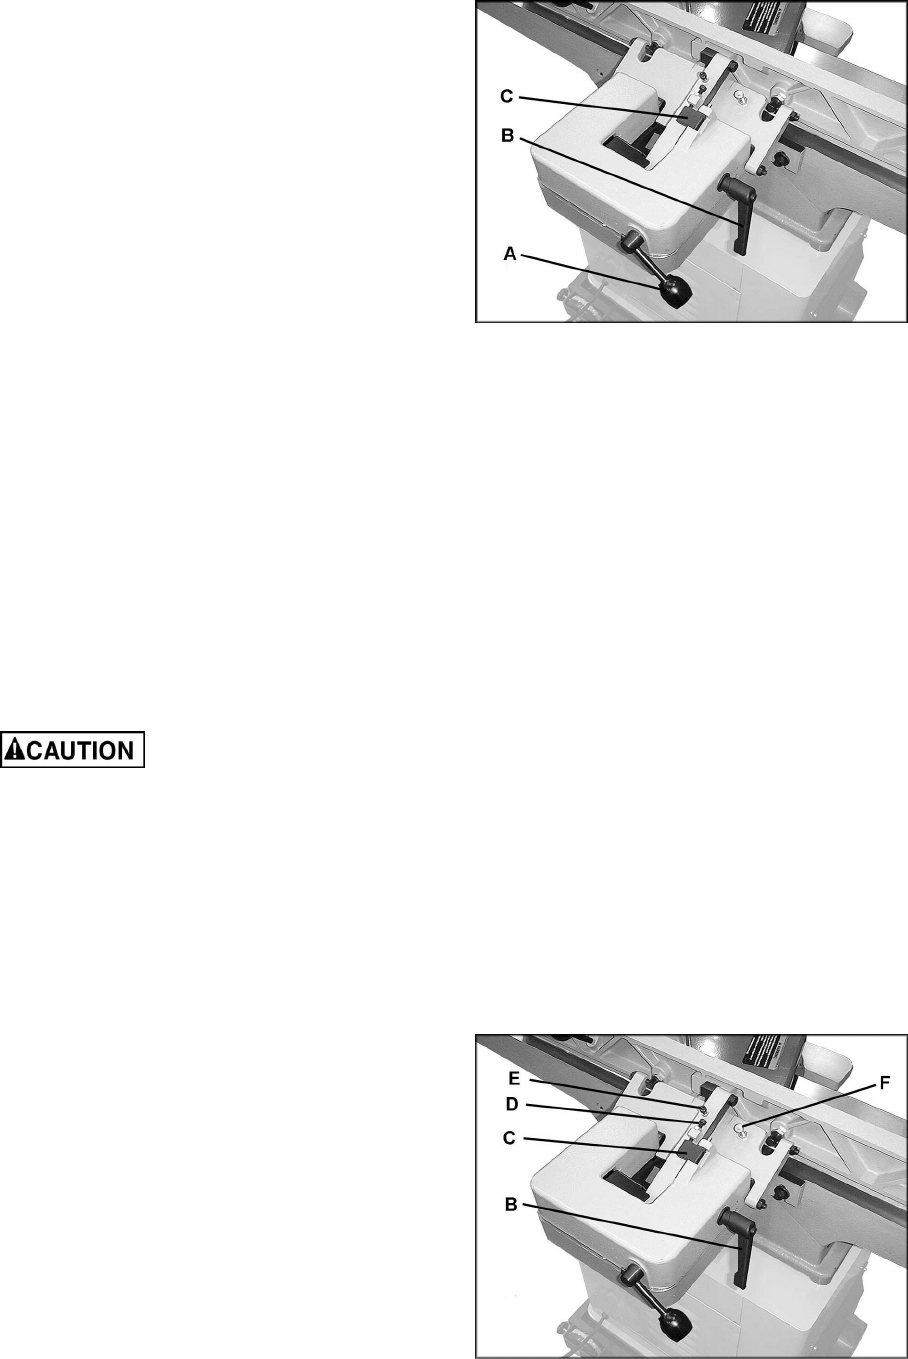
To slide the fence forward or backward on the
table, loosen lock handle (A, Figure 24), slide
the fence to desired position and tighten lock
handle to secure fence. Lift up on fence when
tilting or sliding, to prevent scratching the
table.
NOTE: The handle (A, Figure 24) may be
adjusted to a more convenient position by
loosening the hex nuts below the casting (see B,
Figure 31), turning the handle to the proper
position, and retightening the hex nuts.
To tilt the fence forward:
1. Loosen locking handle (B, Figure 24).
2. Place an angle measuring device on the
table and against the fence. Tilt the fence to
desired angle and tighten locking handle (B,
Figure 24) to secure the angle.
To tilt the fence back:
1. Loosen locking handle (B, Figure 24).
2. Flip the stop block (C, Figure 24) out of the
way.
3. Tilt the fence to desired angle and tighten
locking handle (B, Figure 24) to secure
angle.
When the tilted operation is
finished and the fence is returned to 90
degrees, do not forget to flip the stop block
back to its original position.
Fence Stops
Periodically check the 90 degree and 45 degree
tilt accuracy of the fence with an adjustable
square or machinist's protractor. If adjustments
are necessary, proceed as follows:
90 degree stop:
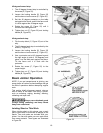
1. The 90 degree stop is controlled by the
screw (D, Figure 25).
2. Loosen the locking handle (B, Figure 25)
and the hex nut on the screw (D, Figure 25).
3. Set the square on the table and against the
fence, and move the fence to fit flush
against the 90 degree angle. Rotate the
screw (D, Figure 25) until it contacts the
stop block (C, Figure 25).
4. Tighten the hex nut (D, Figure 25) and the
locking handle (B, Figure 25).
Figure 24
Figure 25


