


45
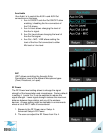
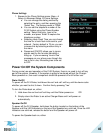
7. After a short time an overlay will appear on the FLX
Dialer saying „Pairing Successful‟, after which the
screen should read „SPK 1 Linked‟.
8. If pairing was unsuccessful, the Speaker will show an
alternating red -green slow blinking sequence indicating
that the pairing failed. The Dialer will display a „Pairing
Timeout‟ message. In that case the pairing procedure
should be repeated.
Microphone
1. To pair a Microphone, turn off the Microphone by holding the mute button until
the LED turns red if it is not already turned off.
2. Ensure that the Base Station is plugged in and powered up.
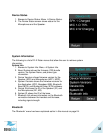
3. On the Dialer, browse to the Pairing menu: Menu Setup Advanced Setup
Pairing.
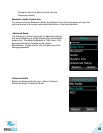
4. Select MIC 1 (Microphone 1) or MIC 2 (Microphone 2) and press the „Enter‟ key
to enter pairing state.
5. The screen will display „Pairing Mic 1‟ or „Pairing Mic 2‟ depending on which
Microphone you are pairing.
6. Press the mute button on the Microphone and hold it until the LED turns solid
red. The Microphone is now in pairing mode.
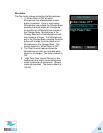
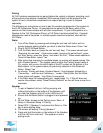
7. After a short time an overlay will appear on the Dialer „Pairing Successful‟, after
that the screen should read „MIC 1 Linked‟ or „MIC 2 Linked‟, based on which one
you were linking.
9. If pairing was unsuccessful, the Microphone will show an alternating red - green
slow blink sequence, indicating that the pairing failed. The Dialer will display a
„Pairing Timeout‟ message. In that case the pairing procedure should be
repeated.
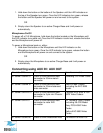
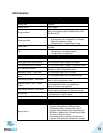
LED Pairing Indicators:
Speaker Indicator
Status
Steady Red
Speaker is in Pairing Mode, either waiting or pairing in progress
Slow red- green flash
Pairing failed or timed out
Green flash
Pairing successful
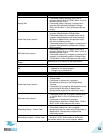
Microphone Indicator
Status
Steady Red
Pairing Mode, either waiting or pairing in progress
Slow red – green flash
Pairing failed or timed out
Green flash
Pairing successful