


32
MAINTENANCE
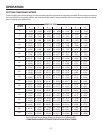
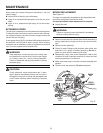
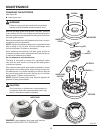
CHANGING THE BATTERIES
See Figure 38.
Unplug your saw.
WARNING:
Failure to unplug your saw could result in accidental
starting causing possible serious personal injury.
Remove the laser guide from the saw. Lay laser guide on
a flat surface with the two phillips screws facing upward.
Remove the screws and separate the laser guide cover from
the laser guide support.
Remove the three button cell batteries using a non-conduc
-
tive device such as a toothpick.
NOTE: Replace the batteries with button cell batteries that
have a rating of 1.5 volt and 100 mah (milliampere hour)
minimum (Number 76 series or equivalent).
When replacing the batteries, the laser guide should be
thoroughly cleaned. Use a soft paintbrush or similar device,
to remove all sawdust and debris.
Do not attempt to activate the laser.
The laser is activated by means of a centrifugal switch
only while the saw motor is running and the laser guide is
mounted on the saw.
After cleaning laser guide and replacing batteries, secure
laser guide cover to laser guide support using the two phil
-
lips head screws. For proper assembly, be sure to align the
key on the laser guide cover with the key slot in the laser
guide support. Tighten screws securely.
NOTE: Aperture in laser guide cover must be aligned with
aperture in laser guide support.
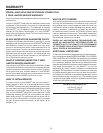
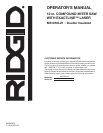
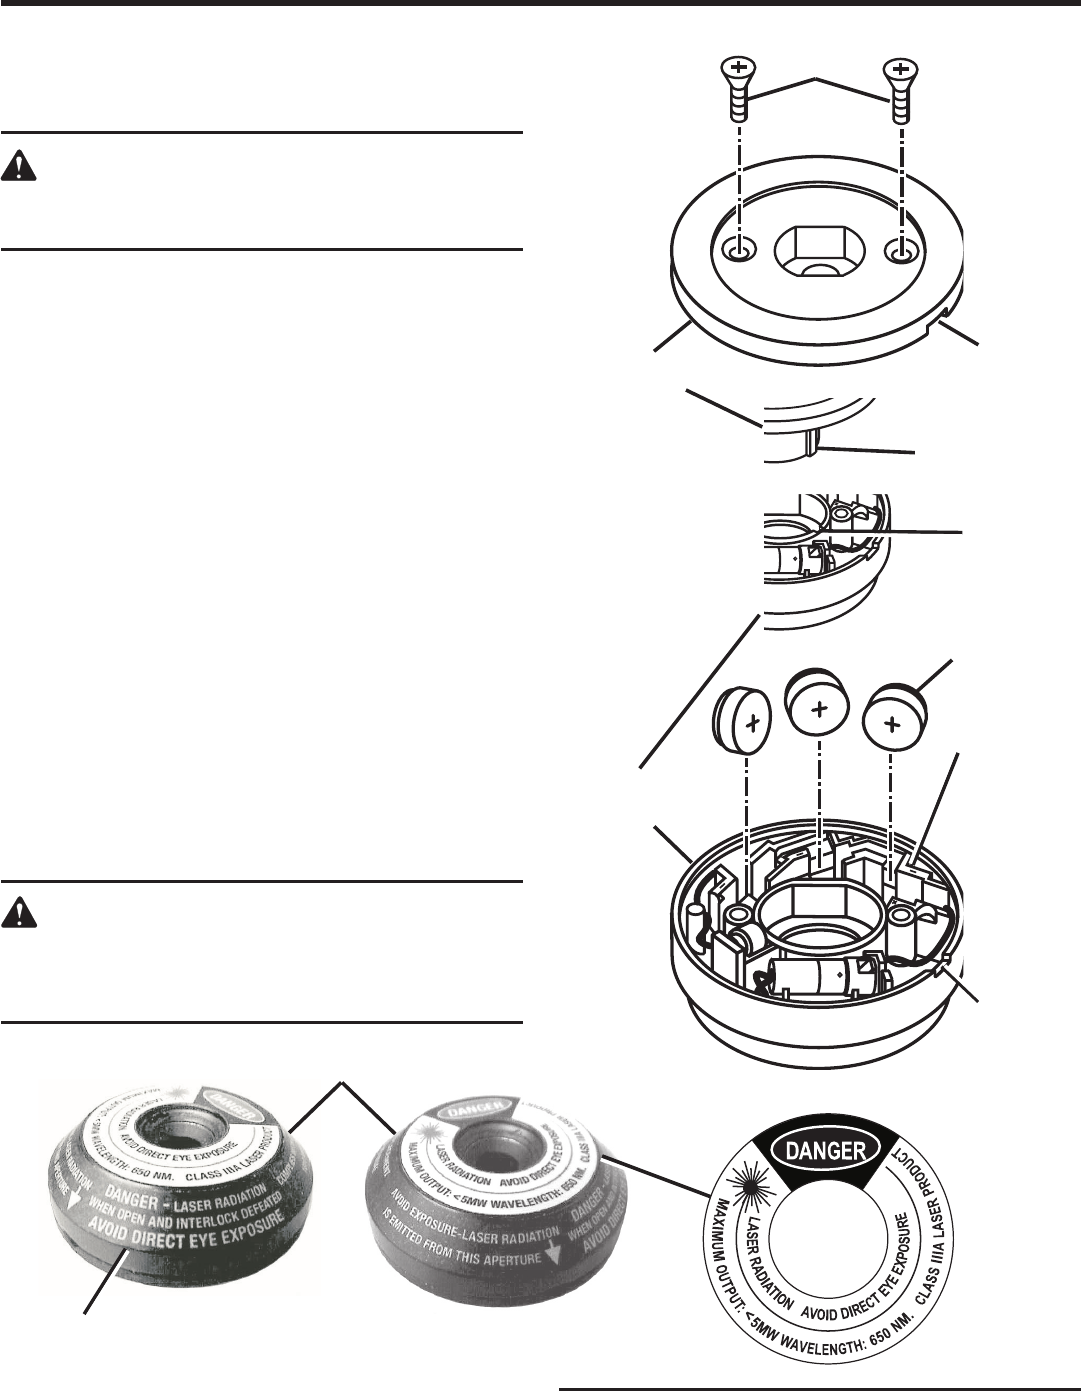
CAUTION:
Use of controls or adjustments or performance of
procedures other than those specified herein may
result in hazardous radiation exposure.
DANGER: Laser radiation when open and interlock
defeated. AVOID DIRECT EYE EXPOSURE.
LASER GUIDE
NEGATIVE (–)
BATTERIES
Fig. 38
SCREWS
LASER GUIDE
COVER
KEY
KEY
SLOT
APERTURE
APERTURE
LASER GUIDE
SUPPORT