


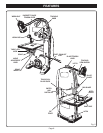


Page 16
OPERATION
WARNING:
Do not allow familiarity with your saw make you care-
less. Remember that a careless fraction of a second is
sufficient to inflict severe injury.
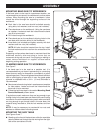
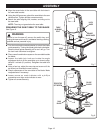
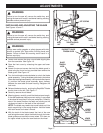
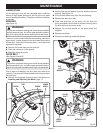
TILTING THE TABLE
See Figure 13.
Loosen the table lock handle slightly.
Turn the angle adjustment knob, tilting the saw table
toward the front of the saw housing until it reaches the
desired angle.
Using the scale indicator, check angle markings.
Retighten the table lock handle to hold saw table securely
in place.
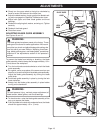
USING THE MITER GAUGE
See Figures 13 and 14.
The miter gauge can be turned 60° to the right or left.
Loose the lock knob on the miter gauge.
With the miter gauge in the miter gauge slot, rotate the
gauge until the desired angle is reached on the index
scale.
Retighten the lock knob.
NOTE: For convenience, store the miter gauge in the slot
provide on the back of the band saw.
See figure 13.
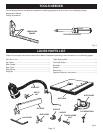
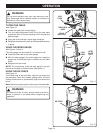
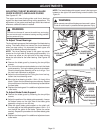
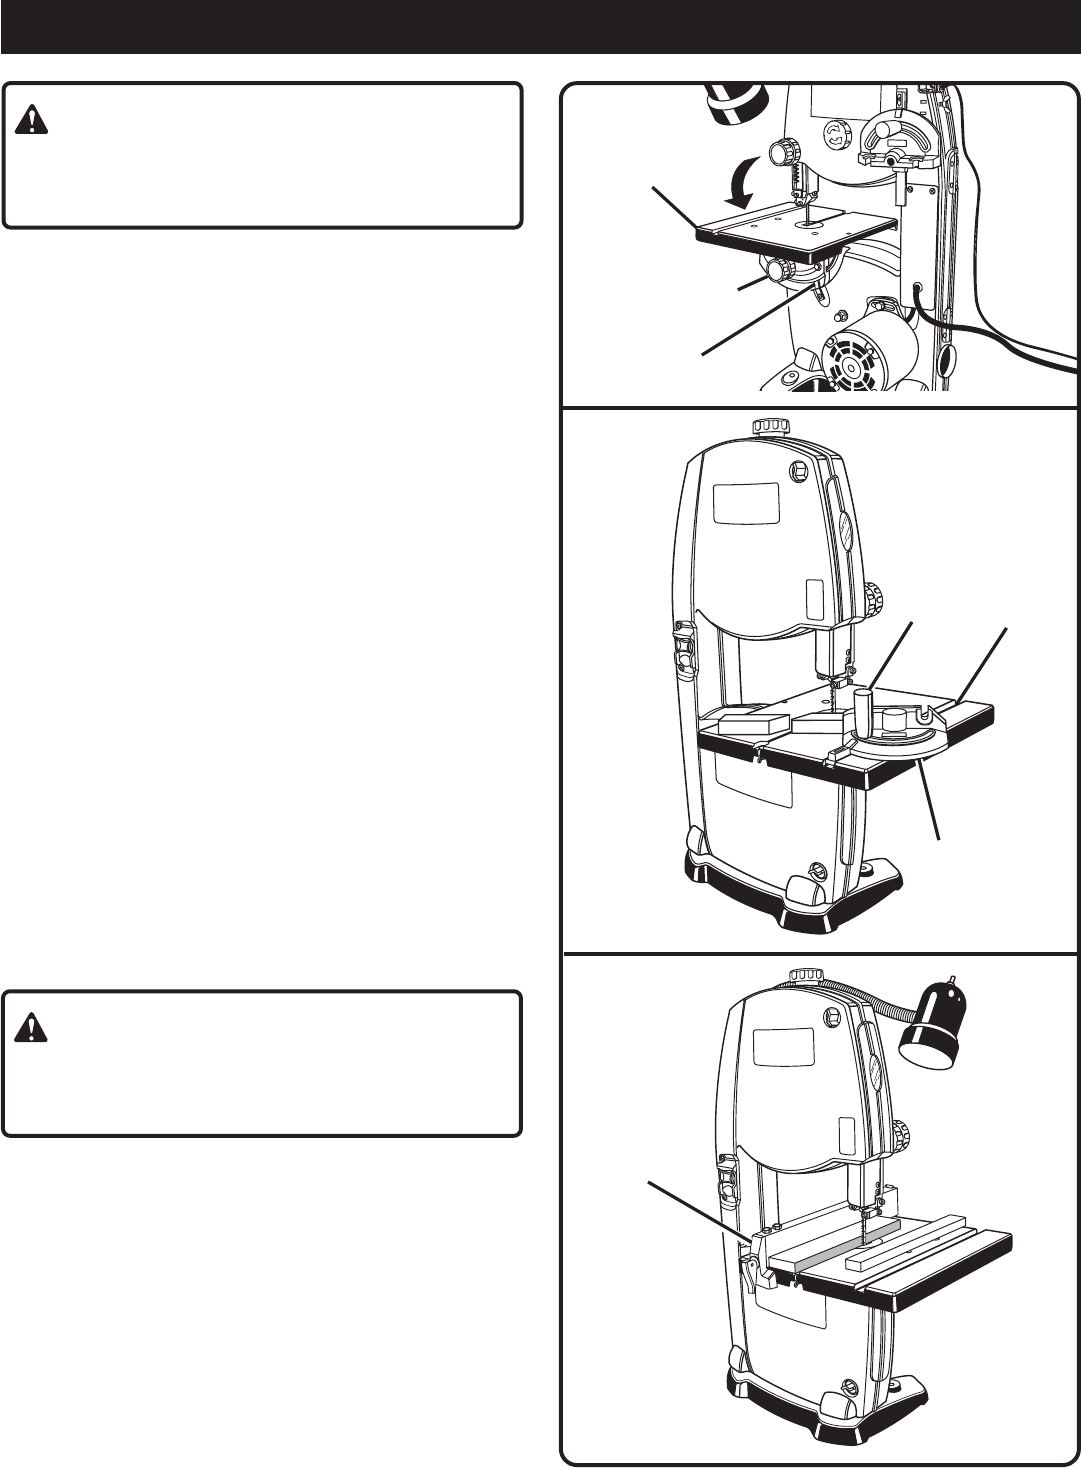
USING THE RIP FENCE
See Figure 15.
From either side of the saw table, slide the rip fence onto
the saw table. Check for a smooth, gliding action. Push the
locking handle down to automatically align and secure the
fence.
Note: Rip fence may be used on either side of the saw table.
WARNING:
To reduce the risk of injury, always make sure the rip
fence is parallel to the blade before beginning any
operation.
Fig. 13
TABLE LOCK
KNOB
SCALE
INDICATOR
SAW
TABLE
Fig. 15
LOCK
KNOB
Fig. 14
MITER
GAUGE
MITER
GAUGE
SLOT
RIP FENCE