


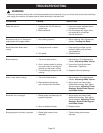

Page 18
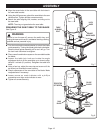
Fig. 19
ADJUSTMENTS
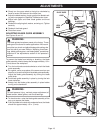
Slowly turn the upper wheel to the right or clockwise by
hand to center the blade on the rubber tires.
Adjust the blade tension; check or adjust the blade track-
ing and re-engage the RapidSet™blade tension lever.
Adjust both upper and lower blade guides and thrust
bearings.
Reattach the aligning bolt, washer, and wing nut. Tighten
securely.
Reattach the blade guard.
Close front cover.
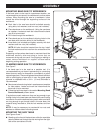
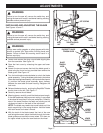
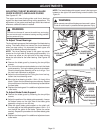
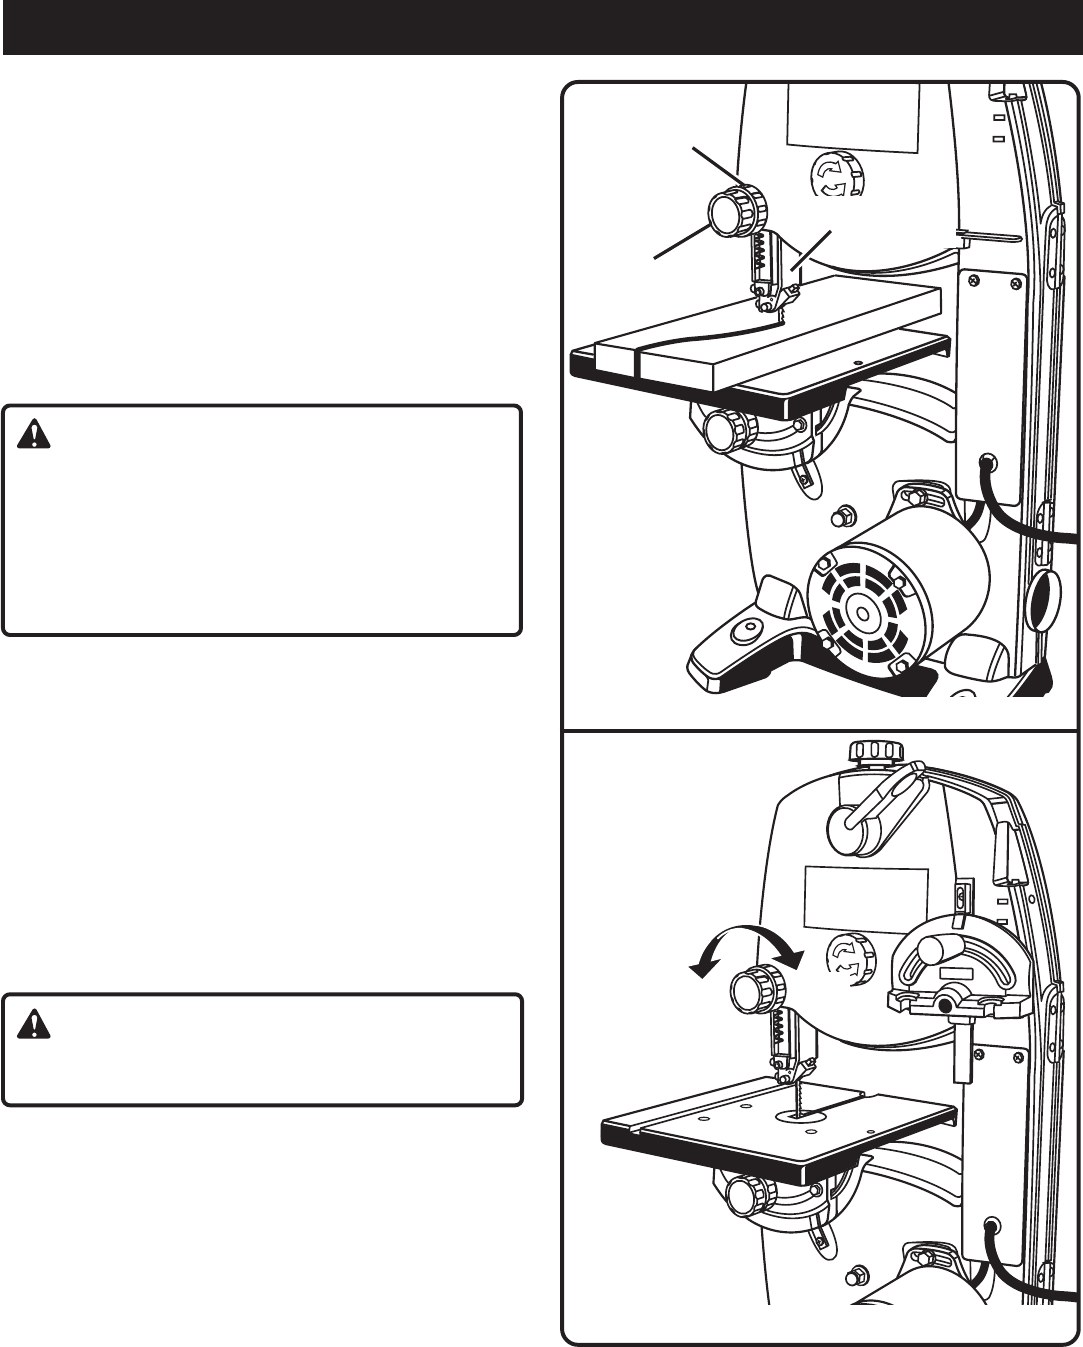
ADJUSTING BLADE GUIDE ASSEMBLY
See Figures 18 and 19.
WARNING:
The blade guides have been preset at the factory. These
settings are functional for some applications. We recom-
mend that you check and adjust blade guide settings be-
fore first use of your saw. Refer to “Adjusting thrust bear-
ings, blade guide support, and blade guides” procedures
explained in the adjustments section of this operator’s
manual.
To prevent the blade from twisting or breaking, the blade
guide assembly should always be set approximately 1/8 in.
(3 mm) above the workpiece.
Turn the lock knob counterclockwise to unlock the blade
guide assembly.
As a guide, use a scrap piece of the same wood you are
about to cut to set the height of the blade guide assembly.
Adjust the blade guide assembly by turning the blade
guide knob.
Lock blade guide assembly in place by turning the lock
knob clockwise.
Always lock the blade guide assembly in place before
turning on the band saw.
WARNING:
To avoid personal injury, maintain proper adjustment of
blade tension, blade guides, and thrust bearings.
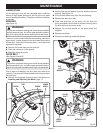
To check tension, raise the blade guide assembly all the
way up to expose the blade.
Push the blade to the side with moderate force; the blade
should flex approximately 1/8 in. (3 mm).
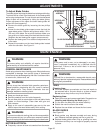
Fig. 18
BLADE GUIDE
KNOB
LOCK
KNOB
BLADE GUIDE
ASSEMBLY
LOCK
UNLOCK