


-44-
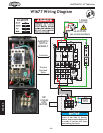
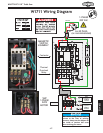
W1677/W1711 10" Table Saw
SERVICE
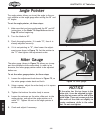
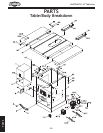
The angle pointer allows you to set the angle to the cor-
rect position on the angle gauge after setting the 90˚ and
45˚ angles.
To set the angle pointer, do these steps:
1. Make sure that you have performed the 90˚ and 45˚
instructions in the Blade Tilt Stop Bolts section on
Page 39 before beginning.
2. Turn the blade to 90˚.
3. Check the angle pointer. If it reads “0”, then it is
already adjusted correctly.
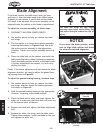
4. If it is not pointing to “0”, then loosen the adjust-
ment screw shown in
Figure 74. Set the pointer to
the “0” then tighten the adjustment screw.
Angle Pointer
Figure 74. Blade tilt pointer.
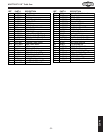
The miter gauge (shown in Figure 75) allows you to sup-
port the workpiece while crosscutting. In order to be
accurate, the miter gauge pointer needs to be adjusted
before use.
To set the miter gauge pointer, do these steps
:
1. Loosen the adjustment knob shown in Figure 75, so
the miter gauge rotates back and forth.
2. Using a square, adjust the miter body so it is square
to the miter bar.
3. Tighten the knob so the miter body is secure.
4. Loosen the setscrew on the miter slide next to the
angle pointer, and adjust the angle pointer so it
reads “0”. Tighten the nut so the angle pointer is
secure.
5. Check and adjust if necessary.
Miter Gauge
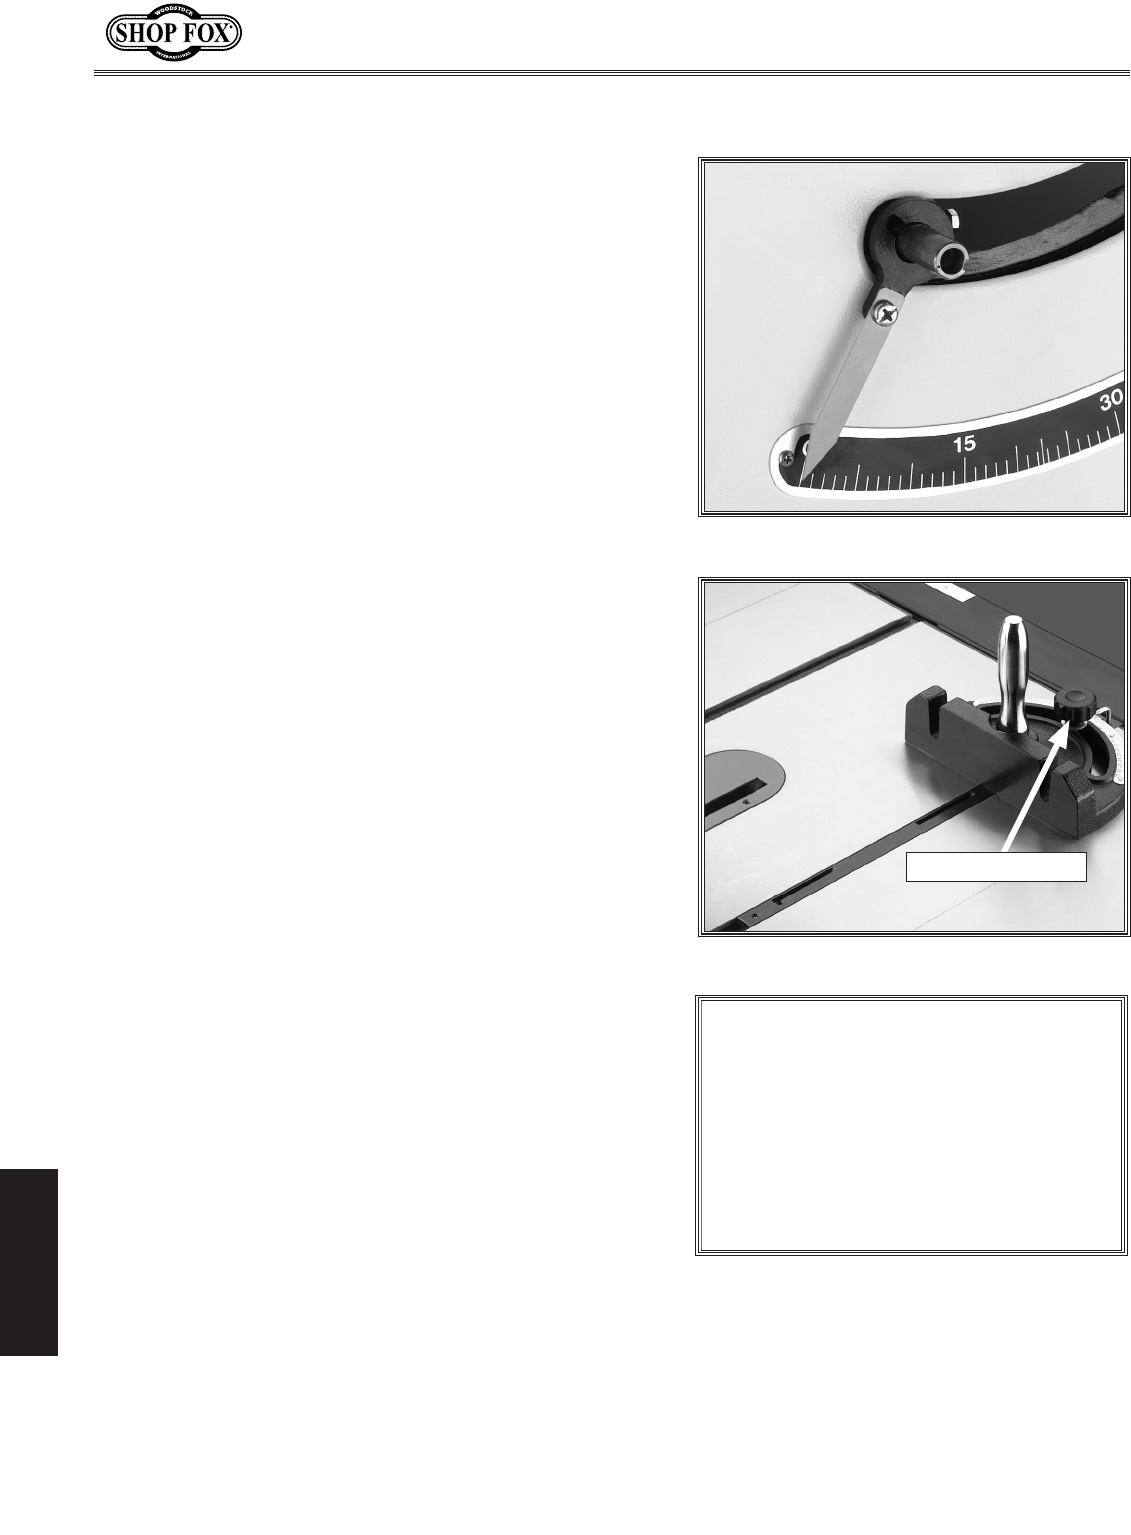
NOTICE
If the miter bar fits too loose in the
miter slot, it can be adjusted by tight
-
ening the set screws on the side of the
miter slide. These set screws push the
thin walls of the slide out slightly to
create resistance while in the miter
slot. Do not overtighten.
Figure 75. Miter gauge.
Adjustment Knob