


-12-
W1764 Power Feeder
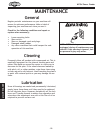
5 Assembled elbow clamp
assembly.
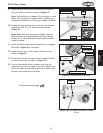
Oil the T-handle threads and position the elbow
clamp assembly onto the feeder base as shown in
5.
Thread the T-handle into the feeder base until the
elbow is snug.
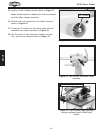
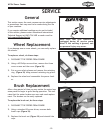
Insert the arm into the ball-joint ball and secure
both together with the M10-1.5 x 25mm cap screw
shown in 6.
Insert the ball joint assembly into the power feed
socket shown in 6.
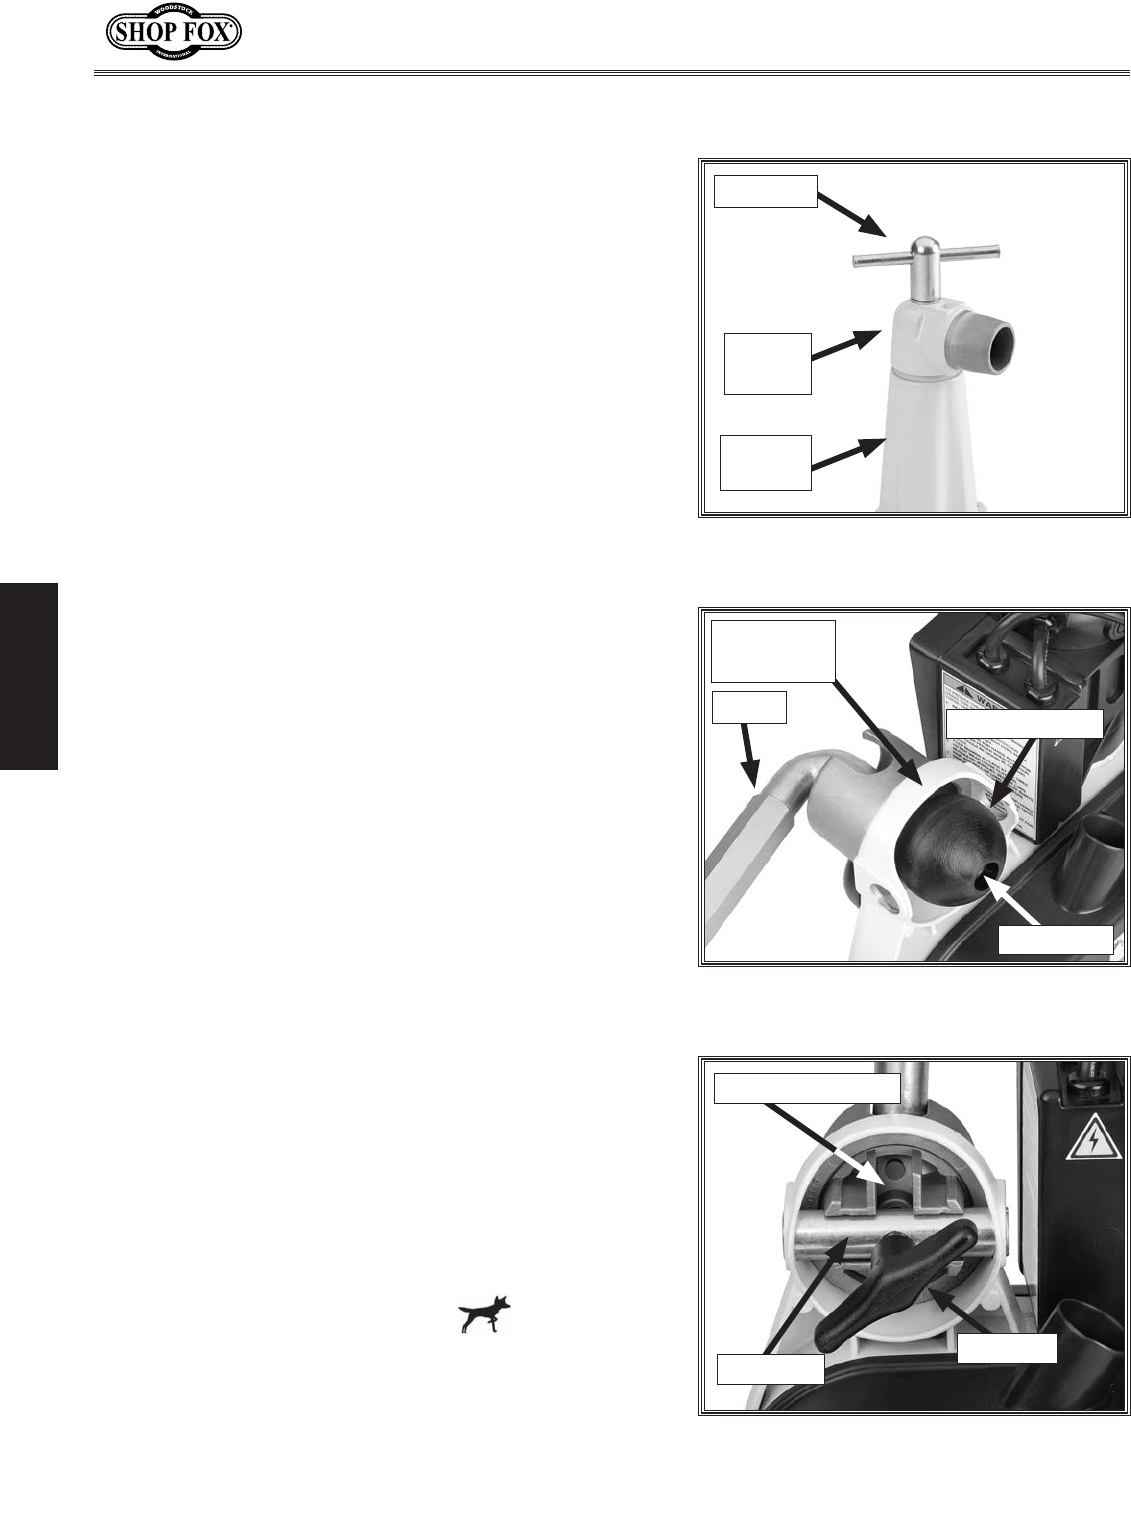
Insert the ball-joint socket into the power feed sock-
et as shown in 7, so it rests against the ball-
joint ball.
Lubrication is not necessary for the ball joint
assembly.
Align the ball-joint socket with the power feeder
socket and insert the pivot bar as shown in 7.
Lightly oil the T-handle threads.
Thread the T-handle through the pivot bar so the
end of the T-handle bolt presses against the ball-
joint socket firmly as shown in 7.
Elbow
Clamp
7 Assembled ball joint assembly.
6 Arm, ball joint and socket
assembly.
Power Feed
Socket
Arm
Ball-Joint Ball
Ball-Joint Socket
T-Handle
Pivot Bar
T-Handle
Feeder
Base
Cap Screw
Continued on next page
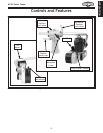
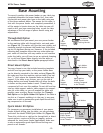
To correctly position this power feeder on your table top,
completely assemble the power feeder first, then refer to
on . The reason for this order, is
that with the power feeder unit completely assembled, it
will be easier to locate where on the table top you will
need to drill your base mounting holes, so you can take
advantage of the full range of power feeder swing and
adjustments.