


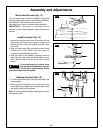
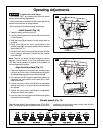

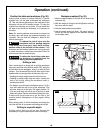

Laser switch (Fig. 25)
The laser switch (1) is located on the left side of the drill
press housing.
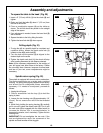
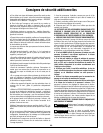
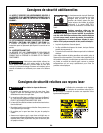
Adjust the laser line (Fig. 25 and 26)
1. Place a workpiece on the table.
2. Turn the laser switch (1) to the ON position.
3. Lower the drill bit to meet the workpiece (2). The two
laser lines should cross where the drill meets the
workpiece.
4. If the laser needs to be adjusted:
a. Using a 3 mm hex wrench, turn the laser adjustment
hex screws (3) counterclockwise.
b. Move the laser light housing (4) until the two lines
intersect where the drill meets the workpiece. DO
NOT stare directly at the laser lines.
5. Re-tighten the adjustment hex screws (3).
Operation
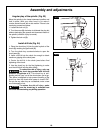
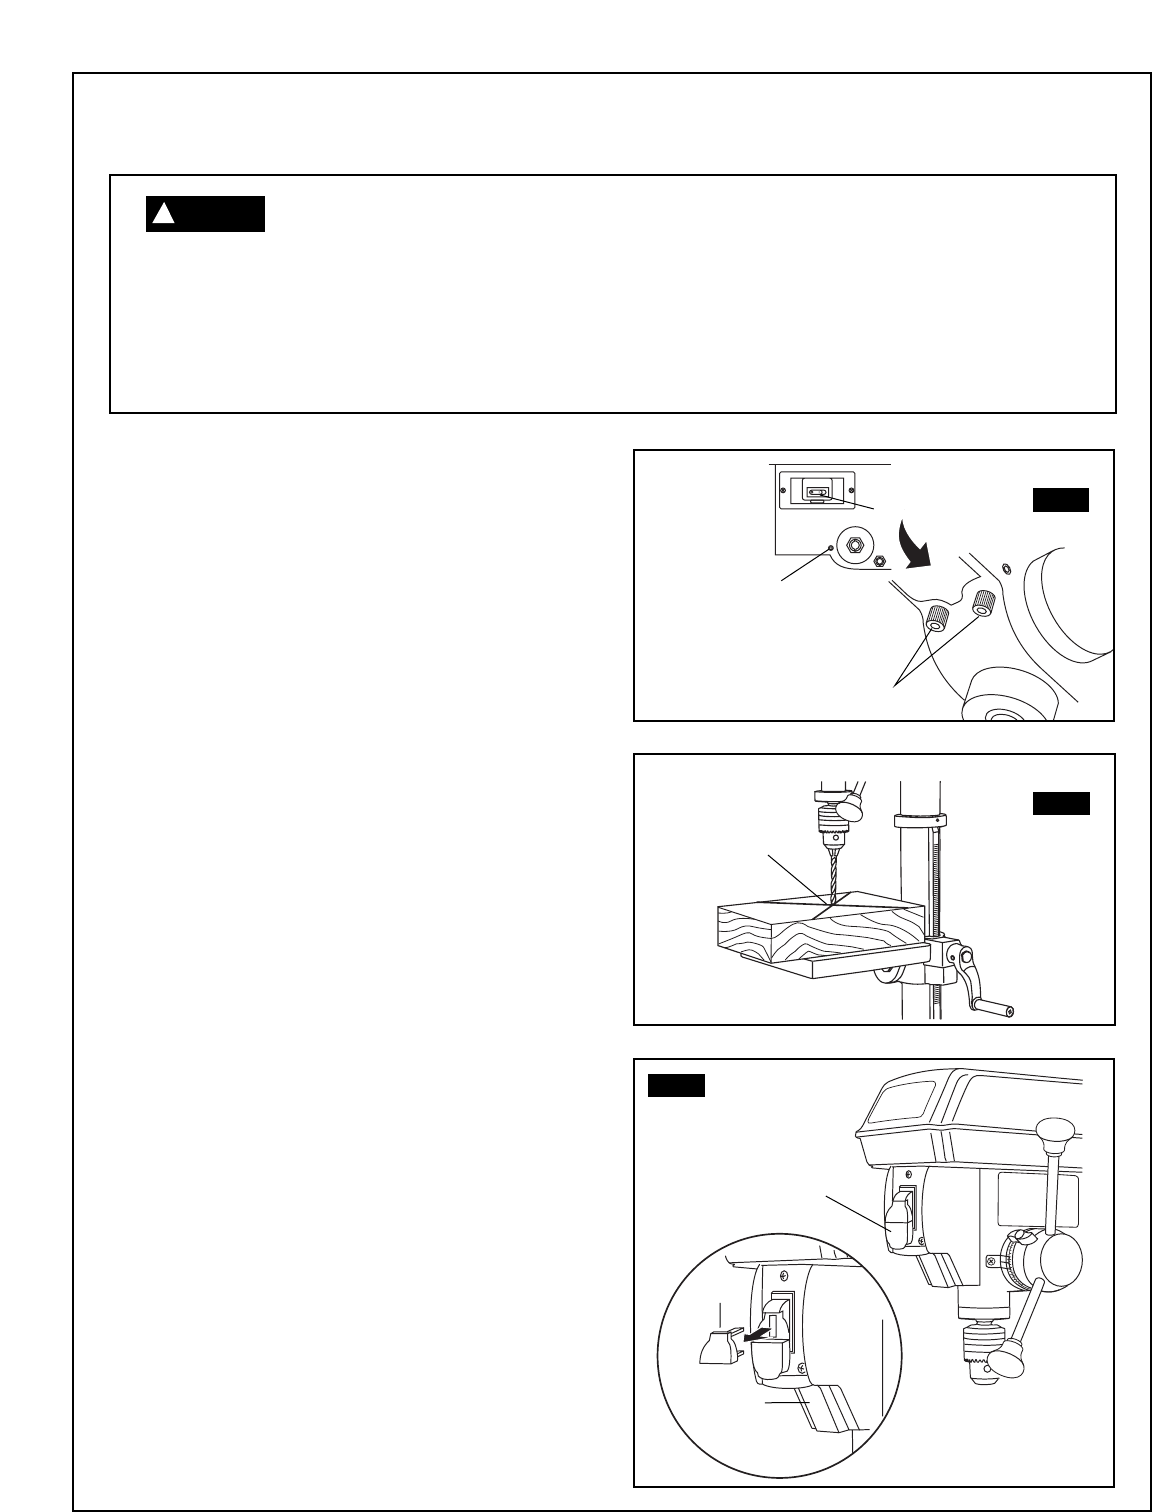
Switches (Fig. 27)
1. To turn the drill press ON, insert the safety key (1)
into the switch housing (2). As a safety feature, the
switch cannot be turned ON without the key.
2. Flip the switch upward to the ON position.
3. To turn the drill press OFF, move the switch to the
down position.
4. To lock the switch in the OFF position, remove the
safety key from the switch. Store the key in a safe
place.
17.
Assembly and adjustments
FIG. 25
3
1
4
2
DO NOT STARE DIRECTLY AT THE LASER BEAM! A hazard may exist if you deliberately
s
tare into the beam. Please observe all safety rules as follows:
• The laser shall be used and maintained in accordance with the manufacturer's instructions.
• Never aim the beam at any person or an object other than the workpiece.
• Do not project the laser beam into the eyes of others.
• Always ensure the laser beam is aimed at a workpiece with out reflective surfaces as the laser beam
could be projected into your eyes or the eyes of others.
F
2
FIG. 26
FIG. 27
3
1
WARNING
!