


For Machines Mfg. Since 8/09 Model SB1021/SB1022
-27-
OPERATION
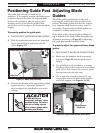
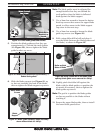
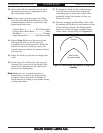
5. Position the blade guides so that they are
approximately
1
⁄16" behind the tooth gullets
(see Figure 20), then re-tighten the blade
guide bracket cap screw.
Blade Guide
1
⁄16"
Figure 20. Blade guides positioned approximately
1
⁄16"
behind tooth gullets.
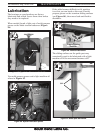
6. Slide the blade support (see Figure 21) up
to, but not touching, the back of the blade,
then re-tighten the blade support cap screw.
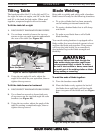
7. Use a 3mm hex wrench to loosen the button
head cap screws that secure the upper blade
guard, to allow access to the blade support
cap screw in the next step.
8. Use a 5mm hex wrench to loosen the blade
guide cap screws (see Figure 21).
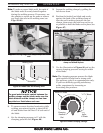
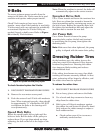
9. Fold a crisp dollar bill in half and place it
over the blade (between the blade guides and
the blade), as shown in Figure 22.
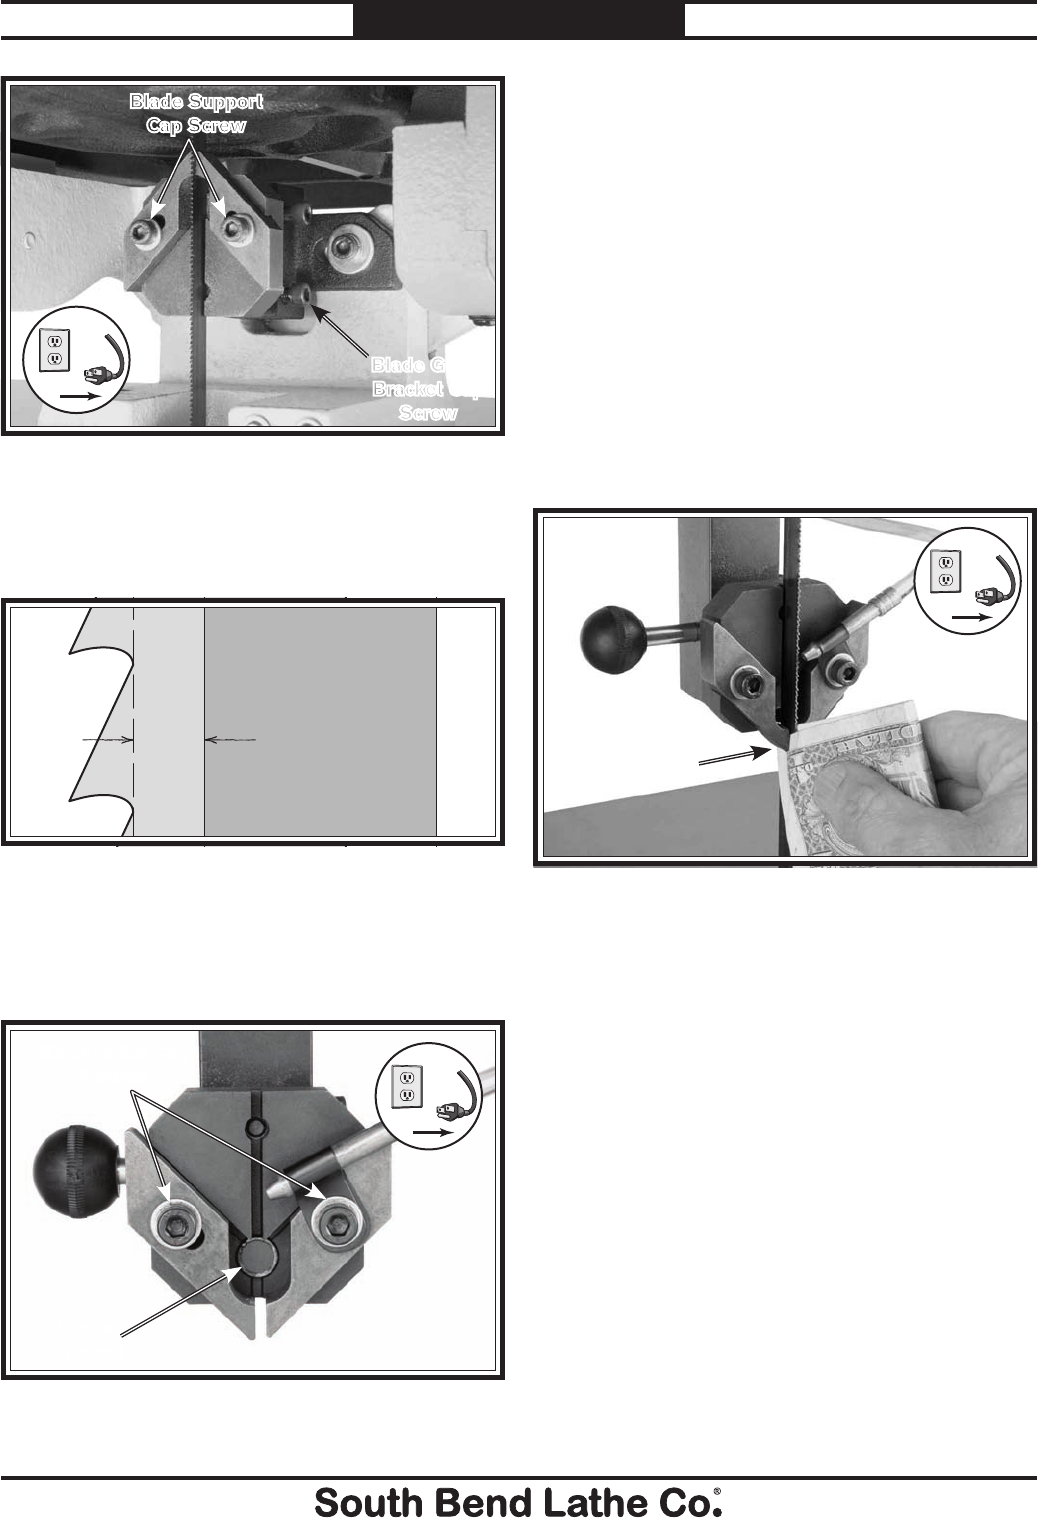
Figure 19. Lower blade guides and bracket.
Blade Guide
Bracket Cap
Screw
Blade Support
Cap Screw
!
Figure 21. Blade guide assembly (upper assembly
shown without blade for clarity).
Blade Guide Cap
Screws
Blade
Support
!
Figure 22. Using a dollar bill to set blade guide
spacing (blade guide cover removed for clarity).
Dollar on Both
Sides of Blade
!
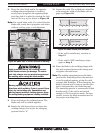
10. Lightly pinch the dollar bill against the
blade with the blade guides, re-position the
air nozzle if necessary, then re-tighten the
blade guide cap screws.
Note: The goal is to position the blade guides
as close as possible to the blade without
touching it.
11. Secure the upper blade guide, then re-install
the lower blade guard cover.
Note: The blade guides must be adjusted far
enough back so that they are behind the
tooth gullets when the blade is deflected
back against the blade support.