


-48-
For Machines Mfg. Since 8/09
SB1024/SB1025/SB1026
OPERATION
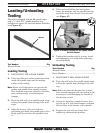
Loading/Unloading
Tooling
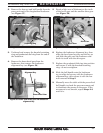
The mill is equipped with an R8 spindle taper
and a
7
⁄16"-20 x 18
1
⁄2" spindle drawbar that
includes one spacer for tool attachment flexibility
(see Figure 46).
Tool Needed Qty
Wrench 21mm .......................................................1
Loading Tooling
1. DISCONNECT MILL FROM POWER!
2. Clean any debris or surface substances from
inside the spindle taper and the mating
surface of the tooling.
Note: Debris or oil substances can prevent the
tooling and spindle from properly mating.
This condition can cause excessive vibration,
poor cutting results, or tool/workpiece
damage.
3. Place the mill in the low spindle speed range
to keep the spindle from turning in the next
steps.
4. Align the keyway of the tool with the
protruding pin inside the spindle taper, then
firmly push the tool into the spindle to seat
it.
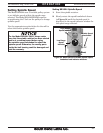
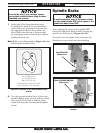
Figure 46. Spindle drawbar and spacer.
Spacer
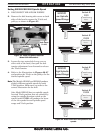
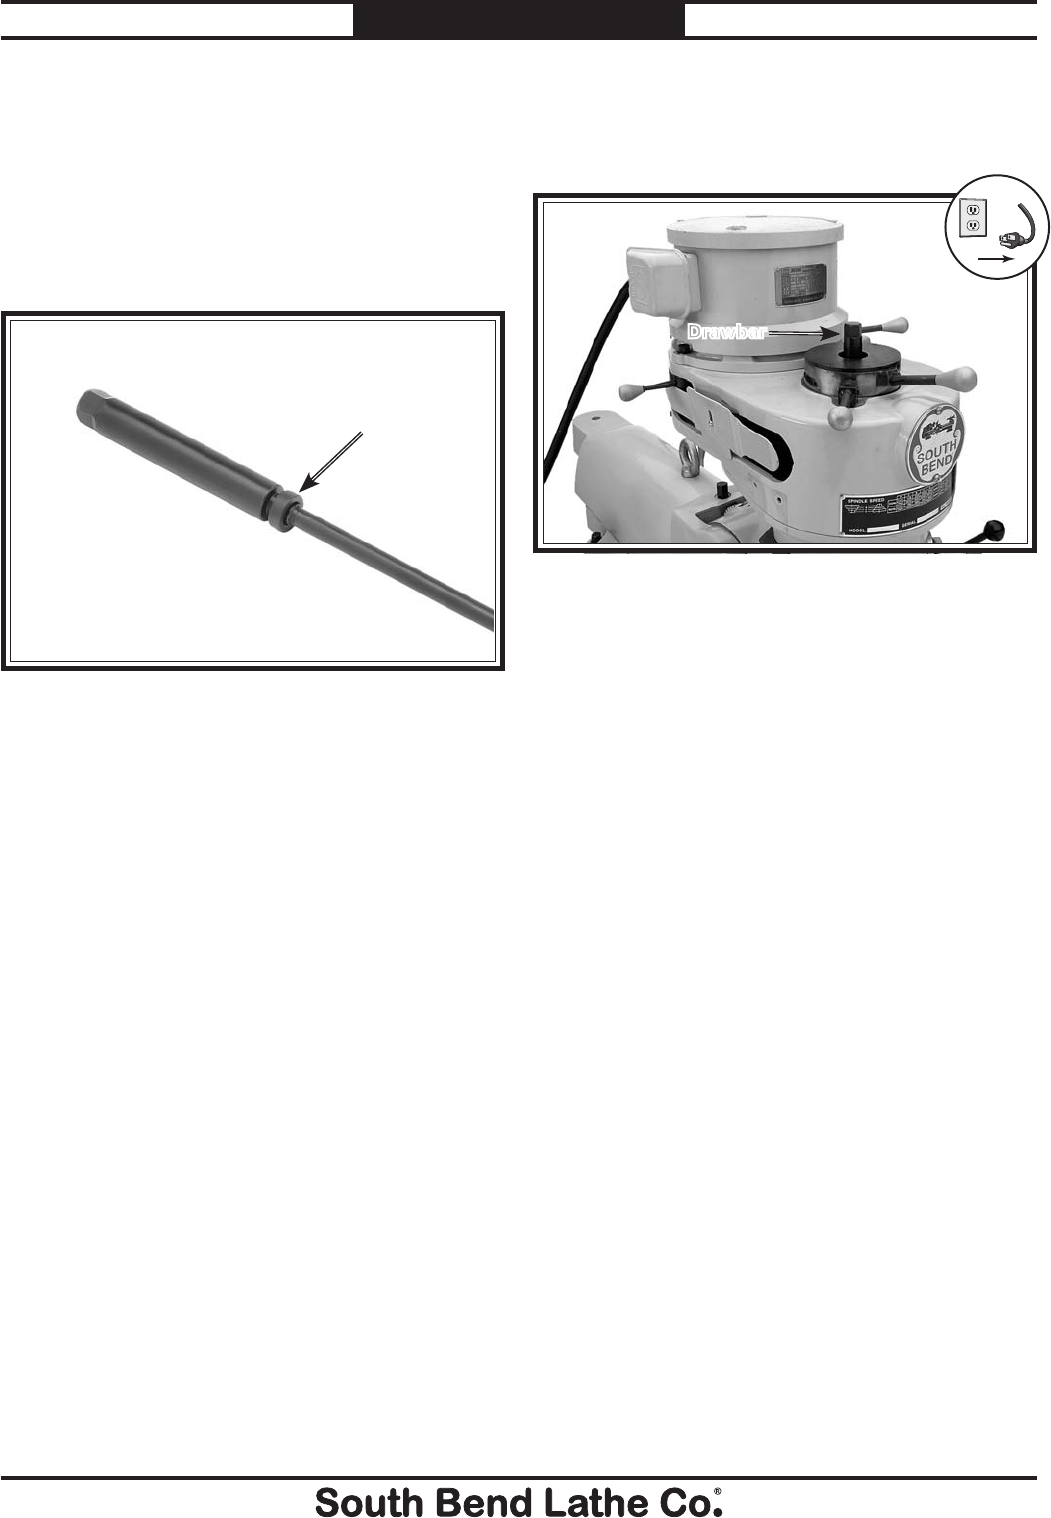
5. With one hand holding the tool in place,
insert the drawbar into the spindle from the
top of the head, then thread it into the tool
(see Figure 47).
Figure 47. Drawbar loading into the spindle (Model
SB1025 shown).
Drawbar
!
6. Tighten the drawbar until it is snug. Avoid
overtightening, as it could make removing
the tool difficult.
Unloading Tooling
Tools Needed Qty
Wrench 21mm .......................................................1
Brass Hammer ......................................................1
1. DISCONNECT MILL FROM POWER!
2. Place the mill in the low spindle speed range
to keep the spindle from turning in the next
step.
Note: Make sure that the drawbar has at least
three threads engaged with the tooling in the
next step to avoid damaging the threads of
the drawbar or tool.
3. Loosen the drawbar a couple of turns, then
tap the top of it with brass hammer to knock
the tool loose at the bottom of the spindle.
4. Support the tool with one hand, then
completely unthread the drawbar.