


© 1995 Wagner Spray Tech 10 All rights reserved.
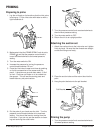
the pressure control knob counterclockwise to its lowest
setting and set the priming knob to PRIME ( ). Turn the
motor switch to OFF and unplug the sprayer.
If you expect to be gone more than 1 hour, follow the
short term clean up procedure described in the
CLEANUP section of this manual.
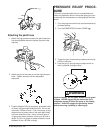
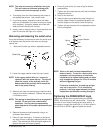
Practice
1. Be sure that the paint hose is free of kinks and clear
of objects with sharp cutting edges.
2. Turn the pressure control knob counterclockwise to
its to its lowest setting.
3. Turn the PRIME/SPRAY knob to SPRAY ( ).
4. Turn the pressure control knob clockwise to its
highest setting. The paint hose should stiffen as
paint begins to flow through it.
5. Unlock the gun safety switch by turning the switch
so that it is parallel to the handle.
6. Trigger the spray gun to bleed air out of the hose.
7. When paint reaches the spray tip, spray a test area
to check the spray pattern.
8. Use the lowest pressure setting necessary to get a
good spray pattern. If the pressure is set too high,
the spray pattern will be too light. If the pressure is
set too low, tailing will appear or the paint will
spatter out in gobs rather than in a fine spray.
Most latex paints and stains will require very high
pressure, which is why the sprayer is built to deliver
up to 2,500 psi when needed.
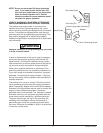
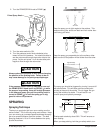
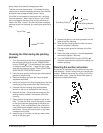
Good spray pattern
Paint tailing pattern
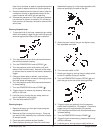
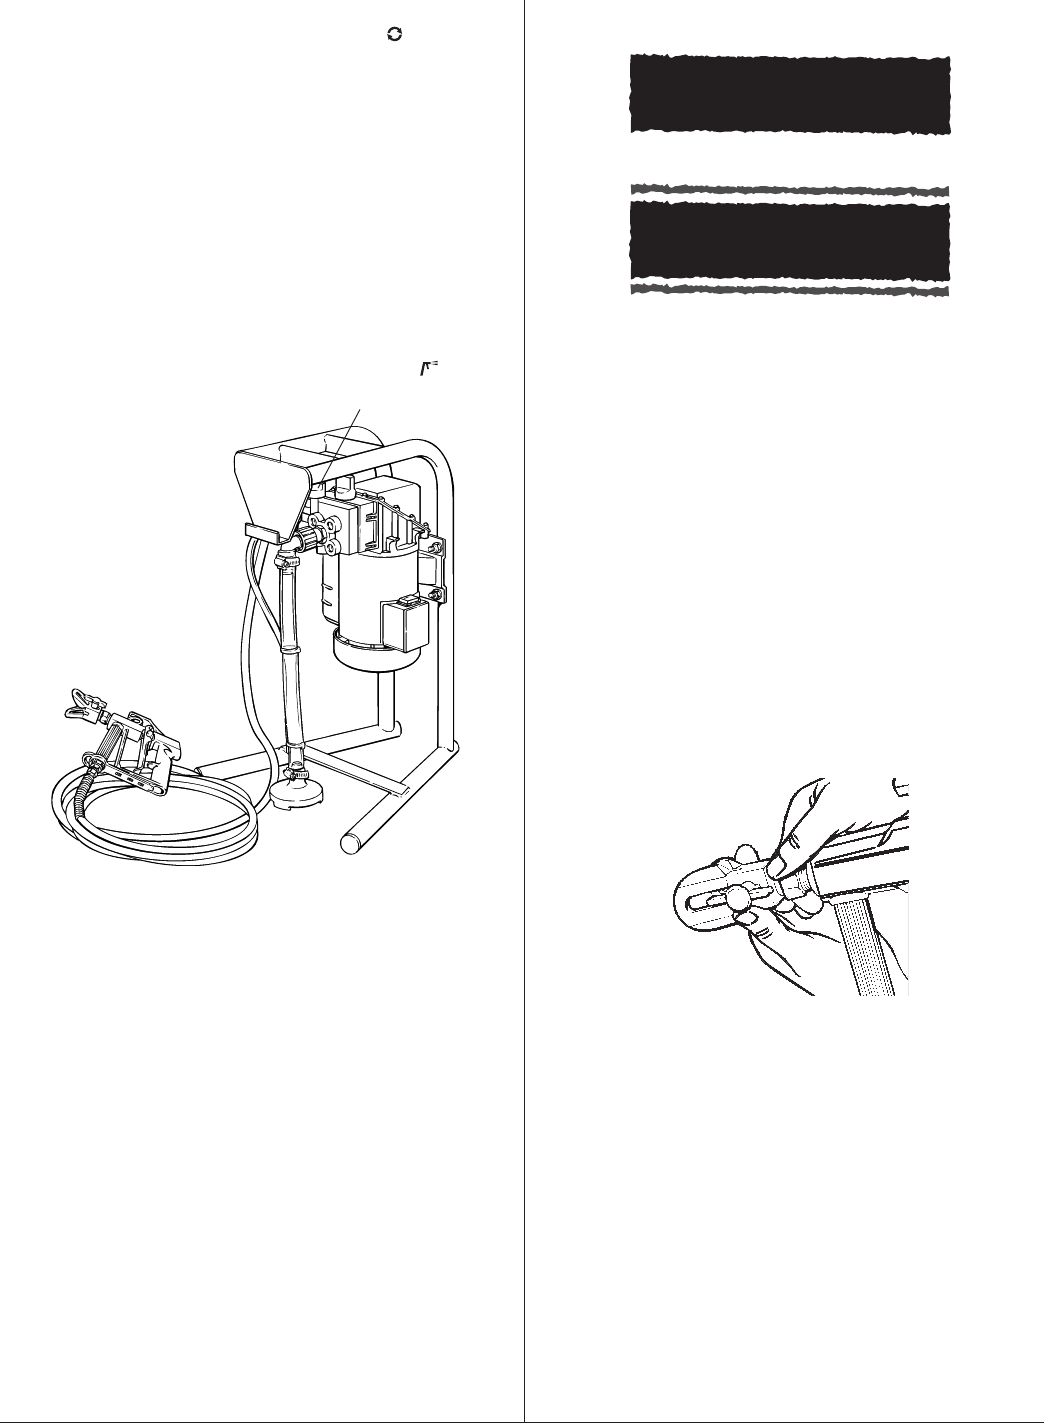
If the spray tip becomes clogged
The spray gun is equipped with a reversible tip which
allows you to blow out any particles of old paint or other
contaminants that may obstruct the paint flow through the
tip. If the spray pattern becomes distorted or stops
completely while the gun is triggered on, follow these
steps:
1. Release the trigger and lock the gun by turning the
gun safety switch so that it is parallel to the gun
body.
2. Rotate the reversible tip cylinder arrow 180° so that
the point of the arrow is toward the rear of the gun.
3. Unlock the trigger and squeeze it open, pointing the
gun at a scrap piece of wood or cardboard. This
allows pressure in the paint hose to blow out the
obstruction. When the nozzle is clean, paint will
come out in a straight, high pressure stream.
4. Release the trigger and re-lock it. Figure 4
5. Reverse the tip so the arrow points forward again.
6. Unlock the trigger and resume spraying.
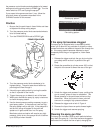
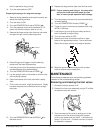
Cleaning the spray gun filter
The spray gun includes a filter to catch particles before
they reach the spray tip. If this filter becomes clogged or
obstructed it will reduce the flow of paint, changing the
PRIME/SPRAYKNOB