


16
Operation
This sander is intended for dry sanding of
metals. Do not use lubricants.
Do not sand or polish
magnesium; it may create a fire hazard. Also,
do not sand very small or very thin
workpieces that cannot be safely controlled.
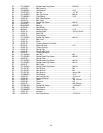
Starting and Stopping the Sander
The on/off switch is located on the side of the
motor housing. Move the switch upward to the
ON position to start the sander. Move the switch
downward to the OFF position to stop the
sander.
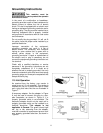
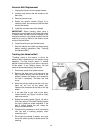
When the sander is not being used, the switch
can be locked in OFF position to prevent
unauthorized use. Pull out the locking tab and
store in a safe place. See Figure 16. The switch
will not operate with the locking tab removed.
To use the sander, re-insert the locking tab.
Belt and Disc Movement
When the machine is turned on, the abrasive
belt should be moving downward and the disc
rotating clockwise. The motor is wired at the
factory for correct rotation.
The workpiece should not contact the disc or
belt during start-up. Before sanding, always
allow the motor to come up to operating speed,
then observe the disc for wobble, runout, or any
unbalanced condition. If the disc is not operating
accurately and smoothly, stop the motor and
make repairs before atempting any sanding
operations.
Always sand on the side of the abrasive disc
that rotates downward. Sanding on the upward
rotation side can cause the workpiece to catch
and fly out of your hands.
The table must be a maximum of 1/16” away
from the abrasive disc or belt.
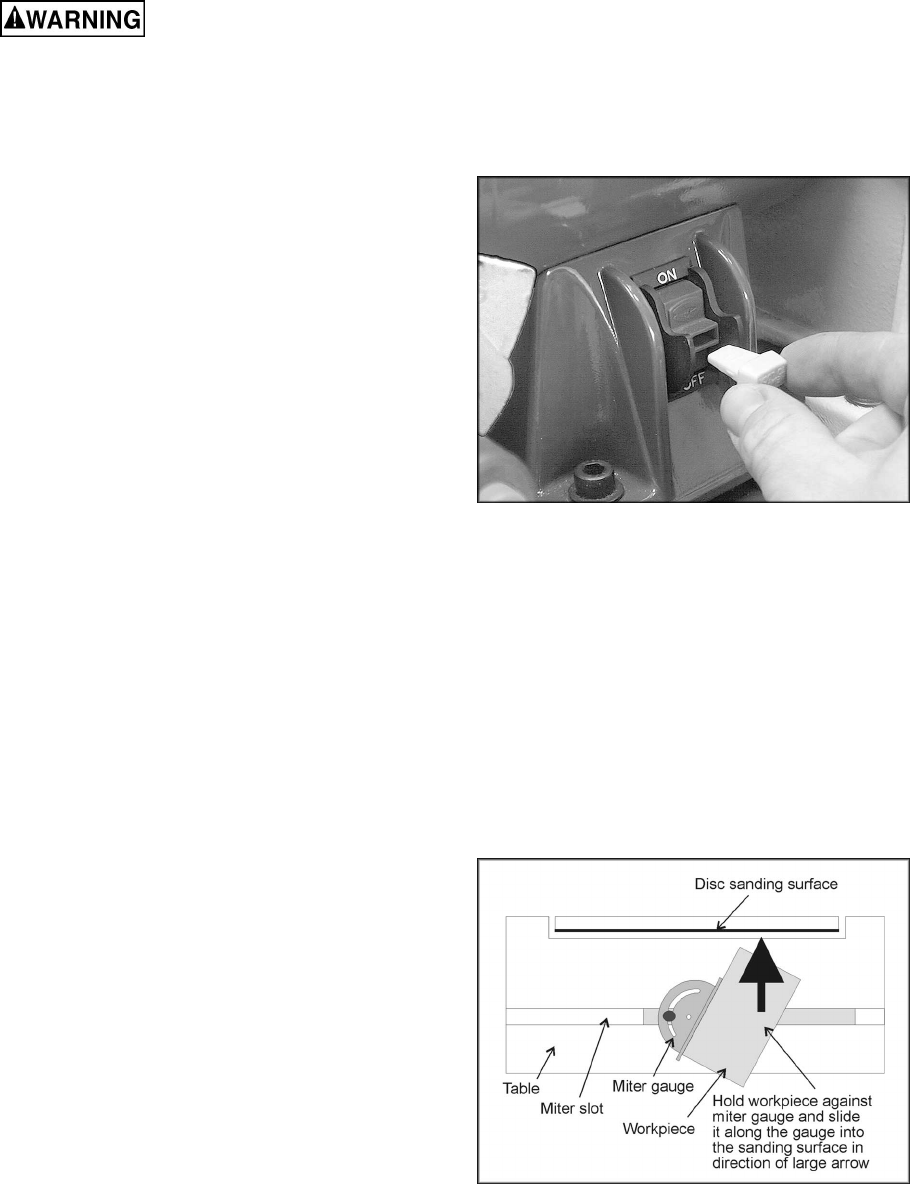
Typical Operations
When sanding a compound angle you should
check the accuracy of your setup by sanding a
piece of scrap material before doing any finish
sanding on the actual workpiece.
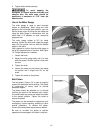
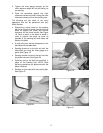
Figure 17 demonstrates a basic method of
operation using the miter gauge and disc table:
1. Set the angle you wish to sand using the
scale on the miter gauge.
Figure 16
Figure 17