


9
Assembly
Tools needed for assembly:
• 10mm open-end wrench
• Cross-point (Phillips) screwdriver
• Combination square, or similar angle
measuring device.
Sander must be unplugged
from power source during assembly.
Remove the protective coating from the surfaces
of the sander and from any loose parts. This
coating may be removed with a soft cloth
moistened with kerosene (do not use acetone,
gasoline or lacquer thinner for this purpose).
After cleaning, cover the table surfaces with a
good quality paste wax.
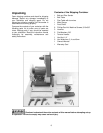
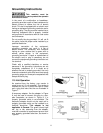
Leave enough space around the sander for long
workpieces and for general maintenance.
If needed, the sander can be bolted to a table or
workbench using the holes in the base. If the
sander has a tendency to walk or slide during
operation, it must be bolted to a supporting
surface.
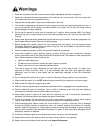
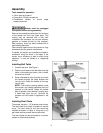
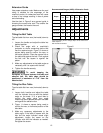
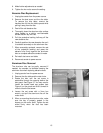
Installing Belt Table
1. Unscrew the stud. See Figure 1.
2. Position the bracket of the belt table over the
holes in the casting as shown, and re-install
the stud into its hole.
3. Place a flat washer onto a handle, and insert
the handle through the table bracket and
into the hole. Screw the handle all the way
into the hole.
NOTE: The handle is spring loaded; screw
the handle in by rotating clockwise, then pull
outward on the handle. Rotate the handle
back to position, then release it, making sure
it seats itself upon the pin. Continue the
process until the handle is tightened in the
hole.
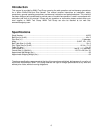
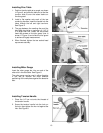
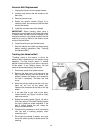
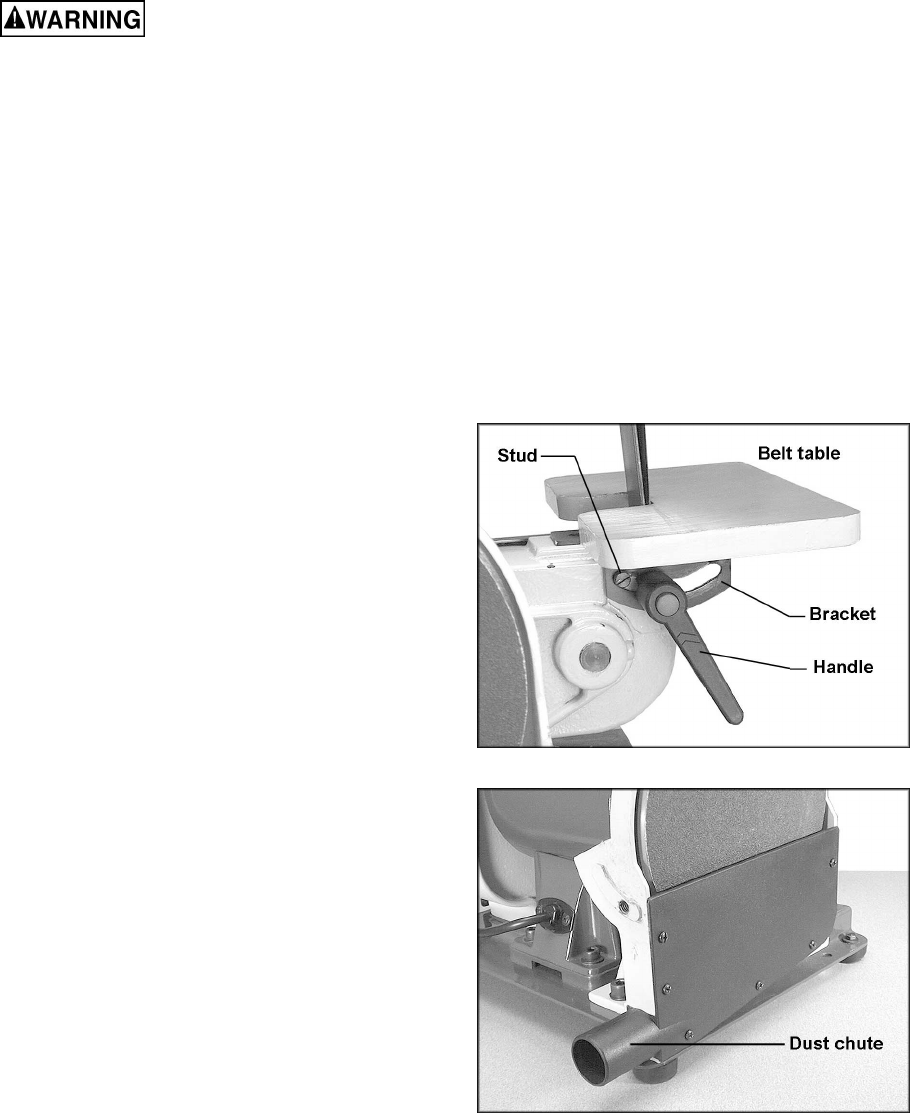
Installing Dust Chute
The sander has two 1-1/2” diameter dust chutes.
The dust chute for the belt is located on the belt
cover. The dust chute for the disc should be
installed as shown in Figure 2, using the six (6)
pan head machine screws that are provided.
The dust chutes can be connected to a vacuum
system to collect dust particles.
Figure 1
Figure 2