13
ION CALIBRATION
For greatest accuracy, it is recommended to calibrate the instrument frequently.
Due to electrode conditioning time, the electrode must be kept immersed a few
seconds to stabilize. The user will be guided step by step during calibration
with easy to follow tags on the display. This will make the calibration a simple
and error-free procedure.
PREPARATION
In SETUP menu, select the proper ion charge.
Note: If “undF” option is selected in SETUP menu, calibration must be
performed in two points, otherwise “----” message will be displayed on
the LCD if exiting calibration after confirming the first used buffer.
Pour small quantities of the buffer solutions into clean beakers. If possible, use
plastic beakers to minimize any EMC interferences.
For accurate calibration and to minimize cross-contamination, use two beakers
for each buffer solution. One for rinsing the electrode and one for calibration.
PROCEDURE
One or two-point calibration is available, using five memorized buffers: 0.1, 1,
10, 100, 1000 ppm.
Select Ion measurement range by pressing RANGE. Remove
the protective cap from the ISE electrode.
TWO-POINT CALIBRATION
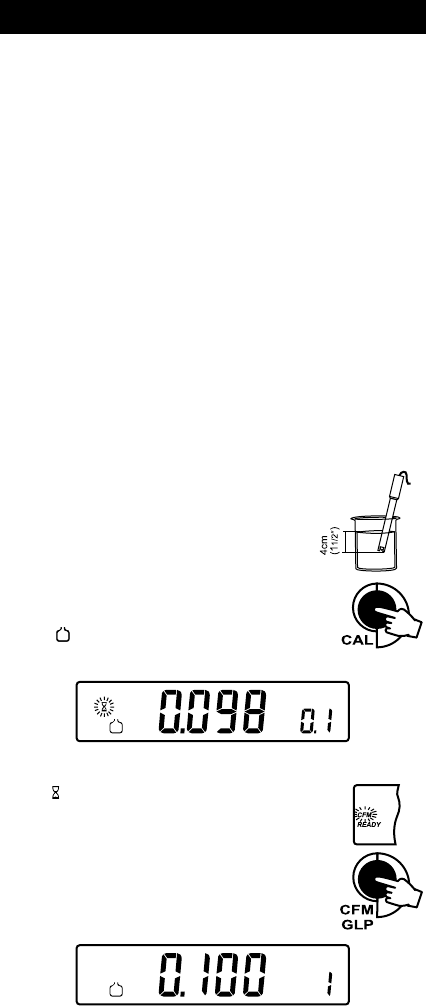
• Immerse the ISE electrode approximately 4 cm (1½”)
into the selected solution and stir gently.
• Press CAL. The primary LCD will display the ppm
value using the current offset and slope. The “CAL”
and “
” tags will appear and 0.1 ppm buffer will
be displayed on the secondary LCD.
• If necessary, press the ARROW keys to select a different buffer value.
• The “ ” tag will blink on the LCD until the reading is stable.
• When the reading is stable and close to the selected buffer, the
“READY” tag will be displayed and the “CFM” tag will blink.
• Press CFM to confirm calibration.
• The calibrated value will be displayed on the primary LCD
and the second expected buffer value on the secondary LCD.
