27
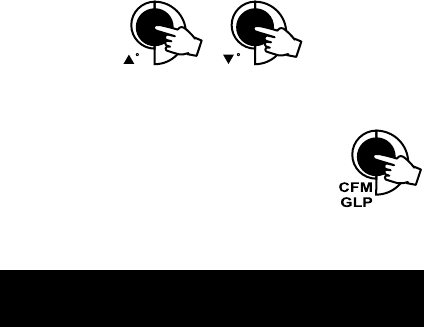
• Use the ARROW keys to set the reading on the secondary LCD to that of
the hot water.
• When the reading is stable and close to the selected
calibration point, “READY” tag will appear and “CFM”
tag will blink.
• Press CFM to confirm. The instrument returns to
measurement mode.
Note: If the reading is not close to the selected calibration point, “WRONG”
tag will blink. Change the temperature probe and restart calibration.
mV CALIBRATION
(for technical personnel only)
All the instruments are factory calibrated for mV.
Hanna’s ORP electrodes are interchangeable and no mV calibration is
needed when they are replaced.
If the mV measurements are inaccurate, mV recalibration should be performed.
For an accurate recalibration, contact your dealer or the nearest Hanna
Customer Service Center, or follow the instructions below.
A two or three-point calibration can be performed at 0.0 mV, 600.0 mV and
1800.0 mV.
• Attach to the BNC connector a mV simulator with an accuracy of ±0.1 mV.
• With the instrument off, press and hold down the CFM&RCL keys, then
power on the instrument. The “CAL” tag will appear and the secondary
LCD will show 0.0 mV.
• Set 0.0 mV on the simulator.
When the reading is stable and close to the selected calibration point,
“READY” tag will appear and “CFM” tag will blink.
• Press CFM to confirm. The secondary LCD will display 600 mV.
• Set 600.0 mV on the simulator.
When the reading is stable and close to the selected calibration point,
“READY” tag will appear and “CFM” tag will blink.
• Press CFM to confirm. The secondary LCD will display 1800 mV.
• Set 1800.0 mV on the simulator.
When the reading is stable and close to the selected calibration point,
“READY” tag will appear and “CFM” tag will blink.
• Press CFM to confirm. The instrument returns to measurement mode.
