11 - SET UP AND ADJUSTMENTS
24
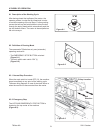
11.1 Box Width Adjustment
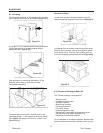
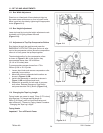
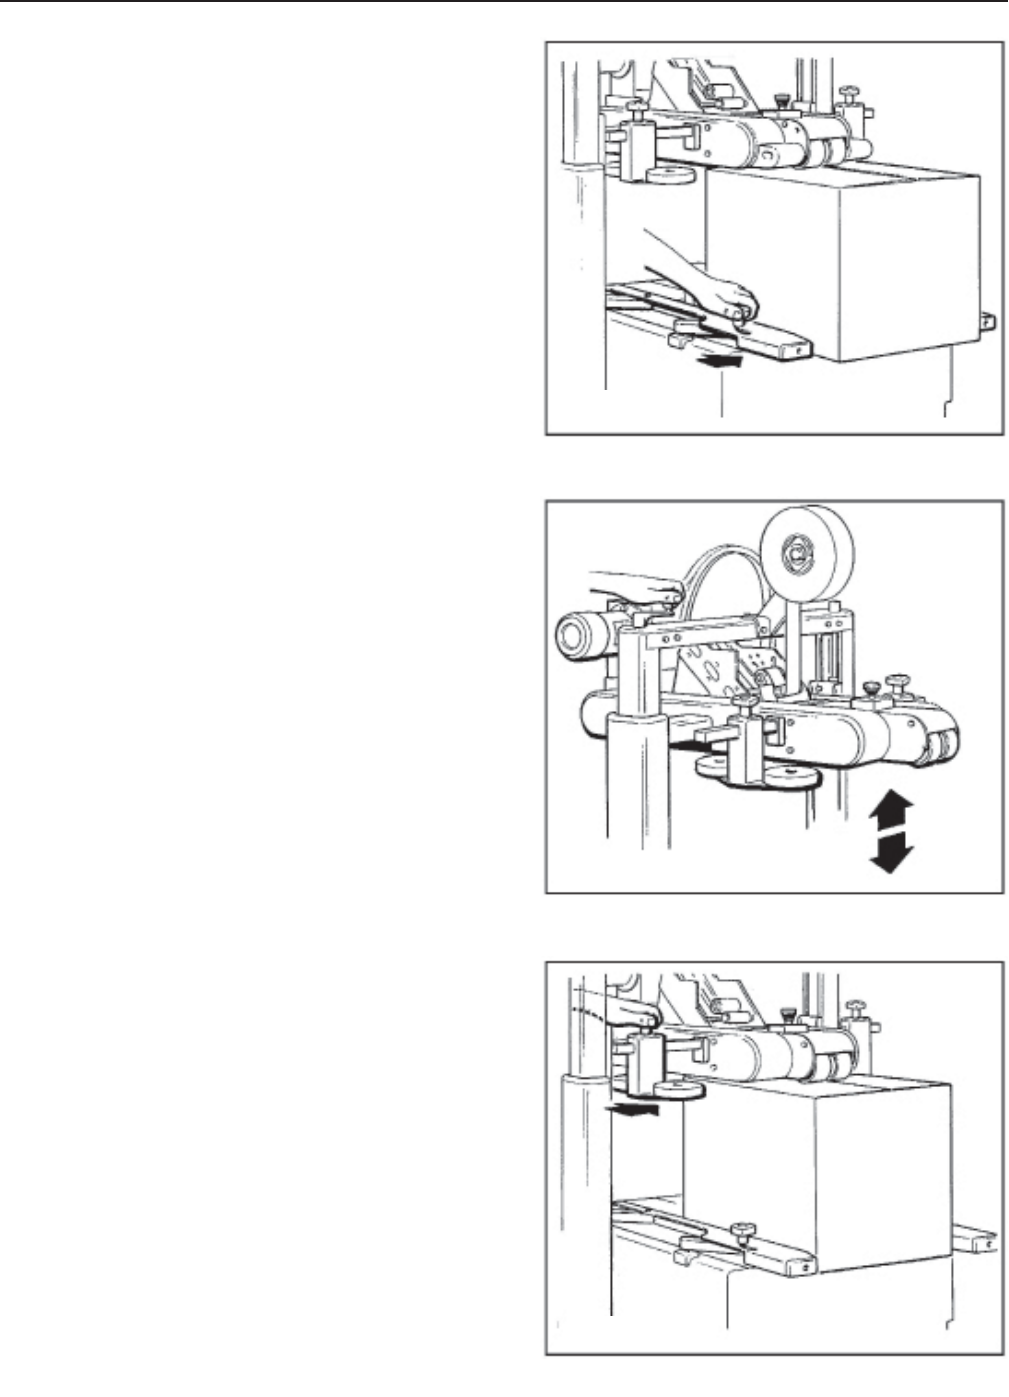
Place box on infeed end of frame bed and align top
fl ap center seam with arrows on front of upper frame.
Move in and lock the side by tightening the appropriate
knobs
(Figure 11-1).
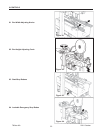
11.2 Box Height Adjustment
Lower top head by turning the height adjustment crank
clockwise until it lightly presses the case
(Figure 11-2).
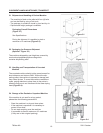
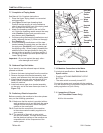
11.3 Adjustment of Top Flap Compression Rollers
Run the box through the machine and press the
EMERGENCY STOP BUTTON when the box is adja-
cent to the compression rollers. Move the compression
rollers in to fi rmly press the top fl aps together.
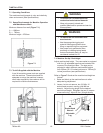
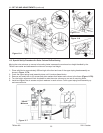
The standard position for the compression rollers
is shown in Figure 11-3A. In this position they
accommodate boxes from 335 to 660mm
[13-1/4 to 26 inches] wide.
To accommodate narrower boxes from 170 to
520mm [6-3/4 to 20-1/2] wide.
1. Loosen hand knob and remove compression roller
assembly from machine.
2. Move both rollers to alternate hole locations as
shown in Figured 11-3B.
3. Install roller assembly on machine as shown in
Figure 11-3B and tighten hand knob.
4. Repeat this procedure for both sets of compres-
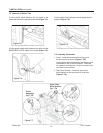
sion rollers. Release Emergency Stop Button
and press electrical ON (I) button (Figure 11-4)
.
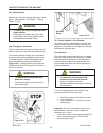
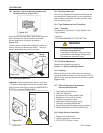
11.4 Changing the Tape Leg Length
Taping heads are preset to apply 70mm [2.75 inches]
long tape legs. To change tape leg length to
50mm [2.0 inches], refer to Instructions below and
also to Manual 2, "Removing Taping Heads Procedure
- Changing the Tape Leg Length".
Taping Heads
Important! Turn off Electric Power
2011 October
700aks-NA
Figure 11-1
Figure 11-3
Figure 11-2


