Page 15SKU 90891 For technical questions, please call 1-800-444-3353.
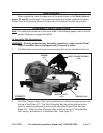
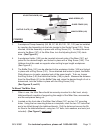
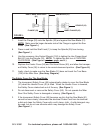
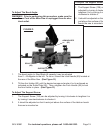
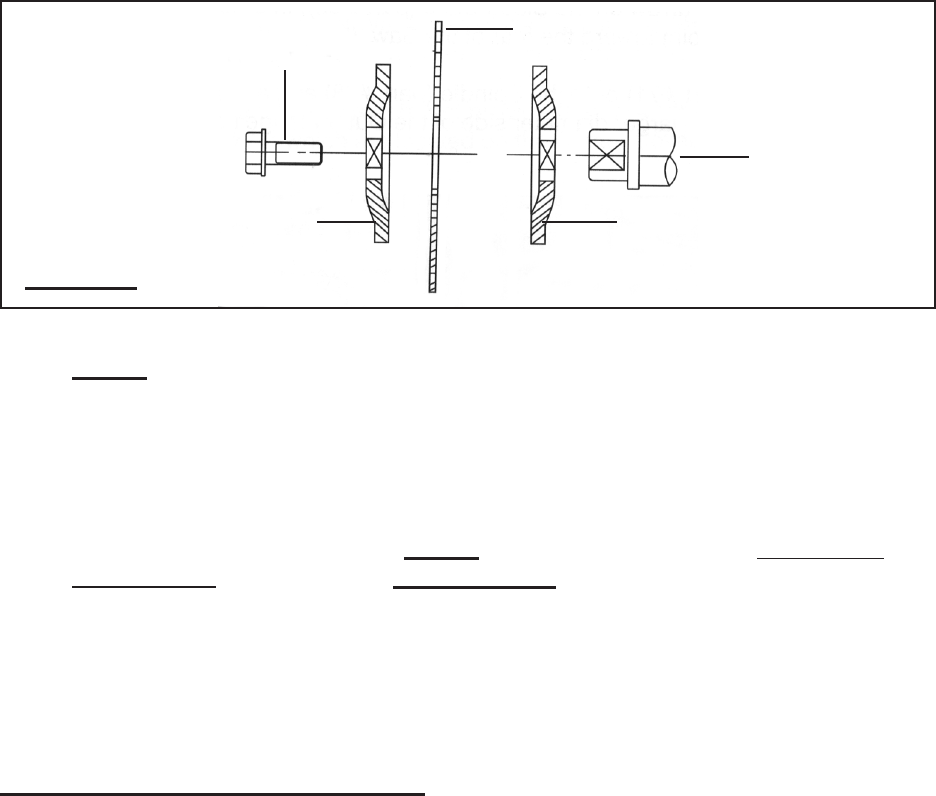
SAW BLADE (51)
HEX FLANGE HEAD BOLT
(61)
FLANGE (52)
SPINDLE (35)
INNER FLANGE (65)
FIGURE L
Insert the Flange (52) onto the Spindle (35) and against the Saw Blade (51).
NOTE: Make sure the larger diameter side of the Flange is against the Saw
Blade. (See Figure L.)
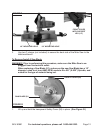
Press in and hold the Shaft Lock (1) to keep the Spindle (35) from turning.
(See Figure I.)
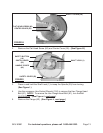
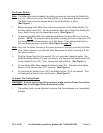
Use the accessory Hex Socket Wrench (150) to tighten the Hex Flange Head
Bolt (61) into the Spindle (35). NOTE: To tighten the Bolt turn it COUNTER-
CLOCKWISE. (See Figure J previous page, and L.)
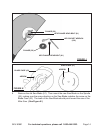
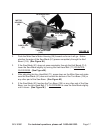
Replace the Center Cover (55) and Flat Head Screw (60), and allow the transpar-
ent Safety Cover (58) to return to its normal downward position. (See Figure H.)
Lastly, check to make sure the Saw Blade (51) does not touch the Turn Base
(125) of the Miter Saw. (See Assy. Diagram.)
The Safety Cover For The Saw Blade:
The transparent Safety Cover (58) automatically rotates to cover the Saw Blade
(51) when the Handle Cover (40) is lifted. When the Handle Cover is lowered,
the Safety Cover rotates back out of the way. (See Figure I.)
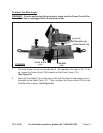
Do not disconnect or remove the Safety Cover (58). Do not operate the Miter
Saw if the Safety Cover is damaged or missing. (See Figure I.)
If the transparent Safety Cover (58) becomes so dirty that the Saw Blade (51)
cannot be seen clearly, disconnect the electrical Power Cord from its electrical
outlet and clean the Safety Cover with a soft, damp, cloth. A mild detergent may
be used, but do not use solvents which may damage the Safety Cover.
(See Figure I.)
7.
8.
9.
10.
11.
1.
2.
3.


