


16 17
16 17
To avoid injury, do not connect
this miter saw to the power source
until it is completely assembled and
adjusted, and you have read and
understood this Operator’s Manual.
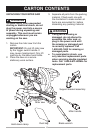
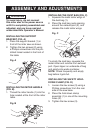
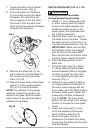
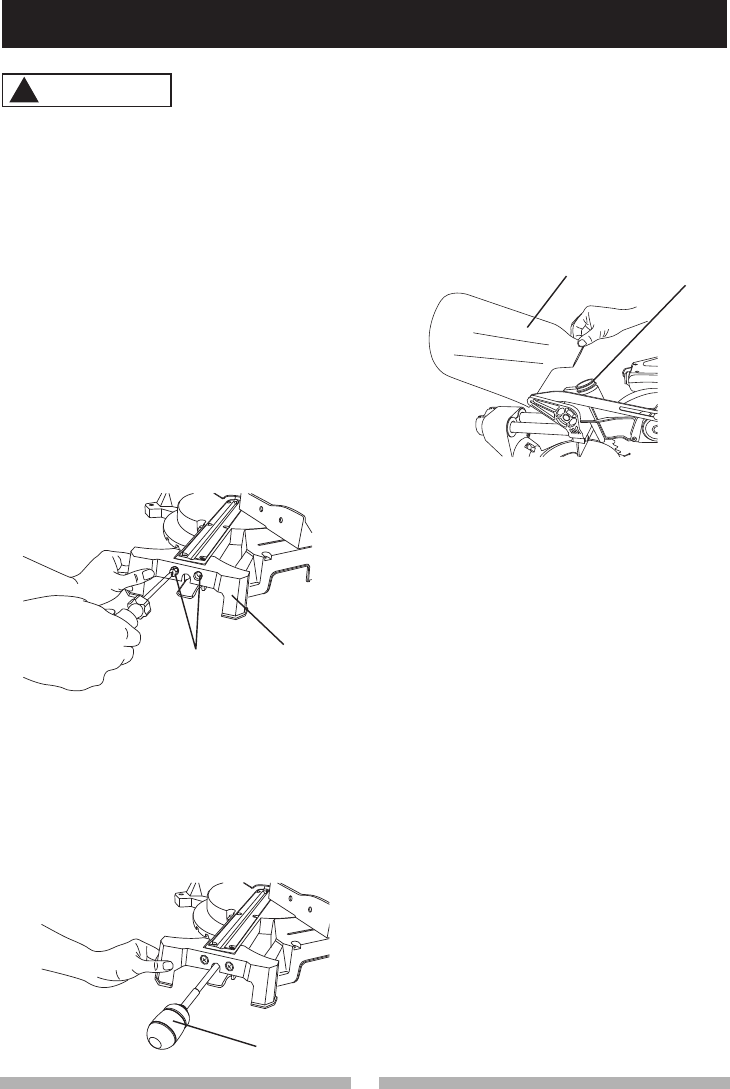
INSTALLING THE SUPPORT
BRACKET (FIG. A)
1. Place the support bracket (1) in
front of the miter saw as shown.
2. Tighten the two screws (2) using
a Phillips screwdriver into the pre-
drilled holes located in the front of
the table.
Fig. A
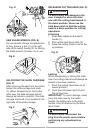
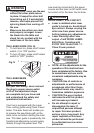
INSTALLING THE MITER HANDLE
(FIG. B)
1. Thread the miter handle (1) into the
hole located at the front of the miter
table.
Fig. B
WARNING
!
INSTALLING THE DUST BAG (FIG. C)
1. Squeeze the metal collar wings of
the dust bag (1).
2. Place the dust bag neck opening
around the exhaust port (2), and
release the metal collar wings.
Fig. C
To empty the dust bag, squeeze the
metal collar and remove from exhaust
port. Open zipper on underside of bag
and empty into waste container.
NOTE: Check frequently and empty
bag before it gets full.
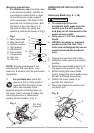
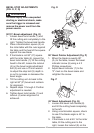
INSTALLING THE SAFETY HOLD-
DOWN CLAMP (FIG. D)
1. Loosen the hex screw (3) using a
Phillips screwdriver from the rear
side of the saw base.
2. Place the hold-down clamp
assembly (1) in one of the mounting
holes (2).
3. Tighten the hex screw (3).
ASSEMBLY AND ADJUSTMENTS
1
2
1
1
2