


18 19
18 19
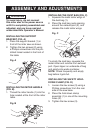
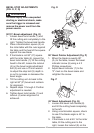
NOTE: Your miter saw was adjusted at
the factory. However, during shipment
slight misalignment may have occurred.
Check the following settings and adjust
if necessary prior to using this miter
saw.
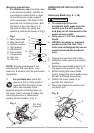
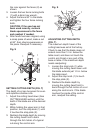
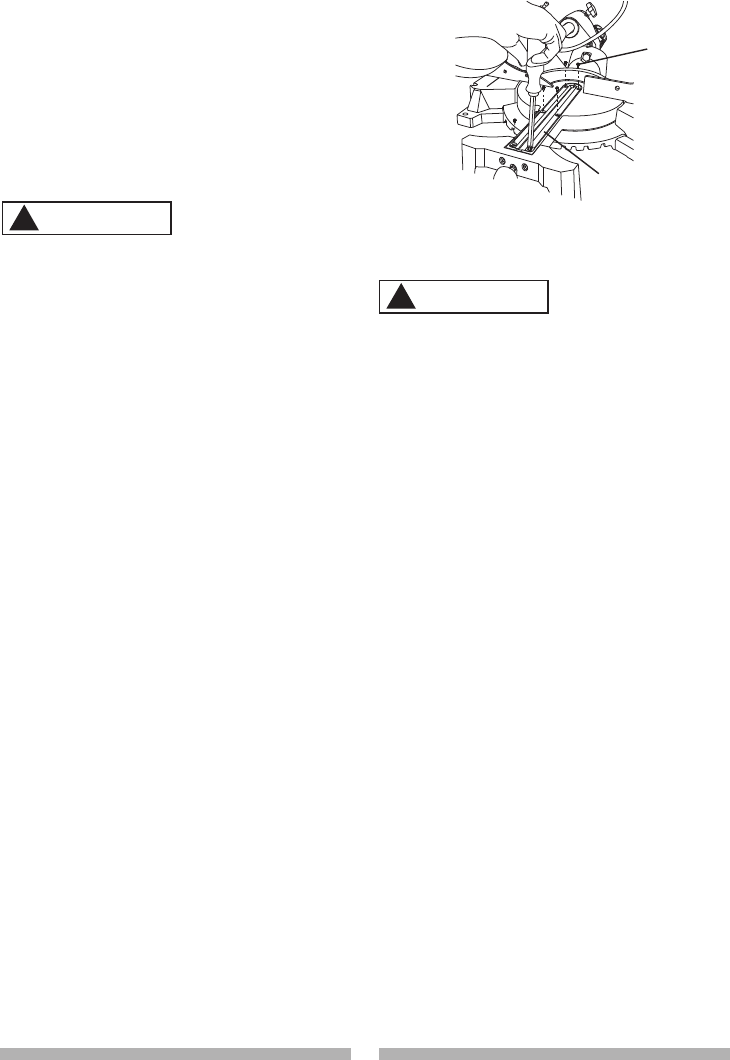
REMOVING AND INSTALLING THE
TABLE INSERT (FIG. H)
To avoid injury:
●
Always unplug the saw to avoid
accidental starting. Remove all
small pieces of material from the
table cavity before performing
any cuts. The table insert may
be removed for this purpose, but
always reattach the table insert
prior to performing a cutting
operation.
●
Do not start the sliding compound
miter saw without checking for
interference between the blade
and table insert. Damage could
result to the blade, table insert or
turntable if blade strike occurs
during the cutting operation.
1. To remove, loosen and remove the
six screws (1) on the table inserts
(2) with a Phillips screwdriver and
remove the insert.
2. To install, reposition the table
inserts, install the six screws and
tighten.
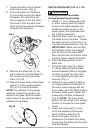
3. Check for blade clearance by
moving the slide carriage through
the full motion of the blade in the
table slot.
Fig. H
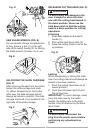
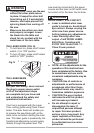
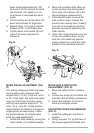
MOUNTING THE MITER SAW
(FIG. I, J)
To avoid injury form unexpected
saw movement:
●
Disconnect the power cord from
the outlet, and lock the cutting
head in the lower position using
the stop latch.
●
Lock the slide carriage in place
by tightening the slide carriage
lock knob.
●
To avoid back injury, lift the saw
by using the designated carrying
handles located on the top of the
machine. When lifting, bend at
your knees, not from your back.
●
Never carry the miter saw by
the power cord or by the switch
handle. Carrying the tool by the
power cord could cause damage
to the insulation or the wire
connections resulting in electric
shock or fire.
●
To avoid injury from flying debris,
do not allow visitors to stand
near the saw during any cutting
operation.
●
Support the saw on a level work
surface.
●
Always bolt or clamp the saw to
its support.
WARNING
!
WARNING
!
1
2