assembly
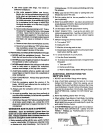
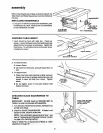
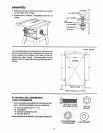
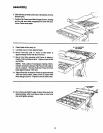
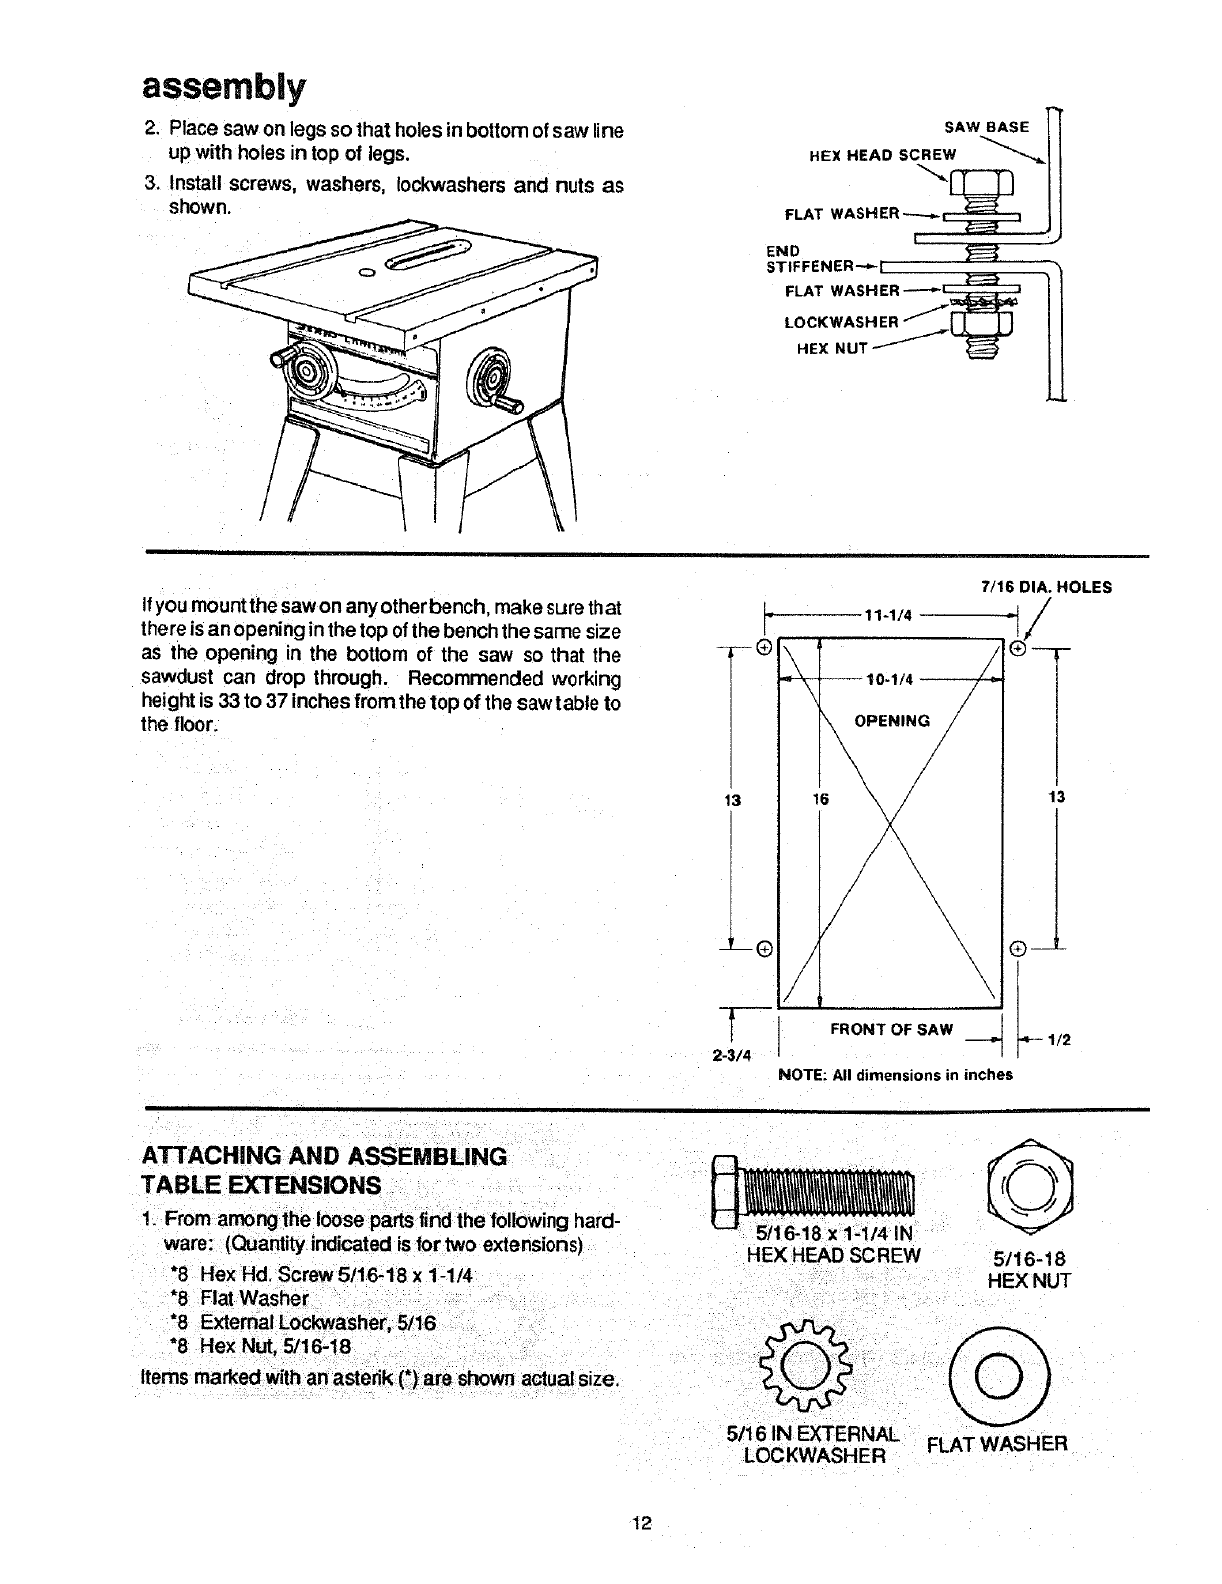
2. Place saw on legs so that holes in bottom ofsaw line
up with holes in top of legs.
3. Install screws, washers, Iockwashers and nuts as
shown.
/
SAW BASE !
FLAT WASHER ..----_ _ I
!
END
STIFFENER'_ k i
FLAT WASHER -----'_
LOCKWASHER
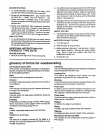
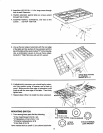
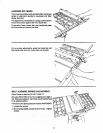
Ifyou mount the saw on any other bench, make surethat
there isan opening inthe top ofthe bench the same size
as the opening in the bottom of the saw so that the
sawdust can drop through. Recommended working
heightis 33 to 37 inches from the top of the saw table to
the floor.
7/16 DIA. HOLES
L
F
T®
OPENING_ 7_
13 16 \
/ \
t \
2-3/4
NOTE: All dimensions in inches
11-1/4
13
1t2
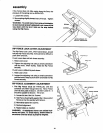
ATTACHING AND ASSEMBLING
TABLE EXTENSIONS
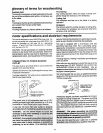
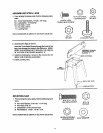
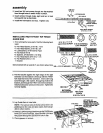
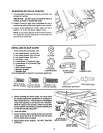
1. From among the loose parts findthe following hard-
ware: (Quantity indicated is for two extensions)
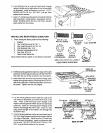
*8 Hex Hd. Screw 5/16-18 x 1-1/4
*8 Flat Washer
*8 External Lockwasher, 5/16
*8 Hex Nut, 5/16;18
Items marked with an asterik (*) are shown actual size.
HEX HEAD SCREW
G
5/16-18
HEX NUT
,5/16 IN EXTERNAL
LOCKWASHER FLAT WASHER
12


