19
Alignment
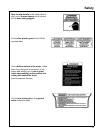
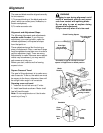
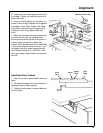
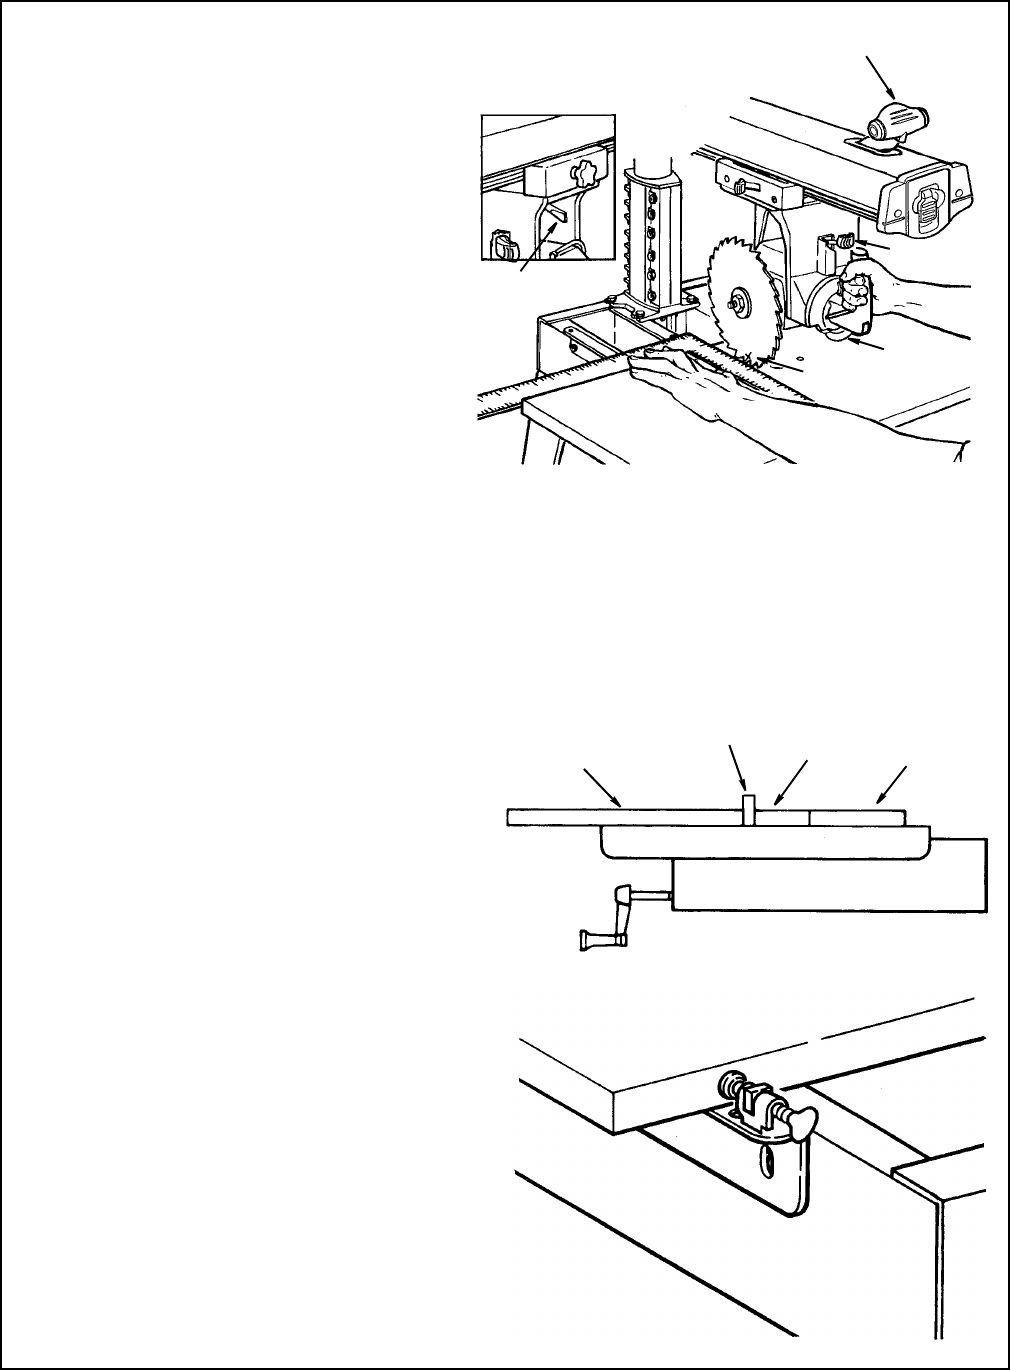
3. Lower arm until saw blade just clears the
front table. Tighten the yoke lock lever and
bevel lock lever.
4. Place a framing square on the table, as
shown, with one leg of square firmly against
rear edge of front table. Position the blade
and square until the leg of the square just
contacts a tooth of the blade. Mark this
tooth.
5. When the carriage is moved slowly back
and forth on the arm, the marked tooth
should just touch the square at all points. If
marked tooth moves into or away from
square, follow the adjustments as described
in your saws original owners manual. If you
no longer have your saws owners manual
call Customer Service at 1-800-325-1184.
Have your saws model number ready when
you call.
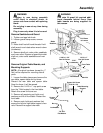
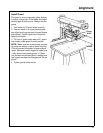
Install New Table Clamps
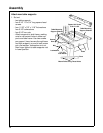
1. Insert fence, then spacer table, then rear
table.
2. Tilt clamp forward and snap into place in
opening at rear of table support.
3. Tighten thumbscrews to clamp table sec-
tions in place.
Miter/Arm Lock Lever
Yoke Lock
Lever
Marked
Tooth
Bevel Lock
Lever
Bevel Index
Lever
Front
Table
Fence
Spacer
Table
Rear
Table


