39
2. Insert yellow key and turn saw on.
3. Stand at infeed side and out of line of
workpiece, in case of kickback. Start and
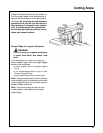
finish cut from infeed side.
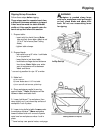
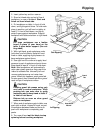
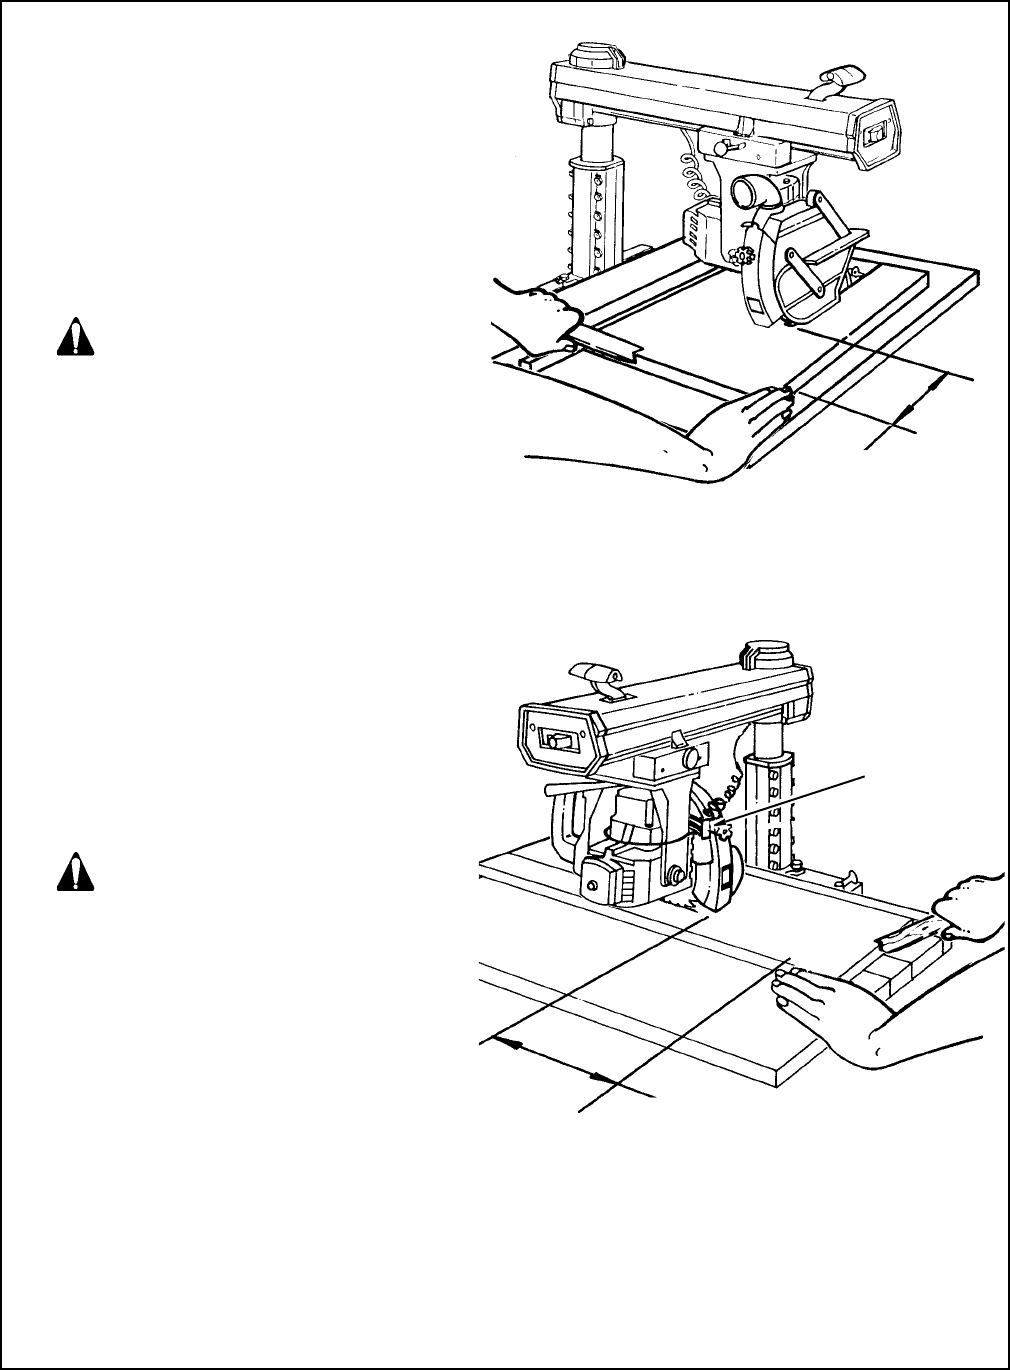
4. Put workpiece on table, in front of hold
down, and tight against fence. To hold work-
piece in position, put left hand on table, at
least 8" in front of hold down, and lightly
press fingers against workpiece. Support
workpiece with table extension or right hand.
CAUTION
For large workpieces use a feather
board in place of your hand on the
table. It gives better support. (See cut-
ting aides)
5. With right hand, push workpiece under
hold down and into blade. Keep left hand
fixed on table, applying slight pressure to
keep workpiece against fence.
6. Use right hand to continue to apply feed
pressure to part of workpiece close to fence.
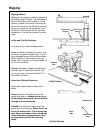
Keep hand at least 8" in front of hold down.
Note:
Most workpieces will automatically
raise clear plastic guard as they pass from
infeed to outfeed side. Unusually tall and
narrow workpieces may not raise clear
guard. When this happens, push guard tab
to raise guard, then release tab when guard
rests on top of workpiece surface.
CAUTION
Pushing guard tab means using only
one hand to control workpiece. While
pushing tab, use extra care to guide
workpiece and to keep hand at least 8"
in front of hold down.
Release tab as soon as clear guard
rests on workpiece.
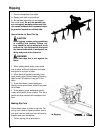
7. When end of workpiece gets to table, use
push stick or block, instead of hand, on part
of workpiece between blade and fence to
push until workpiece is completely past
pawls.
8. Turn saw off and wait for blade to stop
spinning before touching workpiece.
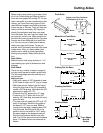
Out-Ripping
Keep Hand
Back 8"
In-Ripping
Keep Hand
Back 8"
Guard
Tab
Ripping


