


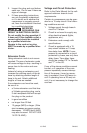
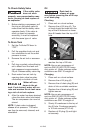
5. Rotate each retaining clip clock-
wise and press down until it
snaps into place over the handle.
6. If the handle has excessive
movement, it is improperly
installed. Check the following.
A. Are both tabs inside the
handle (Step #3)?
B. Does each clip pass through
both the saddle and handle
(Step #4)?
11- ENG
D24910
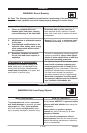
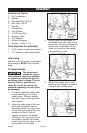
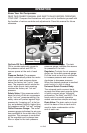
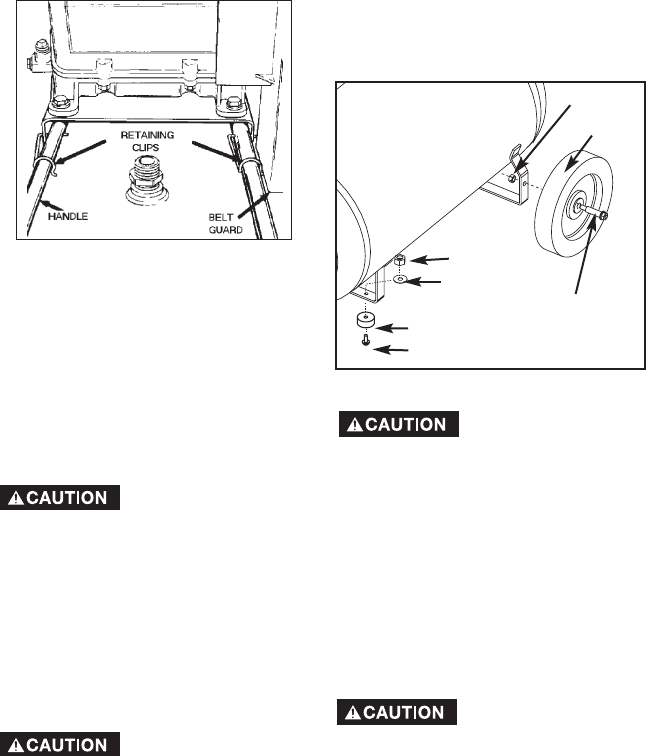
To Assemble Wheels
It will be necessary
to brace or support
one side of the air compressor
when installing the wheels because
the compressor will have a tenden-
cy to tip.
1. Attach wheels with shoulder
bolts and nuts as shown.
2. Tighten securely. NOTE: The air
compressor will sit level if the
wheels are properly installed.
The wheels and
handle do not pro-
vide adequate clearance, stability
or support for pulling the unit up
and down stairs or steps. The unit
must be lifted, or pushed up a
ramp.
Screw
Nut
Wheel
Shoulder
Bolt
Flat Washer
Rubber Foot
Nut
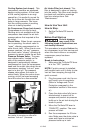
To Add Oil To Pump
Compressors are
shipped without oil.
A small amount of oil may be pres-
ent in the pump upon receipt of the
air compressor. This is due to plant
testing and does not mean the
pump contains oil. Do not attempt
to operate this air compressor
without first adding oil to the
crankcase. Serious damage can
result from even limited operation
unless filled with oil and broken in
correctly. Make sure to closely fol-
low initial start-up procedures.
Use air compressor
oil only. Multi-
Viscosity motor oils, like 10W 30,
should not be used in an air com-
pressor. They leave carbon
deposits on critical components,
thus reducing performance and
compressor life.
NOTE: Use an air compressor oil
such as Sears item number 9-16426
or SAE-20 (API CG/CD heavy duty
motor oil. Under extreme winter con-
ditions use SAE-10 weight oil.
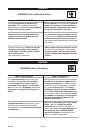
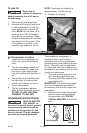
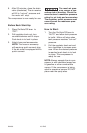
Assemble Rubber Feet
1. Attach rubber feet with the
screws, washers and nuts pro-
vided as shown in figure below.
2. Tighten securely.