


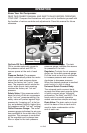
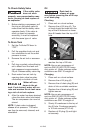
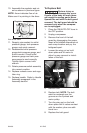

10. Assemble the regulator and ori-
ent as shown in previous figure.
NOTE: Arrow indicates flow of air.
Make sure it is pointing in the direc-
tion of air flow.
11. Reapply pipe sealant to outlet
pressure gauge, tank pressure
gauge, and quick connect.
12. Reassemble outlet pressure
gauge,tank pressure gauge, and
quick connect. Orient outlet
pressure gauge and tank pres-
sure gauge to read correctly.
Tighten quick connect with
wrench.
13. Rotate pressure switch assembly
into correct position.
14. Replace console cover and regu-
lator ring.
15. Replace handle. Refer to Handle
Assembly paragraph in the
Assembly section.
22- ENG
D24910
Arrow
To Replace Belt
Serious injury or
damage may occur
if parts of the body or loose items
get caught in moving parts. Never
operate the unit with the belt guard
removed. The belt guard should be
removed only when the compres-
sor is unplugged.
1. Place the ON/AUTO-OFF lever in
the OFF position.
2. Unplug compressor.
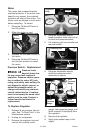
3. Remove the front of the belt
guard by disengaging the snaps.
Insert a flat bladed screwdriver at
each snap location and pry the
beltguard apart.
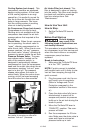
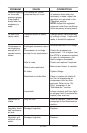
4. Loosen the wing nut on hold
down plate and tilt motor to
allow for easy removal or instal-
lation of the belt.
5. Remove belt.
6. Replace belt. NOTE: The belt
must be centered over the
grooves on the flywheel and
motor pulley.
7. Turn the wing nut on the hold
down plate until it makes contact
with the washer, plus one addi-
tional turn.
8. Replace the belt guard.
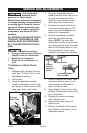
Wing Nut
Regulator