


17
Fig. 26
L
P
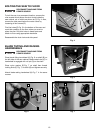
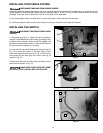
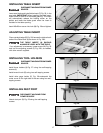
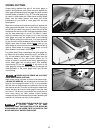
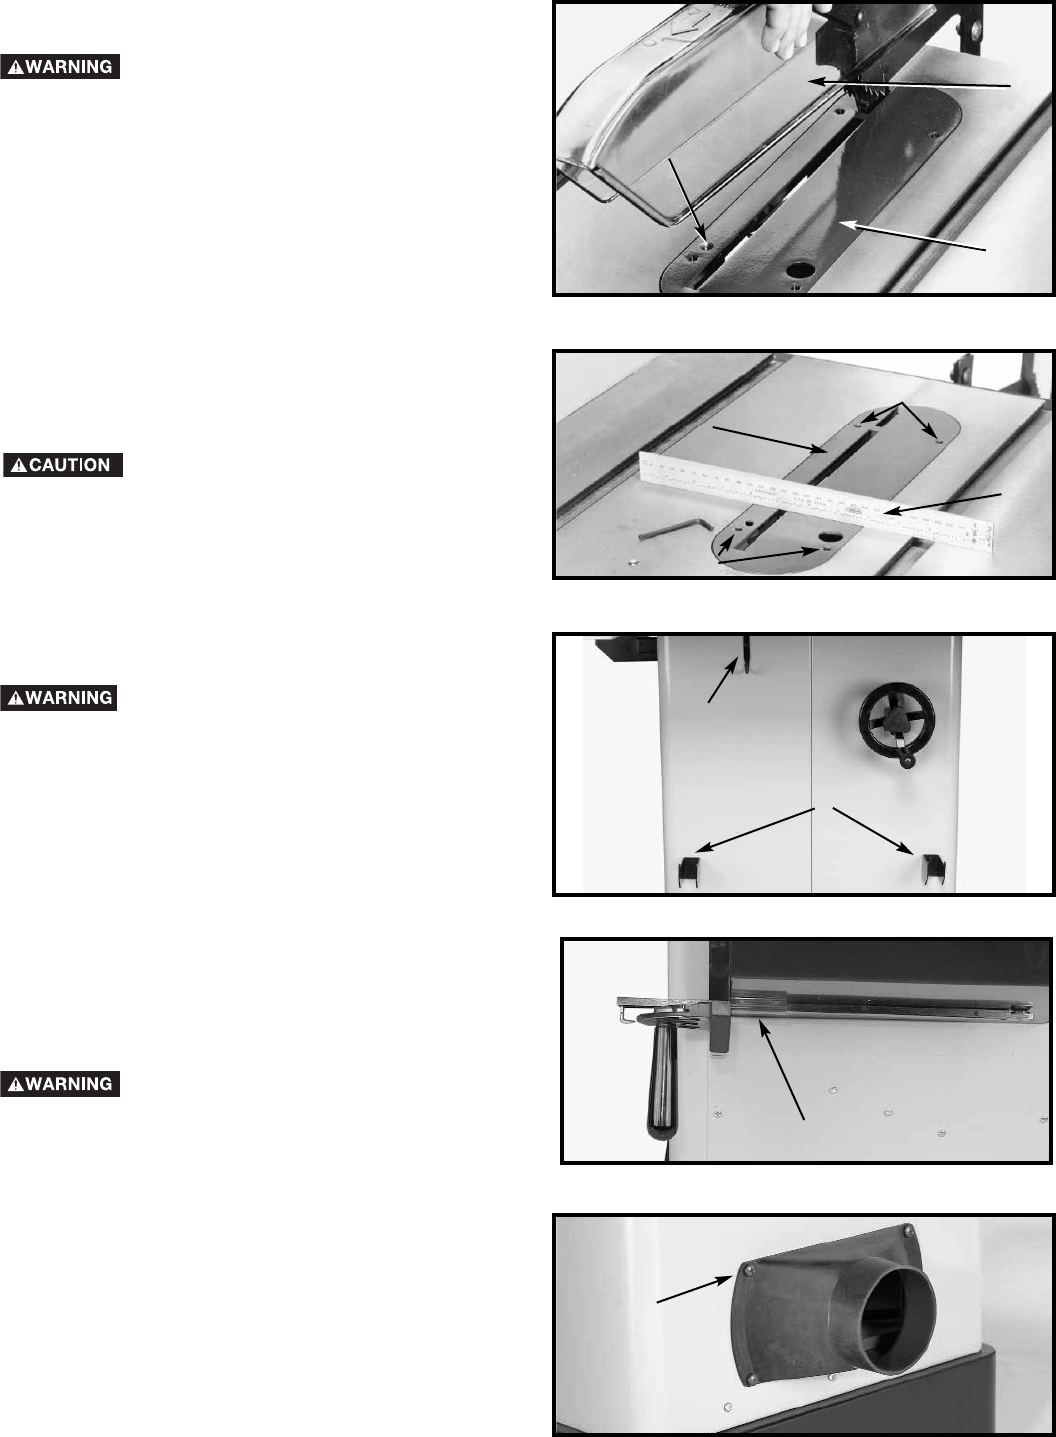
INSTALLING TABLE INSERT
DISCONNECT MACHINE FROM POWER
SOURCE.
Lower saw blade and install table insert (P) Fig. 26, in the
saw table. IMPORTANT: When installing the table insert,
make certain to hold on to the blade guard (L). The insert
will automatically release the holding action on the
splitter and lower the blade guard when the insert is
installed in the table opening.
Insert M5x20mm screw into hole (M) Fig. 26 and tighten.
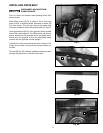
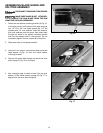
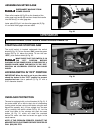
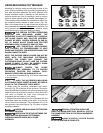
INSTALLING TOOL HOLDERS
DISCONNECT MACHINE FROM POWER
SOURCE.
Install fence holders (A) Fig. 27 using four self-tapping
screws (4).
Install wrench hook (B) using two self-tapping screws.
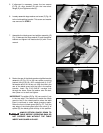
Install miter gage holder (C) Fig. 28 underneath the
motor cover on the right side of the saw using four self-
tapping screws.
Fig. 27
Fig. 28
Fig. 29
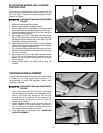
INSTALLING DUST PORT
DISCONNECT MACHINE FROM
POWER SOURCE
Attach dust port (D) Fig. 29 using four self-tapping
screws.
A
B
C
D
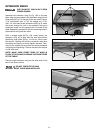
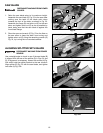
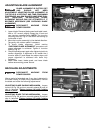
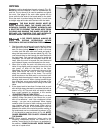
ADJUSTING TABLE INSERT
Place a straight edge (B) Fig. 26A across the table at both
ends of the table insert (A) as shown in Fig. 26A.
THE TABLE INSERT (A) SHOULD
ALWAYS BE LEVEL WITH THE TABLE.
If an adjustment is necessary, loosen screw (M) Fig. 26
and turn the adjusting screws (C) Fig. 26A, as needed,
with allen wrench supplied.
Fig. 26A
C
B
C
A
M