13
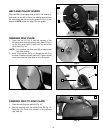
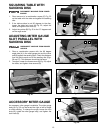
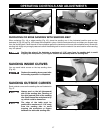
SQUARING TABLE WITH
SANDING DISC
1. Place one end of a combination square (C) Fig. 25
on the table with the other end against the sanding
disc.
2. If the table surface is not 90 degrees to the disc,
loosen the table lock knob (A) Fig. 25, adjust the
table, and tighten lock knob (A).
3. Adjust the pointer (B) Fig. 25 to the “0” degree mark
on the angle scale.
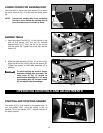
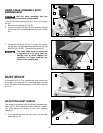
ADJUSTING MITER GAUGE
SLOT PARALLEL WITH
SANDING DISC
1. Place a combination square with the 90 degree
angle side (A) in the miter gauge slot and the other
end (B) against the sanding disc. Check the distance
from the slot to each end of the sanding disc (Figs.
26 and 27). This distance should be the same.
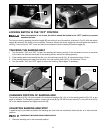
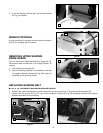
2. To adjust, loosen the three screws (B) Fig. 28, adjust
the table, and tighten three screws (B).
Fig. 25
Fig. 26
Fig. 28
Fig. 27
DISCONNECT MACHINE FROM POWER
SOURCE.
A
B
DISCONNECT MACHINE FROM POWER
SOURCE.
AB
B
Fig. 29
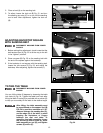
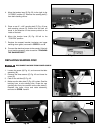
ACCESSORY MITER GAUGE
An accessory miter gauge is available. The miter gauge
body (A) Fig. 32 can be turned the right or left for angle
or miter sanding. To change the angle, loosen the lock
knob (B), rotate the miter gauge body, and tighten the
lock knob (B).
C
A
B


