15
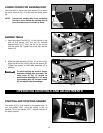
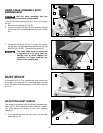
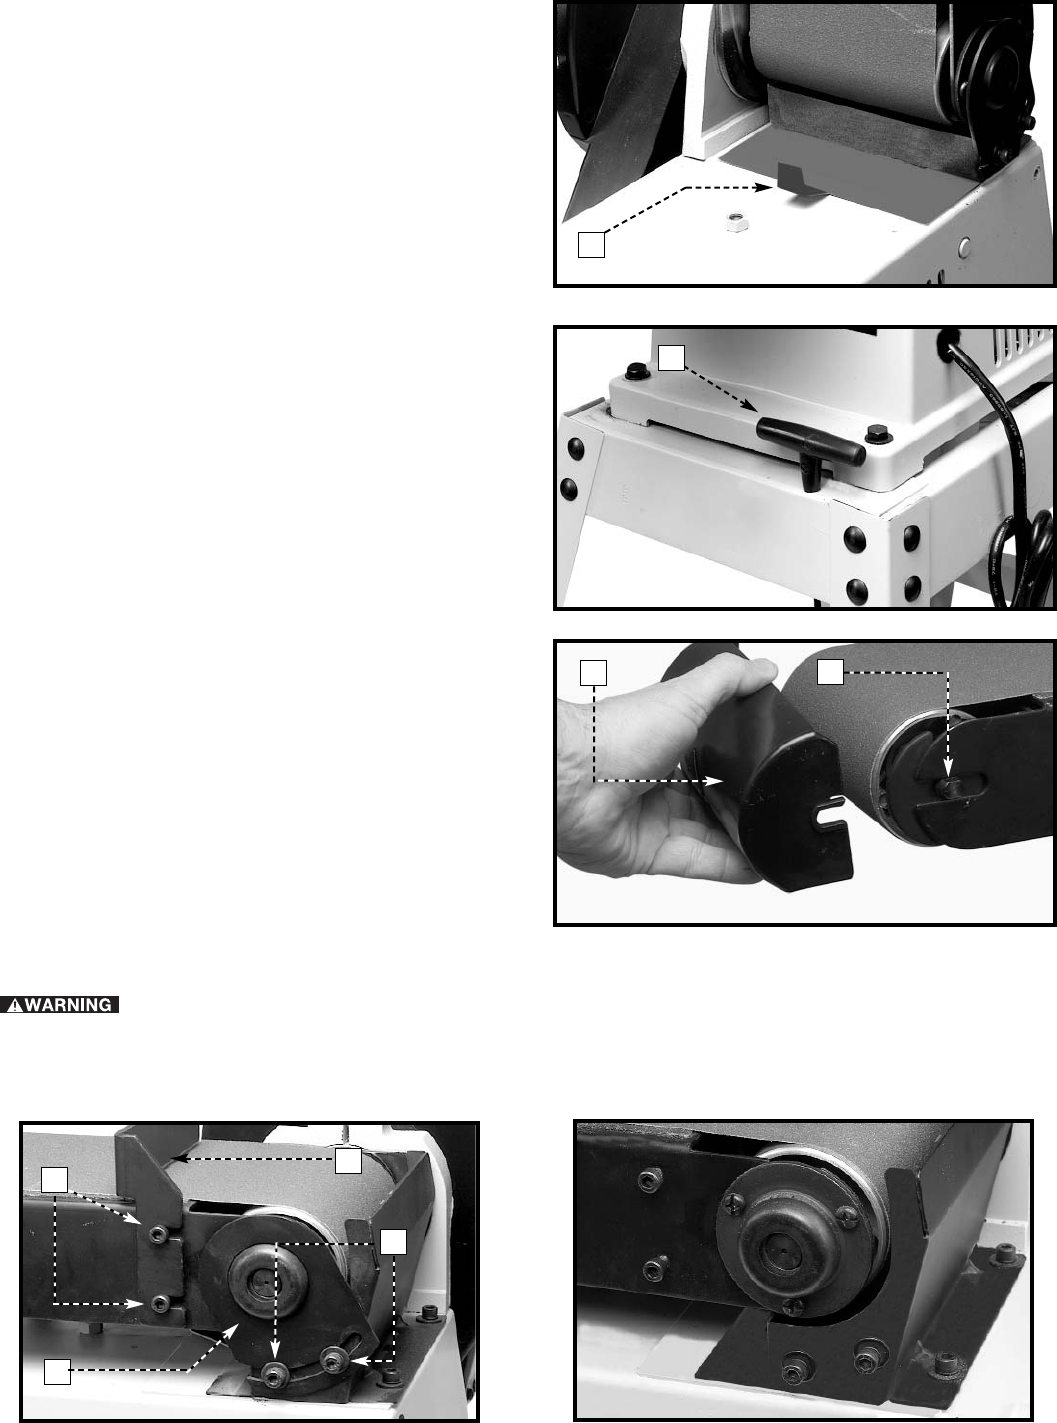
2. If you are sanding with the belt, pull the dust shield
(A) Fig. 34 outward.
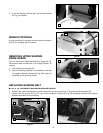
Fig. 35
Fig. 36
WRENCH STORAGE
A hole is provided in the stand for storing the hex wrench
(A) Fig. 35, supplied with the sander.
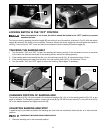
REMOVING UPPER SANDING
DRUM GUARD
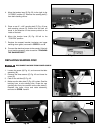
You can remove the upper sanding drum guard (A) Fig.
36 to sand inside curved work or to change the belt. To
remove:
1. Pull outward on the guard (A).
2. After the sanding operation is completed or the belt
is changed, replace the guard (A) Fig. 36 on the two
studs (B), one of which is shown.
Fig. 34
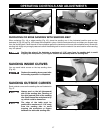
Fig. 37
Fig. 38
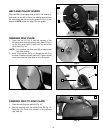
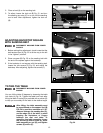
REPLACING SANDING BELT
1. Remove the upper sanding drum guard. Loosen the two screws (A) Fig. 37 and remove the backstop (B).
2. Loosen the two screws (C) Fig. 37, and remove support bracket (D). Fig. 38 illustrates backstop and support
bracket removed from the machine.
DISCONNECT MACHINE FROM POWER SOURCE.
B
A
D
C
A
A
A
B


