


UNPACKING
1. Carefully remove the machine from the carton.
Retain all packing materials until you have inspected and
satisfactorily operated the machine.
WARNING: Do not connect the machine to the power
source until you have read and understood this entire
instruction manual.
2. Place the machine on a firm, level surface with extra
room for handling and proper support of the workpiece.
3. Familiarize yourself with all features and controls
explained in this manual.
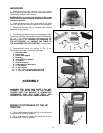
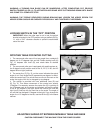
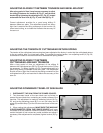
4. The machine is shipped with the cuttinghead locked
in the down position and the table rotated to 45 degrees
left, Fig. 2. To release the head and move it to the
operating position, see “MOVING CUTTINGHEAD TO
THE UP POSITION” and “MOVING THE TABLE TO
THE 90 DEGREE CUT-OFF POSITION” in this section.
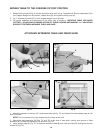
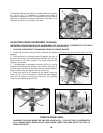
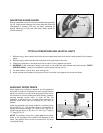
5. Unassembled items are shown in Fig. 3 for
identification and use in assembling the saw.
1 Extension table
2 Fence slide
3 Fence slide support
4 Dust bag
5 Arbor and fence wrench
6 ¼" wrench
7 Open end wrench
8 Lock handle for slide fence
9 ¼" flat washer
10 ¼" lock washer
11 ¼ - 18 x 1 1/4" long hex head screw (2)
12 ¼ - 18 x 3/4" long hex head screws (2)
ASSEMBLY
WARNING: FOR YOUR OWN SAFETY, DO NOT
CONNECT THE MITER SAW TO THE POWER
SOURCE UNTIL THE MACHINE IS COMPLETELY
ASSEMBLED AND YOU HAVE READ AND
UNDERSTOOD THE ENTIRE OWNER’S MANUAL.
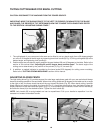
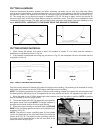
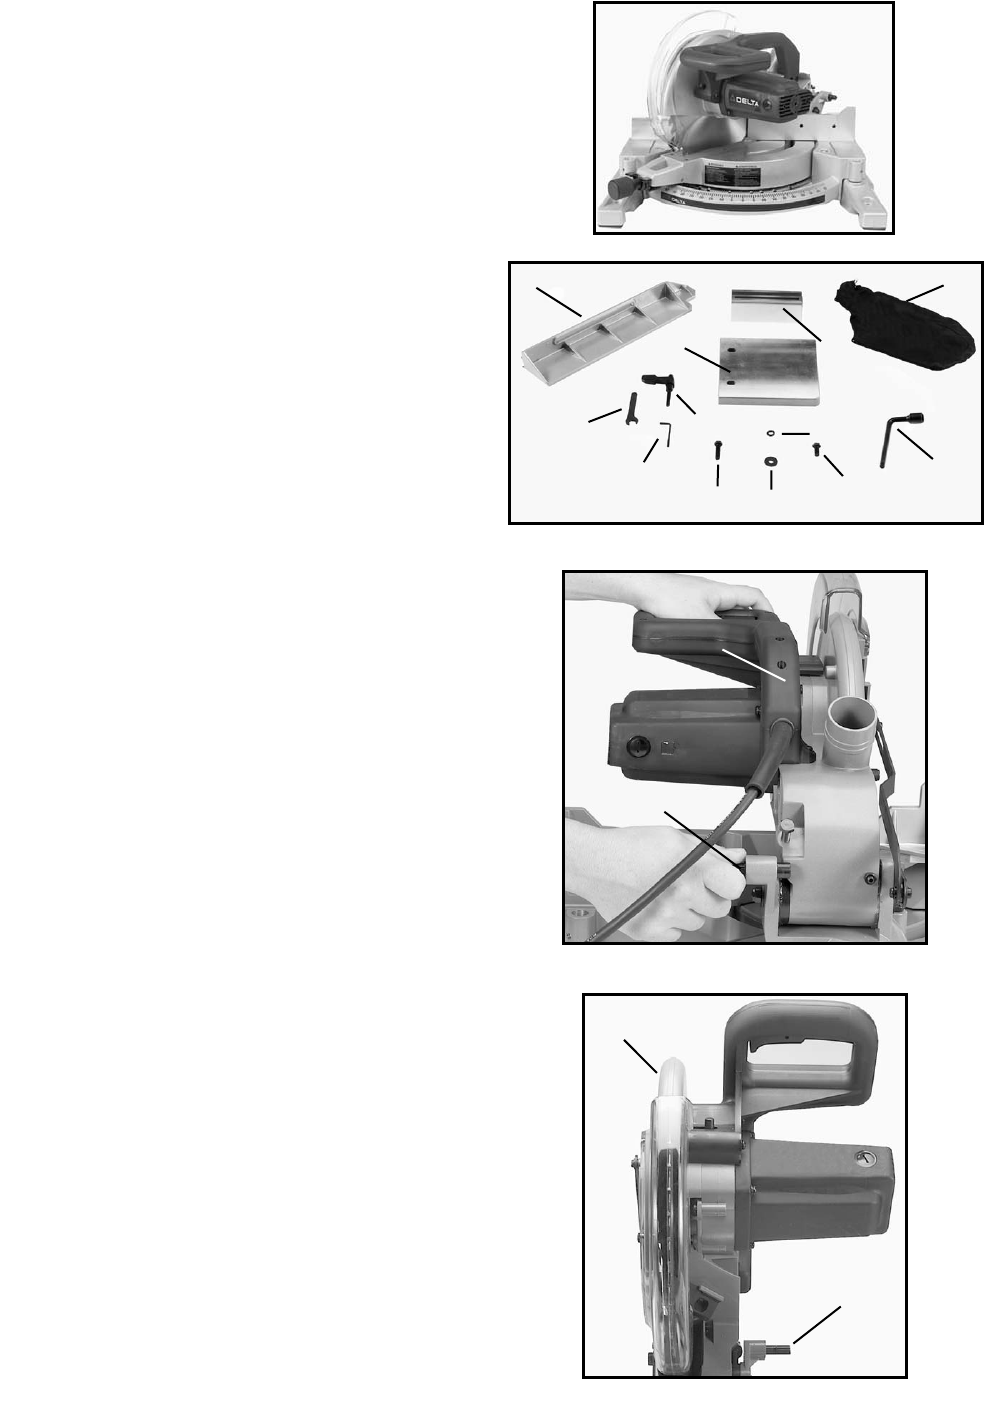
MOVING CUTTINGHEAD TO THE UP
POSITION
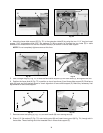
1. Pull out cuttinghead lockpin (A) Fig. 4, and move the
cuttinghead (B) to the up position.
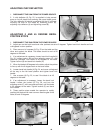
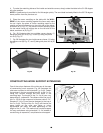
2. Fig. 5, illustrates the lockpin (A) pulled out and the
cuttinghead (B) in the up position.
5
Fig. 3
1
2
4
7
8
9
11
Fig. 2
3
5
6
10
12
B
Fig. 4
A
Fig. 5
B
A