12
English
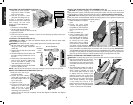
WARNING: For non-through cutting operations, such as dadoing and molding, the blade
guard and splitter assembly MUST BE removed. ALWAYS return and fasten the blade
guard and splitter assembly to its proper operating position for normal through-sawing
operations.
CAUTION: DO NOT attempt to stack or adjust dado blades thicker than 13/16" (20 mm).
Do not use dado blades larger than 8" (200 mm) diameter. Always check dado blade clear-
ance before plugging in the saw to prevent damage to saw and personal injury.
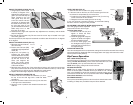
Because dado cuts are not through cuts, the cuts must be performed with the blade guard
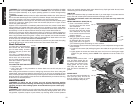
removed. To remove the blade guard, loosen the two bolts (SS) shown in Figure 16 and
remove the guard assembly.
Anytime a cut is required that is considerably wider than the saw kerf, a dado is used. When
using the dado, the special dado insert (also sold as an accessory) must be used. When
installing the dado blade set, it may be necessary to eliminate the outer clamp washer from
the assembly in order to capture sufficient thread to safely hold the dado blade set.
A dado cut is commonly used to add support and line up a shelf for a cabinet, bookcase or
some such project. When using the dado, the guard must be removed. Use EXTREME care
when using the dado without the guard. If a deep cut is required, use several successive
passes rather than attempting to make it with one pass. Maximum dado width on this saw
is 13/16" (20 mm). DO NOT USE WIDER COMBINATIONS.
When cutting with a dado blade use dust collection to prevent heavy dust loads from piling
up under the saw and on the fan intake on the motor. Clean these areas often.
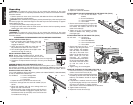
Dust Collection
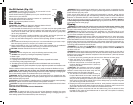
Your table saw is equipped with a
FIG. 30
T
dust shroud and dust collection
port. For best results, connect a
vacuum to the port (T) at the rear
of the saw.
If the saw is operated without a
vacuum attached, most of the dust
will be blown out the dust collec-
tion port. After extended use, the
saw’s dust collection system may
become clogged.
TO CLEAR THE DUST COLLECTION SYSTEM
a. Unplug the saw.
b. Use a paint stick or long screwdriver to loosen debris and cut-offs and pass it out
through the port.
When cutting wet wood without a vacuum, making long narrow cut-offs or when cutting with
a dado blade, clean the dust collection port each time. If you find you are clogging the port
often, the dust port elbow may be removed by loosening the two screws where it attaches to
the dust shroud. A dust collection hose can then be attached directly to the shroud as long
as the saw is not beveled past 35°.
MAINTENANCE
WARNING: To reduce the risk of injury, turn unit off and disconnect machine
from power source before installing and removing accessories, before adjusting or
changing set-ups or when making repairs. An accidental start-up can cause injury.
Cleaning
WARNING: When cleaning, use only mild soap and a damp cloth on plastic parts. Many
household cleaners contain chemicals which could seriously damage plastic. Also, do not
use gasoline, turpentine, lacquer or paint thinner, dry cleaning fluids or similar products
which may seriously damage plastic parts. Never let any liquid get inside the tool; never
immerse any part of the tool into a liquid.
TABLE TOP
Protect your investment. Keep your table saw clean. If you notice signs of rust, steel wool the
areas, clean with mineral spirits or denatured alcohol and apply paste wax.
Over time, the lubricants used in the mechanism of your table saw may need to be
replenished.
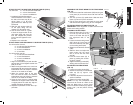
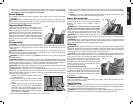
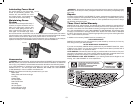
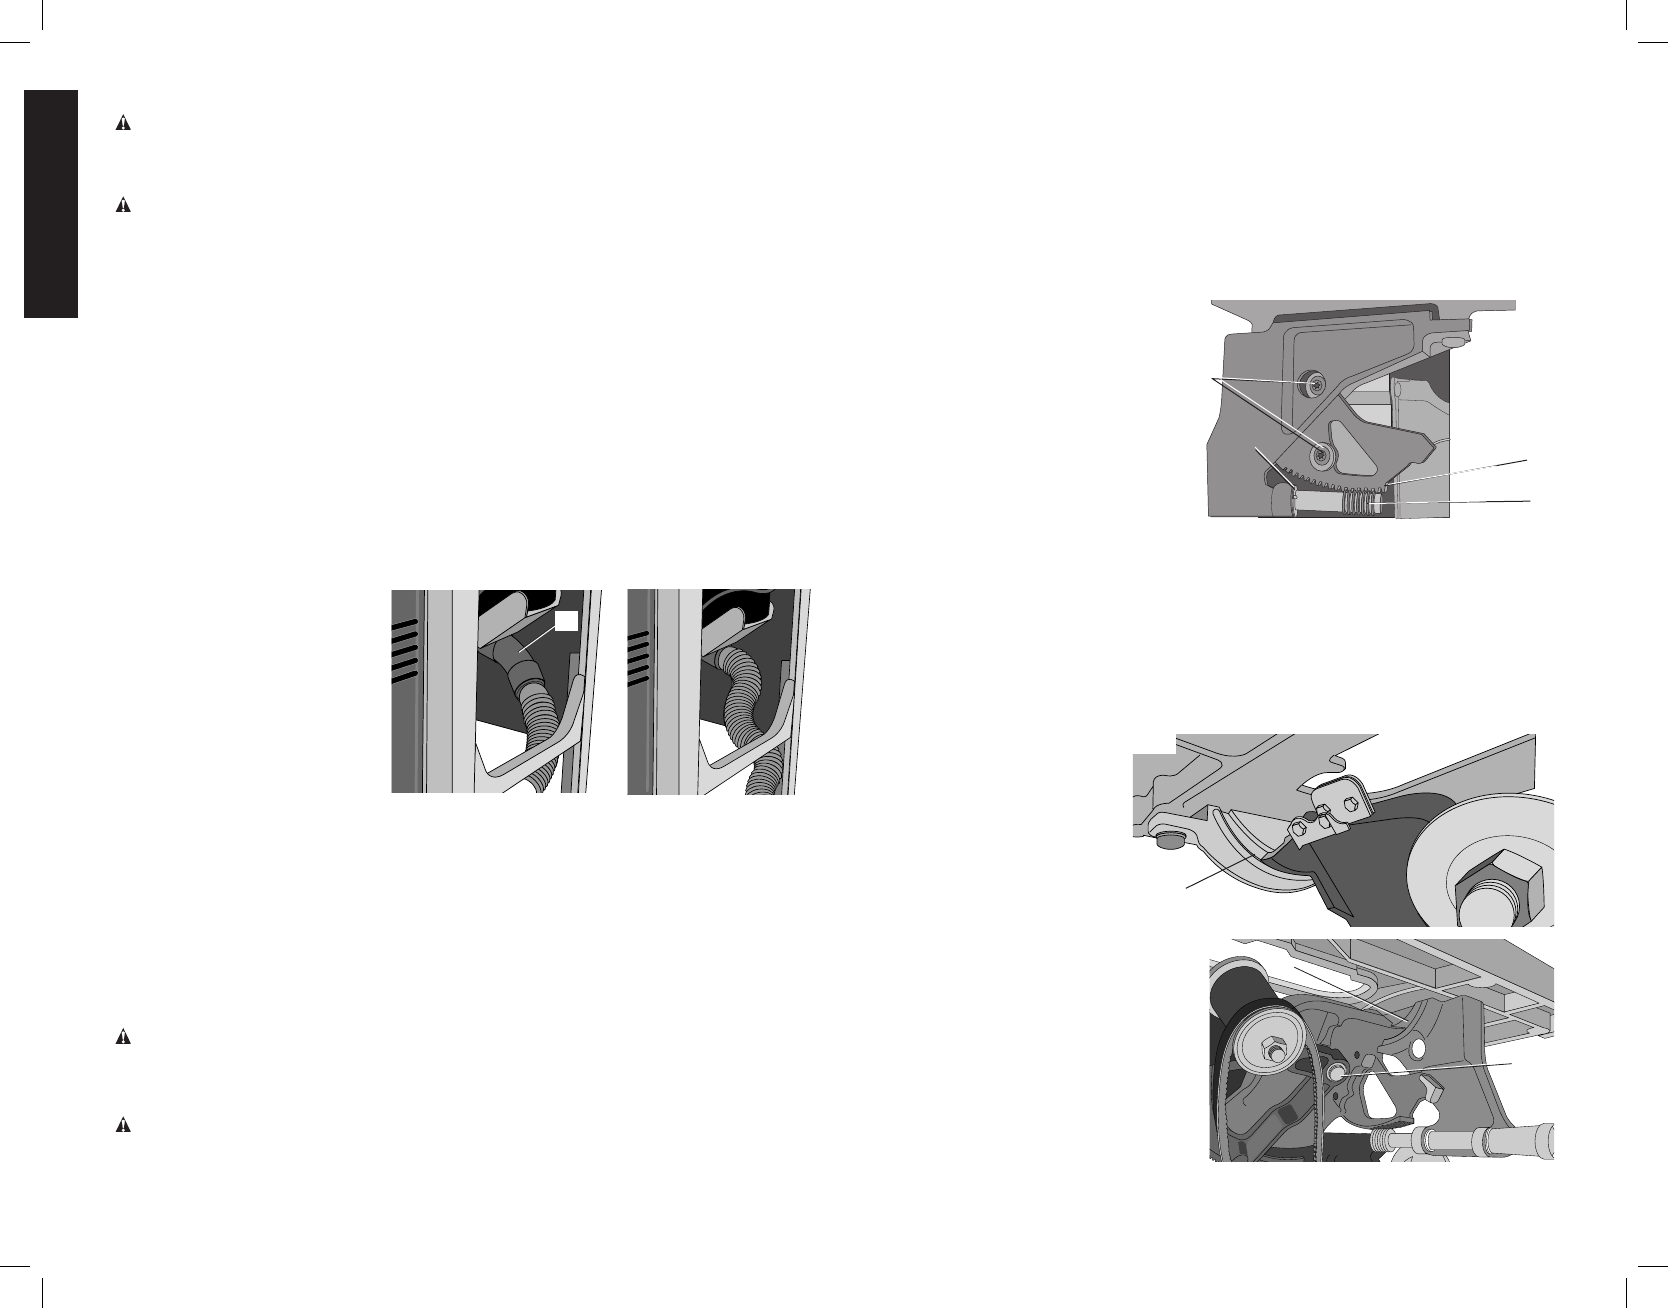
HEIGHT AND BEVEL GEAR (FIG. 31)
1. Clean accumulated sawdust
A7
A8
A5
FIG. 31
A6
from the gears and the worms
with a stiff brush.
2. Remove built up pitch or resin
from the gears and the worms
with a stiff brush. You may need
to use a solvent such as mineral
spirits to remove it.
3. Reapply grease to the worms
(A8), gears (A7) and the washer/
pin assembly (A6). You can also
apply paste wax to the gears if
you find that the grease is attracting too much sawdust.
4. If any backlash has occurred in the bevel system, you can readjust the bevel gear clear-
ance. To adjust:
a. Loosen the two screws (A5) holding the gear to the cradle, let the gear fall into tighter
mesh
b. Lightly tighten the screws and rotate the worm one full turn to set the gear height.
Tighten the gear retaining screws. NOTE: This adjustment must be made at 0°
bevel.
BEVEL PIVOT
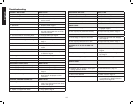
The bevel pivot trunnions, both
A9
FIG. 32
front and back should also be
maintained. First clean them like
the gears were cleaned. Then
apply grease into the curved
slots (A9) and bevel the saw
back and forth to distribute the
grease.
ARBOR PIVOT
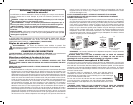
You may also need to lubricate the
FIG. 33
A9
A10
arbor pivot pin (A10). This can be
done by applying a light oil at both
the base and top of the pivot pin.


